
Nothing ruins a special occasion meal like dry, overcooked ham or unsafe undercooked meat. Getting the timing right for your 8 lb ham is crucial for both food safety and perfect texture. After decades of testing ham recipes in professional kitchens and home settings, I've developed this precise guide to ensure your centerpiece dish turns out juicy and flavorful every time.
Understanding Your Ham Type: The Critical First Step
Before you even preheat your oven, you must identify your ham type. This single factor determines your entire cooking approach and timeline. Most hams sold today are fully cooked through smoking or baking during processing, requiring only reheating. Others are raw/cured and need full cooking.
| Ham Type | Label Indicators | Internal Temp Goal | 8 lb Cooking Time |
|---|---|---|---|
| Fully Cooked | “Fully Cooked,” “Ready to Eat,” “Heat Before Serving” | 140°F (60°C) | 120-140 minutes |
| Raw/Cured | “Cook Before Eating,” “Cured,” “Fresh” | 145°F (63°C) + 3 min rest | 180-220 minutes |
According to the USDA Food Safety and Inspection Service, fully cooked hams only need reheating to 140°F for safety, while raw hams must reach 145°F with a 3-minute rest period to eliminate potential pathogens.
Preparation Checklist: Setting Up for Success
Proper preparation significantly impacts your final cooking time and results. Follow these steps before your ham hits the oven:
- Bring to room temperature: Remove ham from refrigerator 60-90 minutes before cooking for even heating
- Score the surface: Make shallow 1” diamond cuts through the fat layer to help heat penetration
- Prepare your pan: Use a roasting pan with 1” of liquid (water, broth, or apple juice) to prevent drying
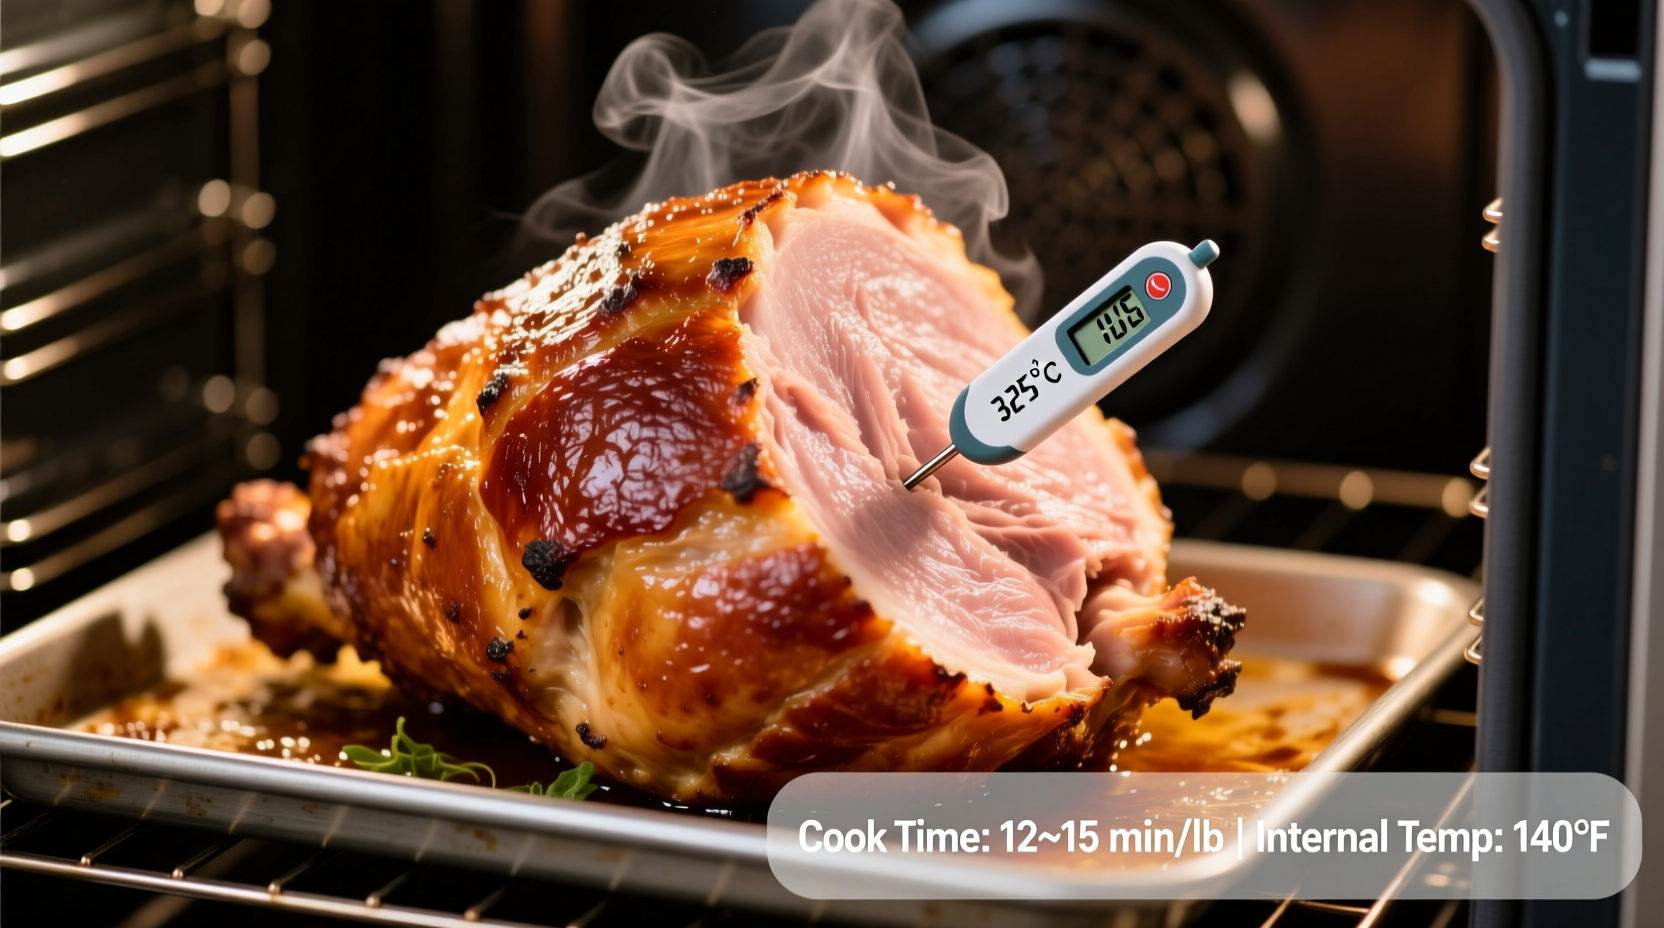
- Preheat accurately: Set oven to 325°F (163°C) - higher temperatures cause uneven cooking
Exact Cooking Timeline for Your 8 lb Ham
Here's the precise cooking progression for a fully cooked 8 lb ham. For raw/cured ham, add approximately 50% more time while maintaining the same temperature checkpoints.
| Time Elapsed | Internal Temperature | Action Required |
|---|---|---|
| 60 minutes | 100-110°F (38-43°C) | Check liquid level, add more if needed |
| 90 minutes | 120-125°F (49-52°C) | Apply first glaze layer if using |
| 120 minutes | 130-135°F (54-57°C) | Apply final glaze, tent with foil if browning too quickly |
| 120-140 minutes | 140°F (60°C) | Remove from oven, rest before serving |
Remember that oven temperatures vary, so always rely on an instant-read thermometer rather than time alone. Insert the thermometer into the thickest part of the ham, avoiding the bone. The National Pork Board confirms that visual cues alone aren't reliable indicators of doneness.
Food Safety Essentials You Can't Ignore
Cooking ham isn't just about flavor—it's a food safety issue. The FoodSafety.gov guidelines specify that fully cooked hams must reach 140°F to be safe, while raw hams need 145°F with a 3-minute rest period.
After removing your ham from the oven, let it rest for 15-20 minutes. This critical step allows:
- Temperatures to equalize throughout the meat
- Juices to redistribute for maximum moisture
- Carryover cooking to complete the process
- Easier, cleaner slicing
Troubleshooting Common Ham Problems
Even with perfect timing, issues can arise. Here's how to handle them:
Dry or Overcooked Ham
If your ham reaches 140°F but seems dry, it likely spent too long in the oven's higher heat zones. Next time, rotate the pan every 30 minutes and ensure your oven temperature is accurate with an independent oven thermometer. For this batch, slice thin and serve with extra gravy or pineapple juice.
Undercooked Ham
If your ham hasn't reached target temperature by the expected time, check your oven calibration. Return to oven and check every 15 minutes. Never reduce cooking time below USDA minimums for food safety. The ham will continue cooking during the rest period.
Pro Tips for Perfect Ham Every Time
- Use the right thermometer: Digital instant-read thermometers provide the most accurate readings. Calibrate annually for precision.
- Glaze timing matters: Apply sweet glazes during the last 60 minutes to prevent burning. Acidic glazes (with citrus or vinegar) can be applied earlier.
- Don't skip the rest period: Cutting too soon releases precious juices. Use this time to prepare sides and set the table.
- Leftover strategy: Store slices in broth or juice to maintain moisture. Consume within 3-4 days per USDA guidelines.
When Standard Guidelines Don't Apply
These cooking times assume conventional oven cooking at sea level with standard ham varieties. Adjustments are needed for:
- Convection ovens: Reduce cooking time by 25% or lower temperature by 25°F
- High altitude cooking: Above 3,000 feet, increase cooking time by 5-10% due to lower boiling points
- Unusual ham types: Country hams or specialty cured hams may require different approaches—always follow manufacturer instructions
Frequently Asked Questions
Can I cook an 8 lb ham at 350°F instead of 325°F?
Yes, but reduce cooking time to 100-120 minutes for fully cooked ham. Higher temperatures risk drying the outer layers before the center reaches proper temperature. 325°F provides more even heating for an 8 lb ham.
How do I know when my ham is done without a thermometer?
While a thermometer is essential for food safety, visual indicators include clear juices when pierced, meat pulling slightly away from the bone, and tender texture when tested with a fork. However, these methods are unreliable—always use a thermometer for accurate results.
Should I cover my ham while cooking?
Cover with foil for the first 60-90 minutes to retain moisture, then uncover for the final hour to allow browning and crisping of the exterior. If the ham browns too quickly, tent loosely with foil during the final cooking phase.
How long should an 8 lb ham rest before serving?
Rest for 15-20 minutes after removing from the oven. This allows temperatures to equalize and juices to redistribute, resulting in moister slices. Larger hams benefit from longer rest periods within this range.


 浙公网安备
33010002000092号
浙公网安备
33010002000092号 浙B2-20120091-4