
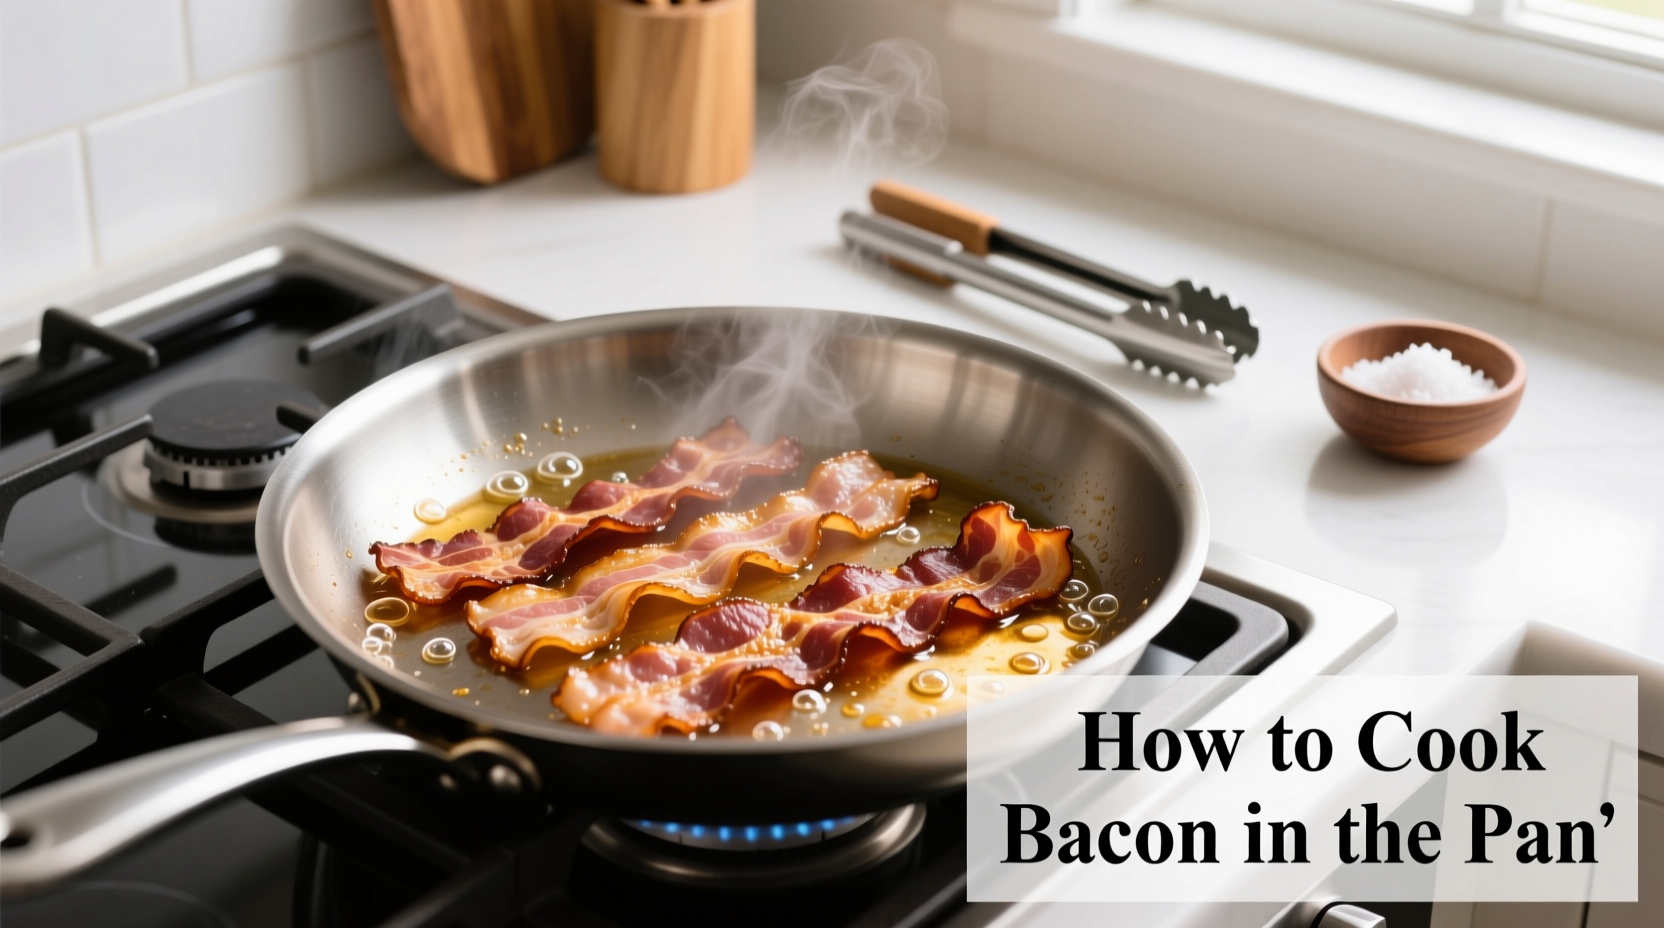
There's nothing quite like the aroma of perfectly cooked bacon filling your kitchen. While many methods exist for preparing this breakfast staple, pan-frying remains the most accessible and controllable technique for home cooks. Unlike oven-baking or microwave methods, cooking bacon in a pan gives you complete control over the cooking process, allowing you to adjust heat and timing based on visual cues and your preferred level of crispiness.
The Science Behind Perfect Pan-Fried Bacon
Understanding the fat-rendering process is key to bacon mastery. According to USDA food safety guidelines, bacon should reach an internal temperature of 145°F (63°C) for safe consumption, though most home cooks rely on visual cues rather than thermometers. When cooked properly, the fat slowly liquefies while the meat proteins firm up, creating that perfect balance of crispy texture and rich flavor.
Essential Equipment Checklist
Before you begin, gather these kitchen essentials:
- Heavy-bottomed skillet (cast iron or stainless steel preferred)
- Metal tongs for safe flipping
- Paper towels for draining
- Wire rack (optional but recommended)
- Splatter screen (highly recommended for safety)
Professional chefs consistently recommend cast iron skillets for bacon preparation because they distribute heat evenly and develop seasoning over time that enhances flavor. Non-stick pans can work but may not produce the same level of crispiness due to lower maximum temperature tolerance.
Step-by-Step Cooking Process
Follow these professional techniques for restaurant-quality results:
1. Preparation Matters
Remove bacon from refrigerator 10-15 minutes before cooking to take the chill off. Arrange strips in a single layer in your cold pan without overlapping. Overcrowding causes steaming rather than frying, resulting in limp bacon.
2. Temperature Control Is Critical
| Bacon Thickness | Starting Temperature | Target Heat Level | Approximate Time |
|---|---|---|---|
| Regular cut (1/16") | Cold pan | Medium-low | 8-10 minutes |
| Thick cut (1/8") | Cold pan | Low | 12-15 minutes |
| Pancetta | Cold pan | Low-medium | 10-12 minutes |
This temperature timeline ensures proper fat rendering without burning. Starting with a cold pan allows the fat to slowly liquefy as the temperature gradually increases, preventing the meat from seizing up and becoming tough.
3. The Flipping Technique
Flip bacon strips every 2-3 minutes using metal tongs. Avoid using forks which can pierce the meat and cause precious fat to escape. As the bacon cooks, you'll notice the fat transforming from opaque to translucent, then the meat will begin to brown. The final minute of cooking produces the most dramatic color change, so watch carefully during this stage.
4. Drainage Method That Makes the Difference
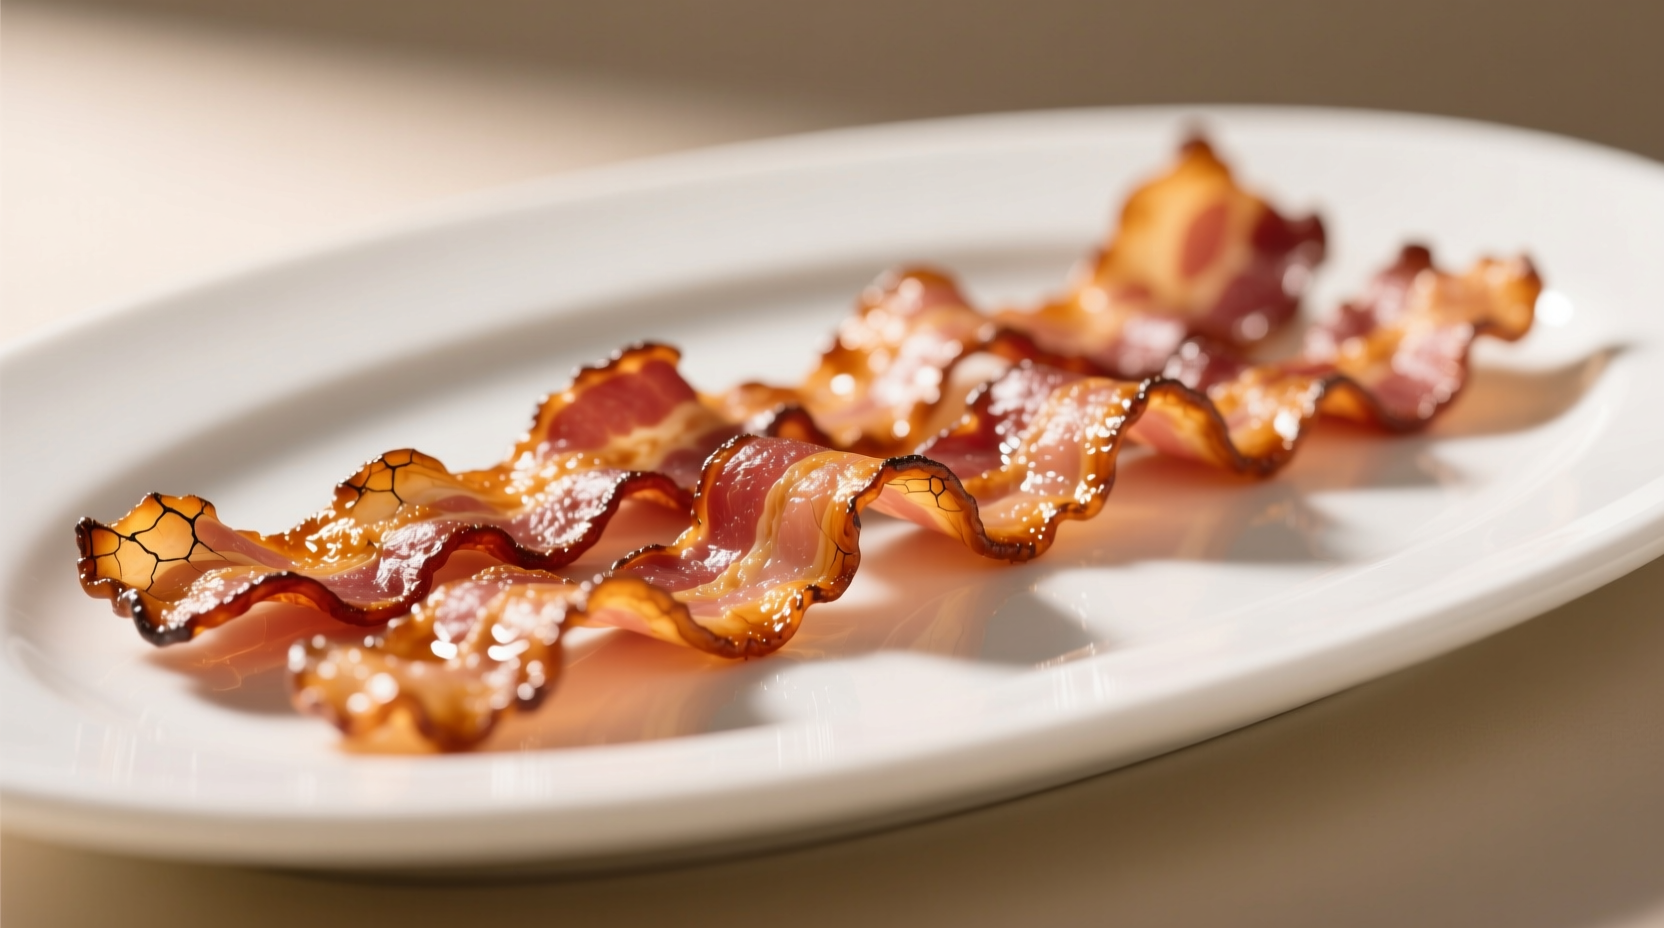
Transfer cooked bacon to a wire rack set over paper towels rather than placing directly on paper towels. This allows air circulation that prevents the bottom from becoming soggy. Let drain for 1-2 minutes before serving.
Troubleshooting Common Problems
Excessive Splatter
Splatter occurs when water in the bacon hits hot fat. To minimize this:
- Pat bacon dry with paper towels before cooking
- Use a splatter screen
- Maintain medium-low heat (never high)
- Don't overcrowd the pan
Bacon Sticking to the Pan
Sticking happens when the pan isn't properly preheated or when flipping too early. Wait until the edges begin curling and the bottom develops a light golden color before attempting to flip. Properly seasoned cast iron rarely has sticking issues once the fat renders.
Uneven Cooking
Rotate bacon strips occasionally during cooking, moving pieces from the hotter center of the pan to the cooler edges. Thicker cuts may require slightly longer cooking times on the meaty portions.
Safety Considerations for Home Cooks
Hot bacon grease presents several safety concerns that many home cooks overlook. The National Fire Protection Association reports that cooking oil fires account for thousands of home fires annually. Always:
- Keep a lid nearby to smother potential grease fires (never use water)
- Use long sleeves to protect against splatter
- Never leave cooking bacon unattended
- Cool grease completely before disposal
For safe grease disposal, pour cooled fat into a sealable container rather than down the drain, where it can cause plumbing issues. Many communities accept cooled cooking fats at recycling centers.
Storing and Reheating Leftovers
Store cooked bacon in an airtight container in the refrigerator for up to 5 days. For longer storage, freeze between parchment paper layers in a freezer bag for up to 3 months. To reheat:
- Oven method: 375°F for 5-7 minutes on a wire rack
- Air fryer: 350°F for 3-4 minutes
- Skillet: Medium heat for 1-2 minutes per side
Avoid microwaving as it makes bacon chewy rather than crispy. The oven method preserves the best texture for reheated bacon.
Advanced Techniques for Culinary Enthusiasts
Once you've mastered the basics, try these professional enhancements:
- Add a tablespoon of water to the pan before heating for extra-crispy results
- Finish under the broiler for 30 seconds for uniform crispiness
- Season with freshly ground pepper during the last minute of cooking
- Add a pinch of brown sugar for candied bacon variation
Remember that bacon continues to cook slightly from residual heat after removal from the pan, so pull it out just before it reaches your desired crispiness level. This carryover cooking typically adds 1-2 minutes of effective cooking time.


 浙公网安备
33010002000092号
浙公网安备
33010002000092号 浙B2-20120091-4