
Perfectly grilled beef ribs require a 3-5 hour cook time at 225-250°F using the 3-2-1 method: 3 hours unwrapped, 2 hours wrapped in foil with liquid, and 1 hour unwrapped with sauce. The internal temperature should reach 195-205°F for tender, fall-off-the-bone results with a flavorful crust.
The Ultimate Guide to Grilling Beef Ribs: From Selection to Serving
There's nothing quite like the rich, smoky flavor of perfectly grilled beef ribs. Unlike their pork counterparts, beef ribs offer substantial meat portions with deep marbling that transforms into succulent tenderness when cooked properly. Whether you're using plate ribs, short ribs, or back ribs, mastering the grill technique makes all the difference between tough disappointment and barbecue bliss.
Understanding Beef Rib Cuts: What You're Working With
Before firing up your grill, understanding the different beef rib cuts prevents common mistakes. The USDA recognizes three primary rib cuts suitable for grilling:
| Rib Type | Characteristics | Best Grilling Approach |
|---|---|---|
| Plate Ribs (Dinosaur Ribs) | Largest cut (6-8 inches long), substantial meat coverage, higher fat content | Low and slow (225°F), 4-5 hours minimum, requires careful membrane removal |
| Back Ribs | Smaller (3-6 inches), leaner, more bone than meat | 225-250°F, 3-4 hours, benefits from wrapping phase |
| Short Ribs | Cube-style or flanken cut, marbled with connective tissue | 250°F, 3-4 hours, ideal for direct heat searing after slow cooking |
According to meat science research from Kansas State University's Department of Animal Sciences and Industry, beef ribs contain significant collagen that begins breaking down at 160°F and fully converts to gelatin between 195-205°F. This transformation is why low-temperature cooking is essential for tender results.
Selecting Quality Beef Ribs: What to Look For
When purchasing beef ribs, focus on these visual indicators of quality:
- Marbling: Fine streaks of white fat throughout the meat (not just on the surface)
- Color: Bright cherry red meat (avoid grayish or brown spots)
- Thickness: At least 1/2 inch of meat covering the bone
- Membrane: Intact but not overly thick on the bone side
The USDA's Food Safety and Inspection Service recommends purchasing ribs with the " inspected and passed" stamp, indicating they've met federal safety standards. For optimal flavor development, choose ribs with moderate marbling rather than lean cuts.
Preparation: Setting Up for Success
Proper preparation separates good grilled ribs from exceptional ones. Follow these critical steps:
Membrane Removal Technique
The silver skin membrane on the bone side prevents seasoning penetration and causes uneven cooking. To remove it:
- Slide a butter knife under the membrane at one end
- Lift gently until you can grip with paper towel
- Pull firmly at a 45-degree angle to remove in one piece
Dry Rub Application
Apply a 1/4-inch layer of dry rub 12-24 hours before cooking. A basic effective rub includes:
- 1/4 cup coarse kosher salt
- 1/4 cup black pepper (coarsely ground)
- 2 tbsp garlic powder
- 2 tbsp onion powder
- 1 tbsp smoked paprika
- 1 tbsp brown sugar
Refrigerate uncovered after application to develop a pellicle - that tacky surface layer that helps smoke adhere.
Grill Setup: Creating the Ideal Cooking Environment
Successful beef rib grilling requires precise temperature control. Follow these setup guidelines regardless of your grill type:
Two-Zone Fire Configuration
- Charcoal grills: Pile coals on one side, leaving the other side empty
- Gas grills: Preheat all burners, then turn off one burner for indirect zone
- Smokers: Maintain consistent 225-250°F in cooking chamber
Place a water pan in the indirect zone to maintain humidity, which helps prevent drying during the long cook. Position ribs bone-side down on the indirect side, away from direct flame.
The 3-2-1 Grilling Method: Step-by-Step
This proven technique delivers consistent results for beef ribs:
Phase 1: Unwrapped Smoke (3 Hours)
Maintain 225-250°F and position ribs bone-side down. Add wood chunks (hickory, oak, or mesquite) for smoke flavor. Check temperature hourly, adjusting vents as needed. The meat should develop a deep red smoke ring and dark bark.
Phase 2: Wrapped Tenderizing (2 Hours)
After 3 hours, wrap ribs tightly in aluminum foil with:
- 1/4 cup apple juice or beef broth
- 2 tbsp butter
- 1 tbsp additional rub
This "Texas crutch" technique accelerates collagen breakdown while keeping ribs moist. Return to indirect heat until internal temperature reaches 165°F.
Phase 3: Glazing and Bark Development (1 Hour)
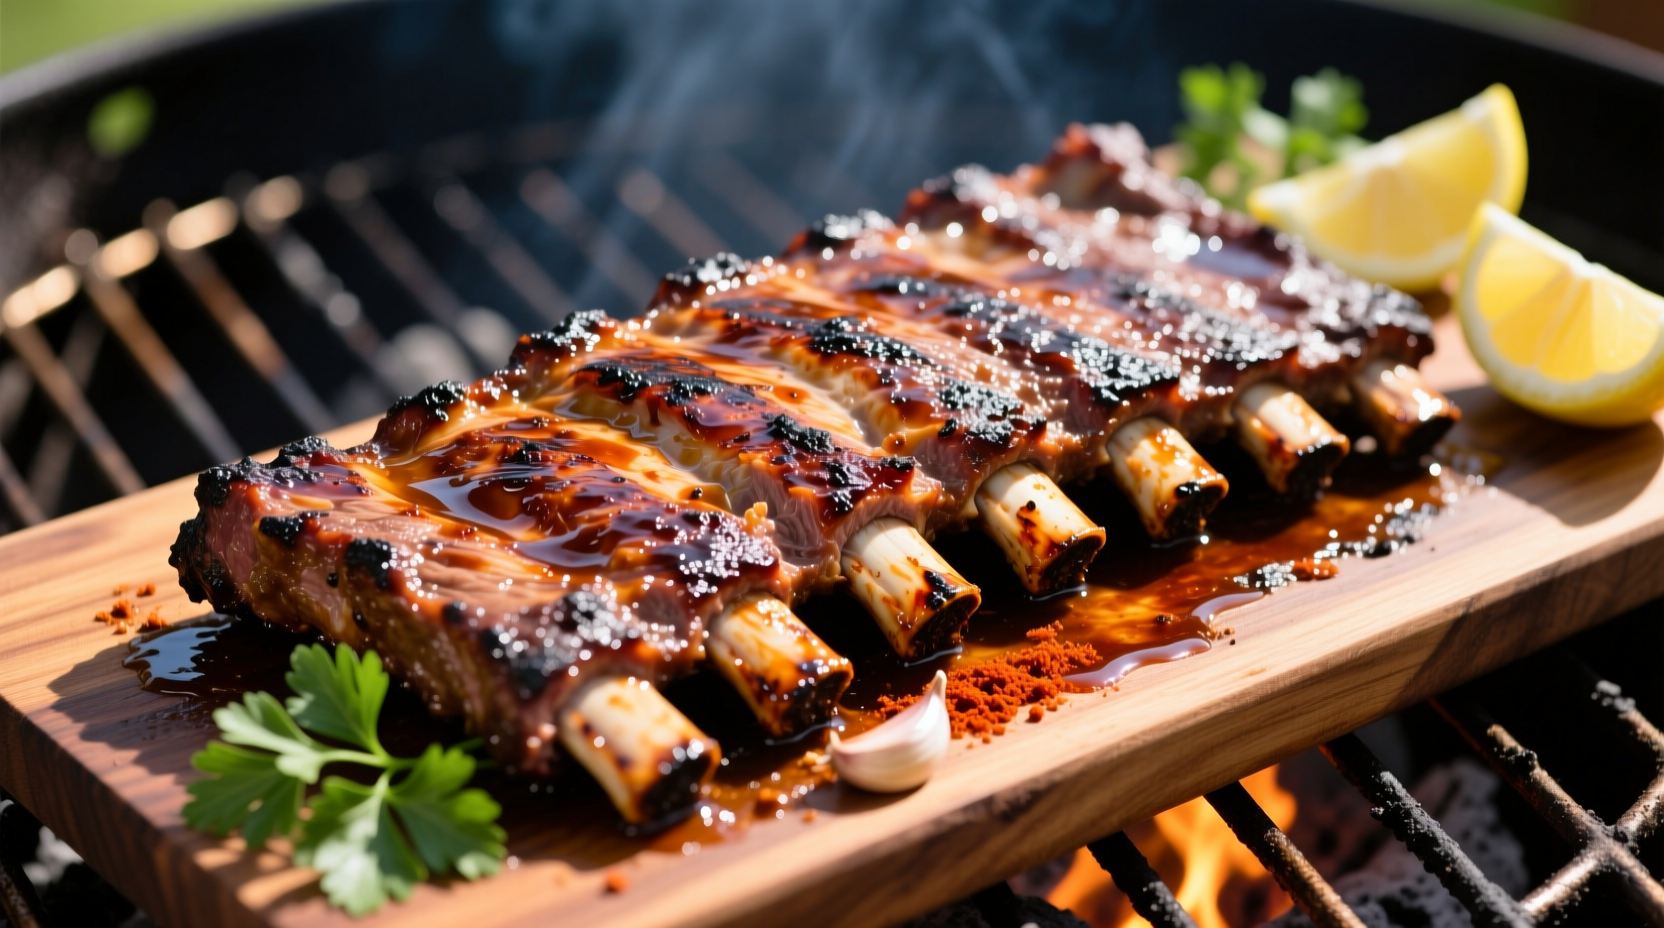
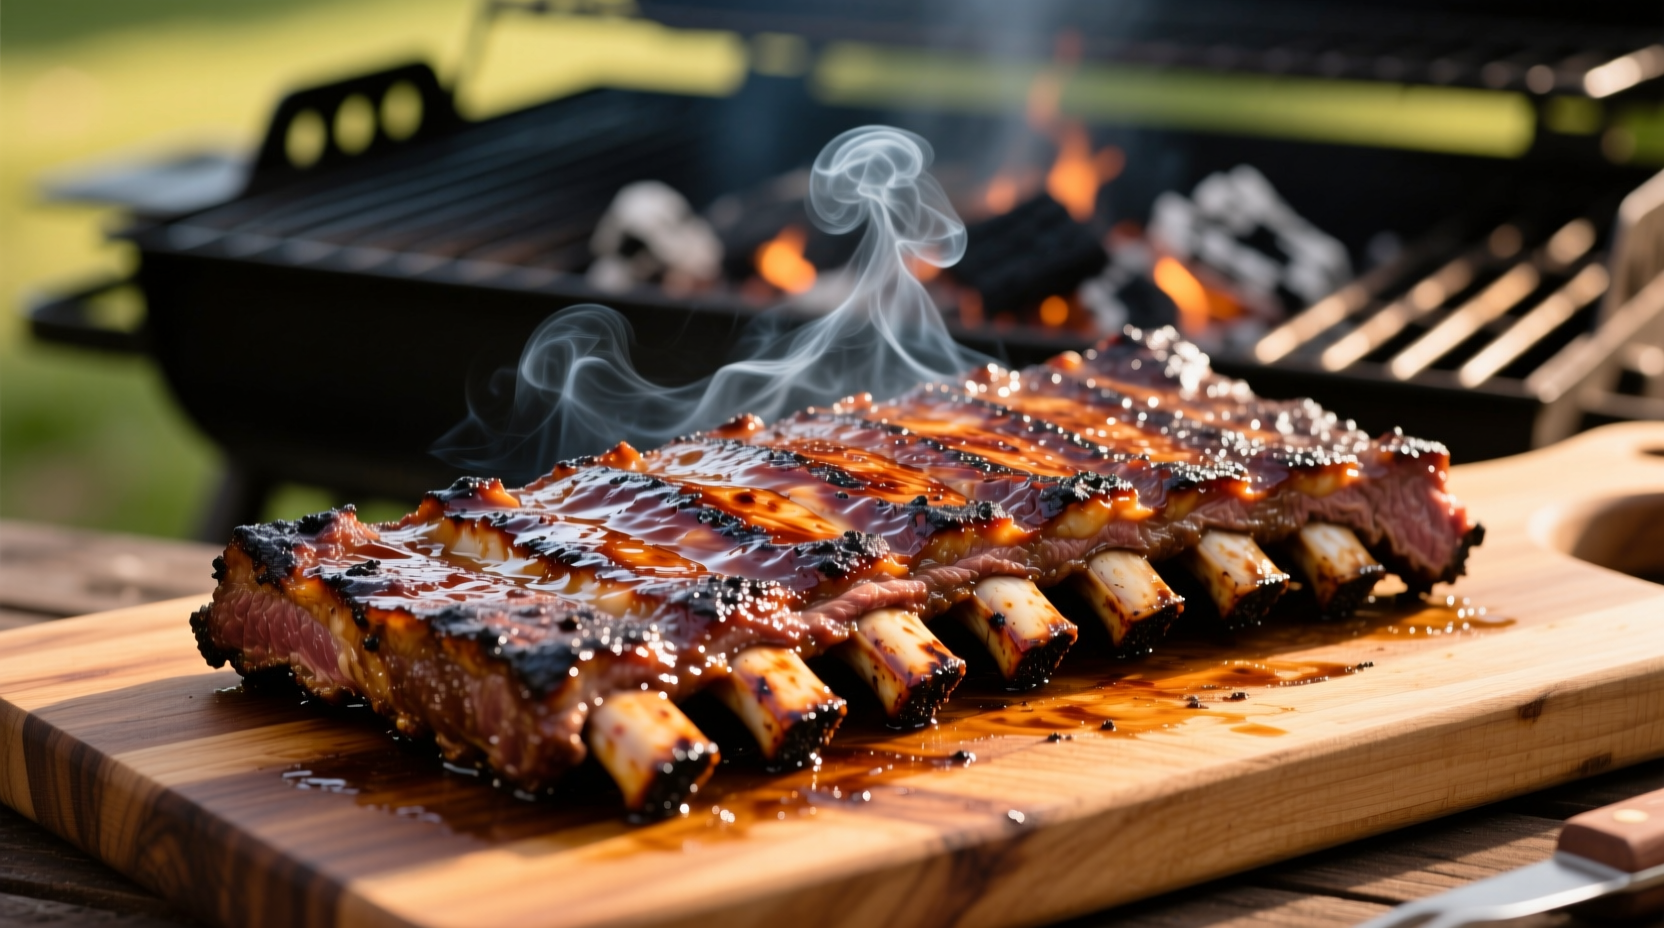
Unwrap ribs and return to the grill bone-side down. Apply barbecue sauce or additional dry rub. Continue cooking until internal temperature reaches 195-205°F. The bend test should show significant flexibility when lifted with tongs.
Doneness Indicators: Beyond the Thermometer
While a meat thermometer is essential, experienced grillers use multiple indicators:
- The Bend Test: When lifted with tongs at 45 degrees, properly cooked ribs should bend significantly with cracks forming in the bark
- Probe Tenderness: A toothpick should slide into the meat with little resistance
- Shrinkage: Meat should have receded from the bone ends by about 1/2 inch
The USDA Food Safety and Inspection Service recommends a minimum internal temperature of 145°F for beef, followed by a 3-minute rest. However, for ribs with substantial connective tissue, 195-205°F is necessary to achieve the desired tenderness through complete collagen conversion.
Resting and Serving: The Final Critical Steps
Never skip the resting phase. Tent ribs loosely with foil and rest for 20-30 minutes before serving. This allows juices to redistribute throughout the meat. When ready to serve:
- Cut between bones with a sharp knife
- Serve with additional sauce on the side
- Pair with complementary sides like coleslaw or cornbread
Troubleshooting Common Grilling Problems
Ribs Are Tough
Cause: Insufficient cooking time or temperature too low
Solution: Return to grill and continue cooking until internal temperature reaches 195-205°F
Burnt Exterior
Cause: Grill temperature too high or ribs positioned too close to heat source
Solution: Move to cooler part of grill, reduce temperature to 225°F, and consider wrapping earlier in the process
Dry Ribs
Cause: Overcooking or insufficient moisture during cooking
Solution: Shorten cooking time, ensure proper wrapping phase with liquid, and don't skip resting period
Advanced Techniques for Flavor Enhancement
Once you've mastered the basics, consider these professional techniques:
- Smoke Ring Maximization: Apply rub 24 hours before cooking and maintain consistent smoke for first 3-4 hours
- Bark Customization: Spritz with apple cider vinegar solution (1:1 vinegar to water) hourly during first phase
- Flavor Layering: Use different wood types in sequence (fruit wood first, then stronger woods)
Remember that grill types require slight technique adjustments. Charcoal grills provide superior smoke flavor but require more temperature management. Gas grills offer better temperature control but may need smoke boxes for adequate smoke infusion. Offset smokers deliver the most authentic barbecue experience but have a steeper learning curve.


 浙公网安备
33010002000092号
浙公网安备
33010002000092号 浙B2-20120091-4