
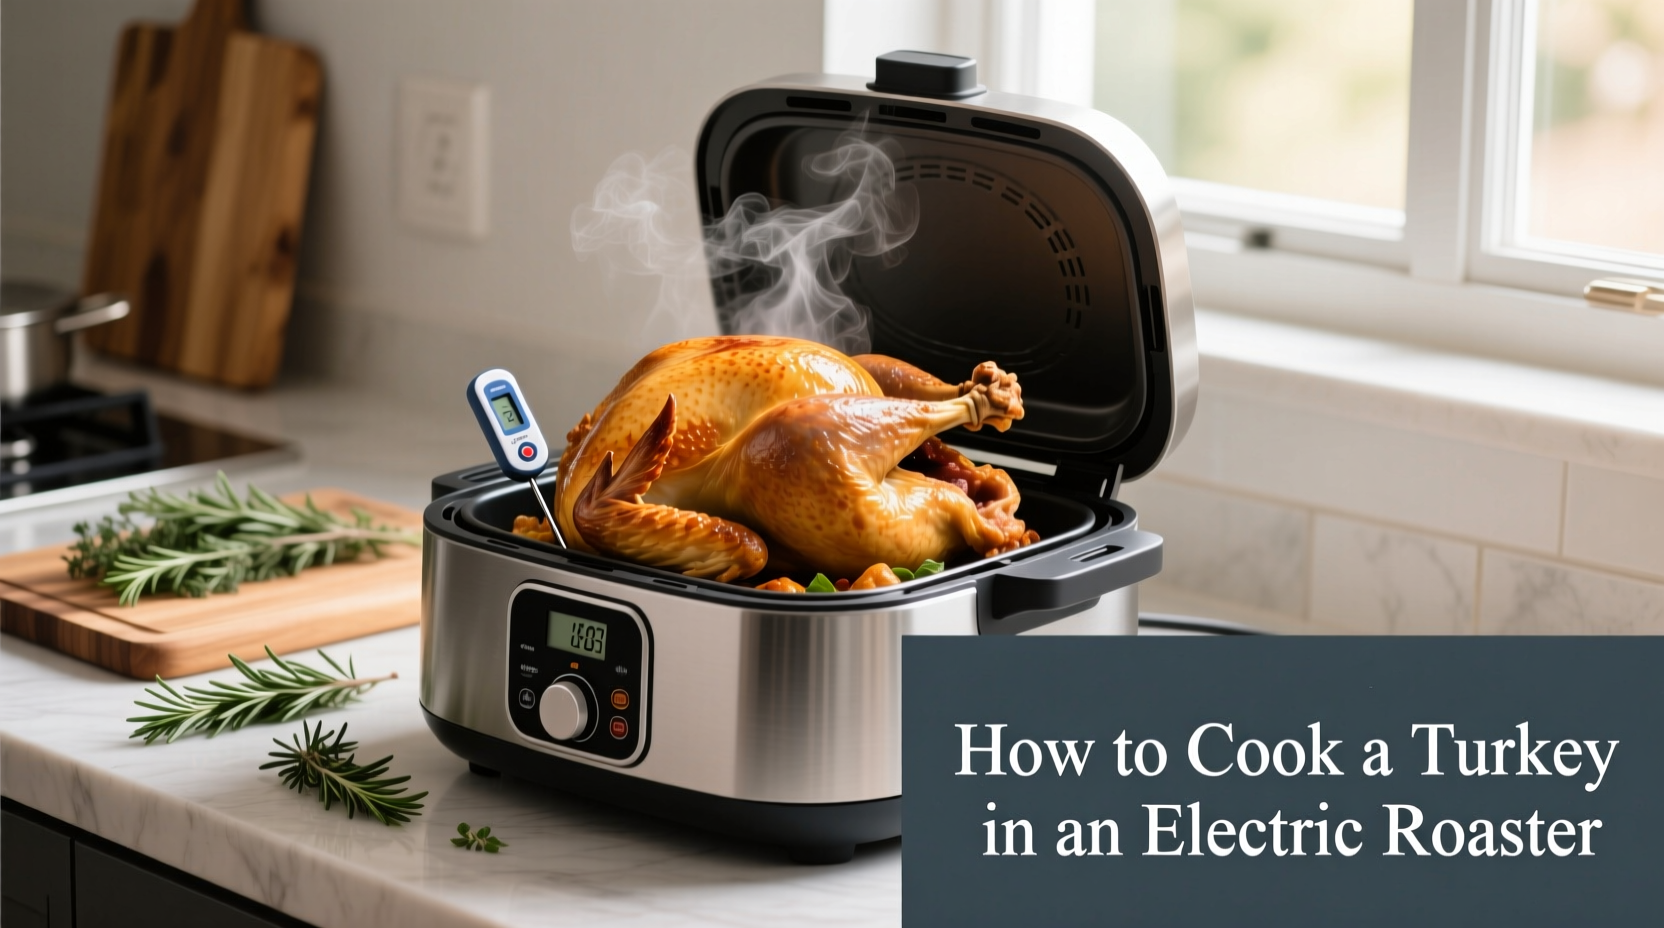
Discover how to cook a turkey in an electric roaster that yields consistently juicy results while freeing up your conventional oven for side dishes. Electric roasters maintain precise temperatures, cook 30% faster than standard ovens, and produce remarkably tender meat with minimal monitoring required. This comprehensive guide delivers professional chef-tested techniques that guarantee a perfectly cooked turkey every time—no guesswork needed.
Essential Preparation: Setting Up for Success
Before you begin cooking turkey in an electric roaster, proper preparation ensures optimal results and food safety. Start with a completely thawed turkey—never cook frozen poultry. The USDA Food Safety and Inspection Service recommends allowing 24 hours of refrigerator thawing time for every 4-5 pounds of turkey. For a typical 12-14 pound bird, this means 3-4 days in the refrigerator at 40°F or below.
Remove all packaging and giblets from the cavity. Pat the turkey thoroughly dry with paper towels—this critical step promotes better browning and crispier skin. Generously season both the cavity and exterior with your preferred rub, making sure to lift the skin to apply seasoning directly to the meat. For best flavor development, refrigerate the seasoned turkey uncovered for 12-24 hours before cooking.
Position the roasting rack in your electric roaster, then add 1-2 cups of liquid (water, broth, or wine) to the bottom of the unit. This creates steam that keeps the turkey moist during cooking while preventing drippings from burning. Never operate your electric roaster empty—it requires liquid for proper heat distribution.
Step-by-Step Cooking Process
Preheat your electric roaster to 325°F—the ideal temperature for even cooking without drying out the meat. Place the turkey breast-side up on the rack, tucking the wing tips under the body to prevent burning. Insert an oven-safe meat thermometer into the thickest part of the thigh, avoiding bone contact.
Cover the roaster with its lid and cook according to this reliable timeline:
| Turkey Weight | Estimated Cooking Time | Internal Temperature Check Points |
|---|---|---|
| 8-12 lbs | 2.5-3 hours | Check at 2 hours |
| 12-16 lbs | 3-3.75 hours | Check at 2.5 hours |
| 16-20 lbs | 3.75-4.5 hours | Check at 3 hours |
| 20-24 lbs | 4.5-5 hours | Check at 3.5 hours |
Unlike conventional ovens, electric roasters maintain consistent temperatures without hot spots, eliminating the need for rotating the turkey. Basting is optional since the enclosed environment keeps moisture contained—opening the lid frequently actually extends cooking time. If you choose to baste, do so quickly and only once halfway through cooking.
Monitor the internal temperature closely during the final hour. The turkey is done when it reaches 165°F in both the breast and thigh, as verified by the USDA Food Safety and Inspection Service. Remember that temperature will continue rising 5-10 degrees during resting.
Food Safety and Quality Control
Food safety is paramount when cooking poultry. The Centers for Disease Control and Prevention reports that undercooked turkey causes thousands of foodborne illness cases annually. Always verify doneness with a reliable meat thermometer rather than relying on visual cues alone.
After removing the turkey from the roaster, tent loosely with foil and allow it to rest for 20-30 minutes before carving. This crucial step lets the juices redistribute throughout the meat, resulting in significantly moister slices. During resting, the internal temperature will continue to rise slightly, ensuring pathogens are eliminated while maintaining optimal texture.
Immediately refrigerate leftovers within two hours of cooking (one hour if room temperature exceeds 90°F). Store in shallow containers for rapid cooling, and consume within 3-4 days. For longer storage, freeze portions in airtight containers for up to 4 months.
Troubleshooting Common Issues
Brown too quickly? If the skin browns faster than expected, reduce the temperature by 25°F and loosely tent the breast area with foil.
Dry breast meat? This typically occurs from overcooking. Start checking temperature 30 minutes before expected completion time. Consider brining your turkey beforehand for enhanced moisture retention.
Uneven cooking? Electric roasters rarely have this issue due to their even heat distribution, but ensure you're not overfilling the unit. The turkey should occupy no more than 2/3 of the roaster's capacity.
Strong electrical smell? New roasters often emit this during initial use. Run the empty roaster with water for 30 minutes before cooking to eliminate manufacturing odors.
Electric Roaster vs. Conventional Oven: Key Differences
Understanding these distinctions helps you maximize your electric roaster's capabilities when cooking turkey:
| Feature | Electric Roaster | Conventional Oven |
|---|---|---|
| Cooking Time | 30% faster due to efficient heat circulation | Standard cooking times apply |
| Moisture Retention | Superior—enclosed environment traps steam | Requires frequent basting for similar results |
| Oven Space | Freese up main oven for side dishes | Occupies entire oven capacity |
| Temperature Consistency | More stable—no hot/cold spots | Variations common, especially in older ovens |
| Energy Efficiency | Uses approximately 30% less energy | Higher energy consumption |
Electric roasters excel at maintaining consistent temperatures without fluctuations, making them particularly valuable for holiday cooking when oven space is limited. Their portability also allows you to set up in different rooms, keeping kitchen heat to a minimum during warm weather.
Frequently Asked Questions
Can I cook a turkey larger than my electric roaster's capacity?
No, never force a turkey into a roaster that's too small. The turkey should fit with at least 2-3 inches of clearance on all sides for proper air circulation. For larger birds, consider spatchcocking (removing the backbone) to flatten the turkey, which also reduces cooking time significantly.
Do I need to add water when cooking turkey in an electric roaster?
Yes, always add 1-2 cups of liquid to the bottom of the roaster before cooking. This creates steam that prevents drippings from burning, maintains proper humidity, and ensures even heat distribution. Water, broth, or wine all work well for this purpose.
Why is my turkey cooking faster in the electric roaster than conventional oven instructions suggest?
Electric roasters cook approximately 30% faster than conventional ovens due to more efficient heat circulation in the compact space. Always rely on internal temperature (165°F) rather than time alone to determine doneness, checking with a reliable meat thermometer during the final hour of cooking.
Can I use the drippings from an electric roaster for gravy?
Absolutely. The concentrated drippings from an electric roaster often produce richer, more flavorful gravy than conventional oven drippings. Simply skim excess fat, then use the flavorful liquid as the base for your gravy, adding broth if needed for volume.
Should I cover the turkey while cooking in an electric roaster?
Keep the lid on throughout cooking. The enclosed environment creates ideal conditions for moist cooking. Only remove the lid during brief temperature checks or if you choose to baste once halfway through cooking. Frequent lid removal extends cooking time significantly.


 浙公网安备
33010002000092号
浙公网安备
33010002000092号 浙B2-20120091-4