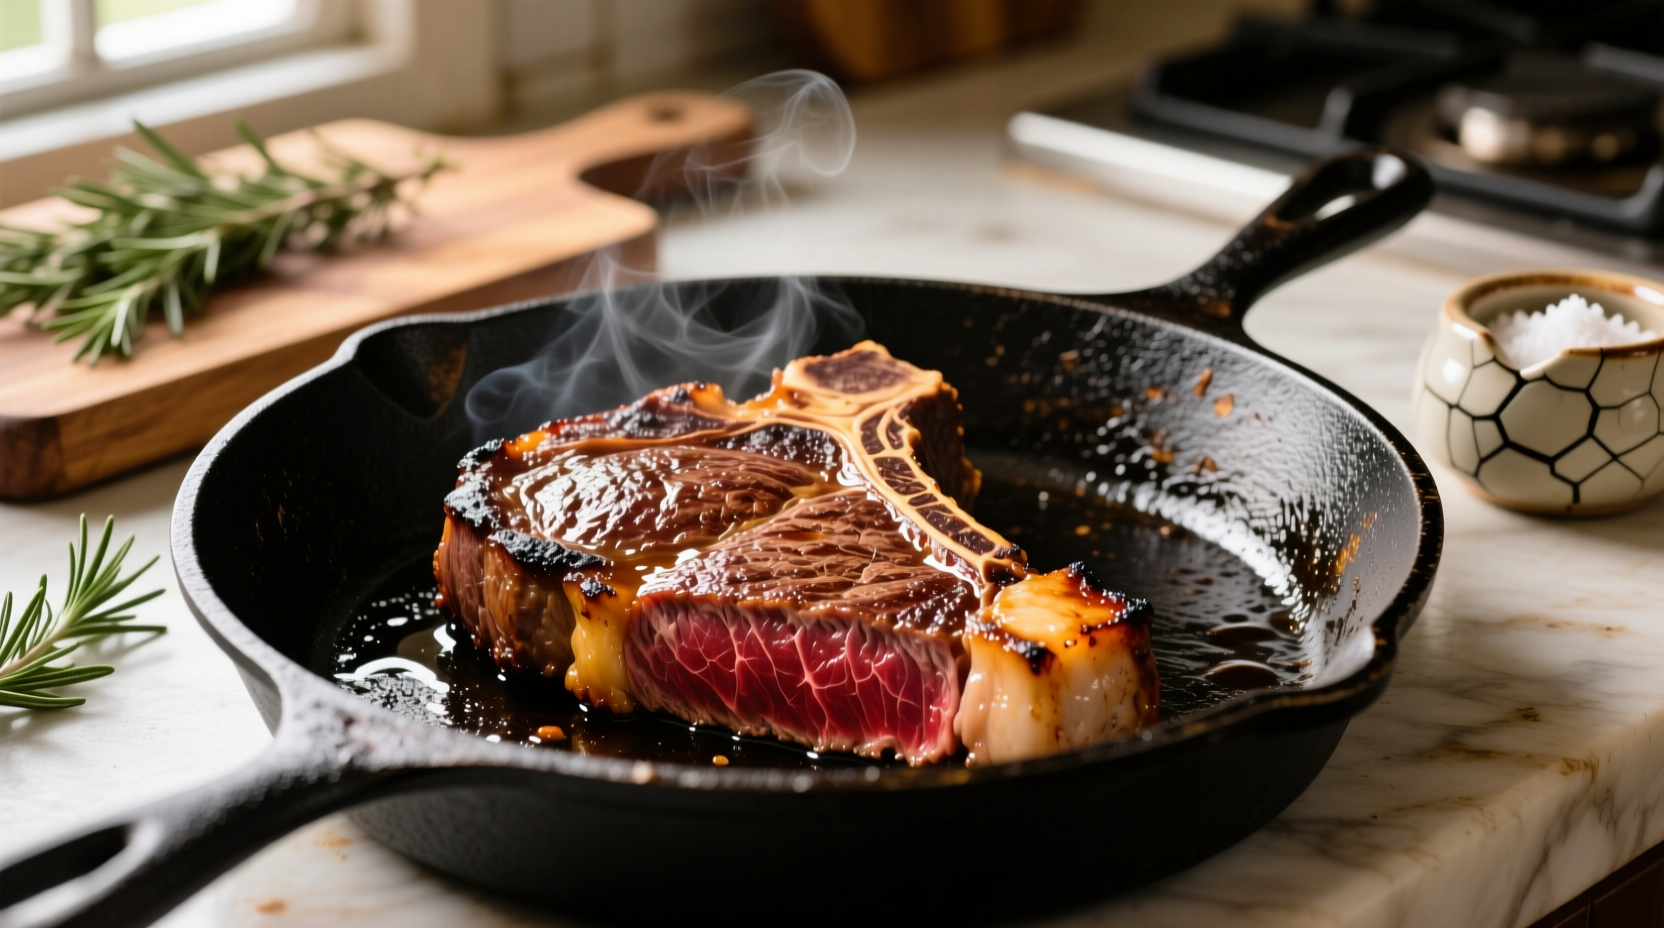
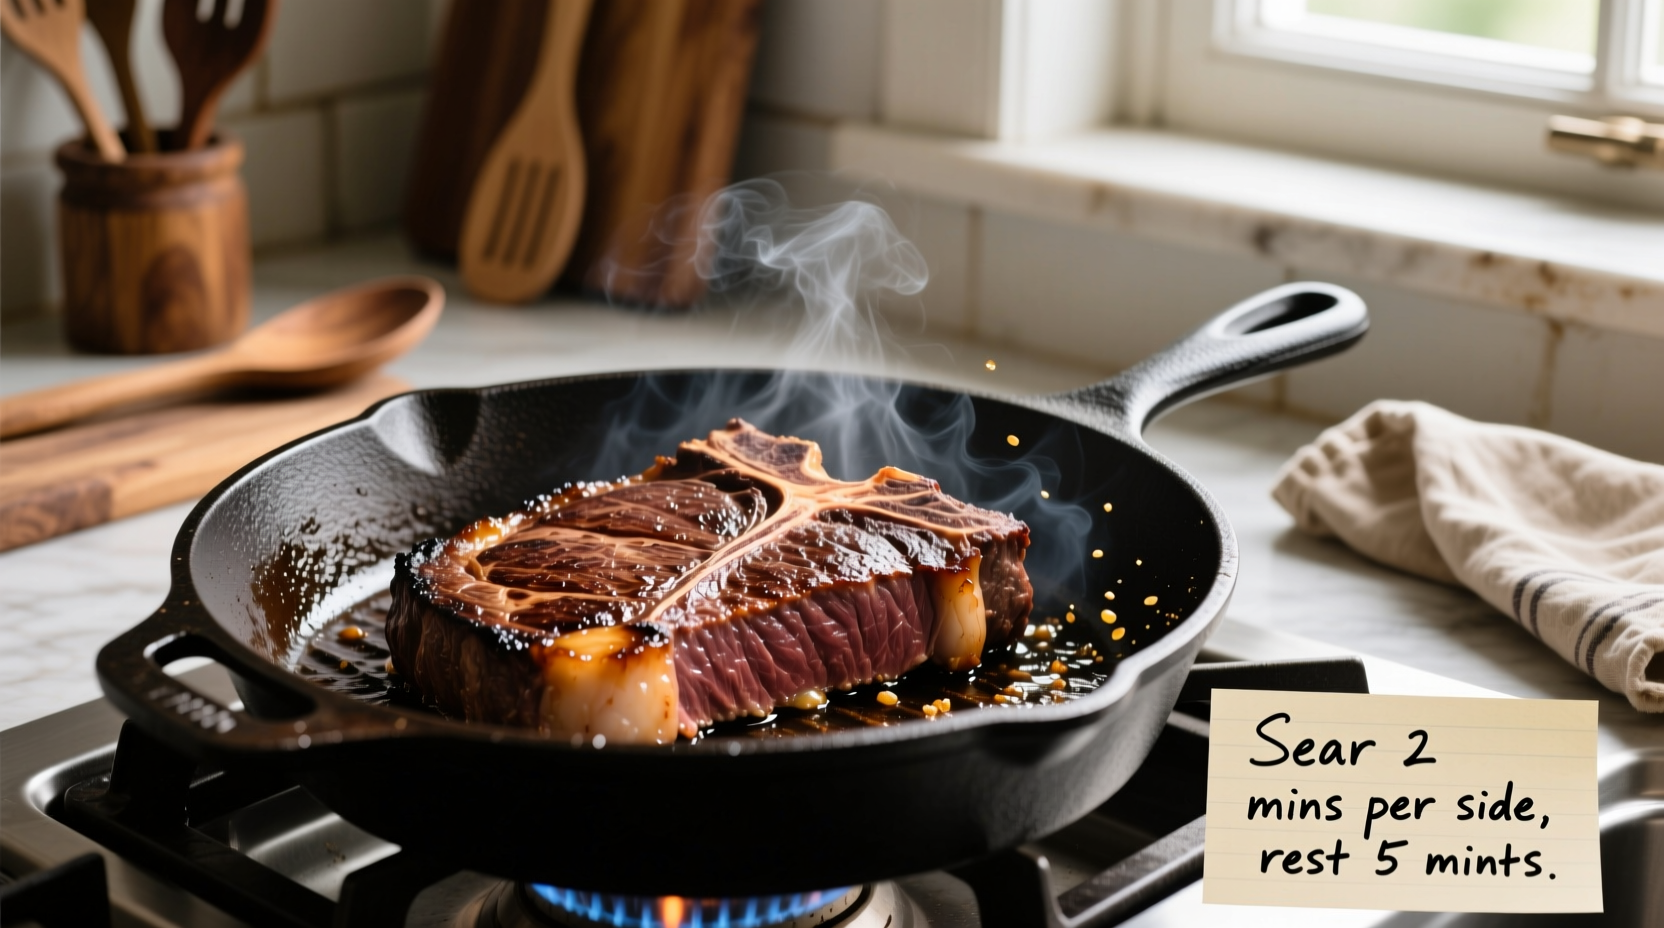
You can cook a perfect steak without a grill using just a heavy skillet and oven method, achieving restaurant-quality results with a crisp crust and juicy interior in under 30 minutes. This guide reveals the exact techniques professional chefs use for stovetop-to-oven cooking, including optimal temperatures, timing for different cuts, and troubleshooting common mistakes.
Forget expensive equipment or special tools—cooking steak without a grill is simpler than you think. Whether you're in a dorm room with a single burner or a kitchen without outdoor space, you can create a beautifully seared, perfectly cooked steak using methods perfected by professional chefs. The key lies in understanding heat transfer principles and timing, not fancy equipment.
Why Skip the Grill? Understanding Your Cooking Options
Grilling creates that distinctive char through radiant heat and smoke, but indoor methods offer superior temperature control for consistent results. According to USDA Food Safety and Inspection Service guidelines, the critical factor for safe, delicious steak is reaching proper internal temperatures regardless of cooking method. The stovetop-to-oven technique actually provides more precise control over the cooking process than many grills, especially for thicker cuts.
| Cooking Method | Best For | Temperature Control | Char Development |
|---|---|---|---|
| Traditional Grill | Thin cuts, quick cooking | Moderate | Excellent |
| Stovetop Only | Cuts under 1" thick | Good | Good |
| Stovetop + Oven | Cuts 1"-2" thick | Excellent | Excellent |
| Sous Vide + Sear | Precision cooking | Perfect | Fair |
Choosing Your Steak: What Works Best Indoors
Not all steaks perform equally well without a grill. Thicker cuts (1.5-2 inches) work best with the stovetop-to-oven method because they allow proper searing without overcooking the interior. Ribeye, strip steak, and filet mignon excel with this technique. Avoid extremely thin cuts (<1 inch) which will overcook before developing a proper crust.
Bring your steak to room temperature for 30-45 minutes before cooking—this critical step ensures even cooking. Pat the surface completely dry with paper towels; moisture is the enemy of proper searing. Season generously with coarse salt and freshly ground pepper at least 40 minutes before cooking to allow proper seasoning penetration.

The Essential Equipment Checklist
You don't need specialty equipment, but certain items make a significant difference:
- Heavy-bottomed skillet: Cast iron or carbon steel provides superior heat retention for perfect searing
- Oven-safe option: If finishing in oven, ensure your skillet is oven-safe to 400°F+
- Instant-read thermometer: Critical for accuracy—USDA recommends 130-135°F for medium-rare
- Metal spatula or tongs: Avoid piercing the steak with forks
- Wire rack: For proper resting without steaming the bottom
Mastering the Stovetop-to-Oven Technique
This professional method combines high-heat searing with gentle oven finishing for perfect results every time:
- Preheat your skillet: Place empty skillet over medium-high heat for 5 minutes until properly heated
- Add high-smoke point oil: Use avocado, grapeseed, or clarified butter (not extra virgin olive oil)
- Sear the first side: Place steak in hot skillet, press gently for full contact, cook undisturbed for 2-4 minutes
- Flip and baste: Turn steak, add butter, garlic, and herbs, tilt pan and spoon melted butter over steak
- Check temperature: When internal temp reaches 110-115°F, transfer skillet to preheated 400°F oven
- Finish cooking: Bake until reaching desired temperature (120°F rare, 130°F medium-rare, 140°F medium)
- Rest properly: Transfer to wire rack, tent loosely with foil, rest for 8-10 minutes before slicing
Troubleshooting Common Indoor Steak Problems
Even experienced cooks encounter issues when cooking steak indoors. Here's how to solve them:
- Excessive smoke: Turn on exhaust fan, open windows, reduce heat slightly, or use less oil
- Uneven cooking: Rotate steak 180 degrees halfway through searing for even heat distribution
- Pale crust: Ensure skillet is properly preheated and steak surface is completely dry before cooking
- Overcooked exterior: Lower heat slightly or reduce searing time for thinner cuts
Remember that different stovetops perform differently—electric coils take longer to heat but maintain temperature better, while gas provides instant heat adjustment. Adjust your technique accordingly.
Pro Tips for Restaurant-Quality Results
Take your indoor steak cooking to the next level with these professional techniques:
- Salt timing matters: Salt at least 40 minutes before cooking for better moisture retention and flavor penetration
- Reverse sear alternative: For very thick cuts (2+ inches), start in 275°F oven until 110°F internal, then sear
- Compound butter finish: Top with flavored butter during resting for added richness
- Slicing technique: Always cut against the grain at a 45-degree angle for maximum tenderness
According to culinary research from America's Test Kitchen, the resting period is non-negotiable—skipping it can result in up to 40% more juice loss when slicing. The proteins need time to reabsorb juices throughout the meat.
When Indoor Cooking Has Limitations
While the stovetop-to-oven method produces excellent results, it has certain limitations compared to grilling:
- No authentic wood smoke flavor (though smoked paprika in rubs can help)
- Limited capacity for cooking multiple steaks simultaneously
- Increased indoor油烟 (oil smoke) during cooking
- No distinctive grill marks pattern (though cast iron ridges can create similar marks)
For those seeking smokiness, adding a few drops of liquid smoke to your butter baste or using smoked salt in your seasoning can provide subtle smoke notes without specialized equipment.


 浙公网安备
33010002000092号
 浙B2-20120091-4