
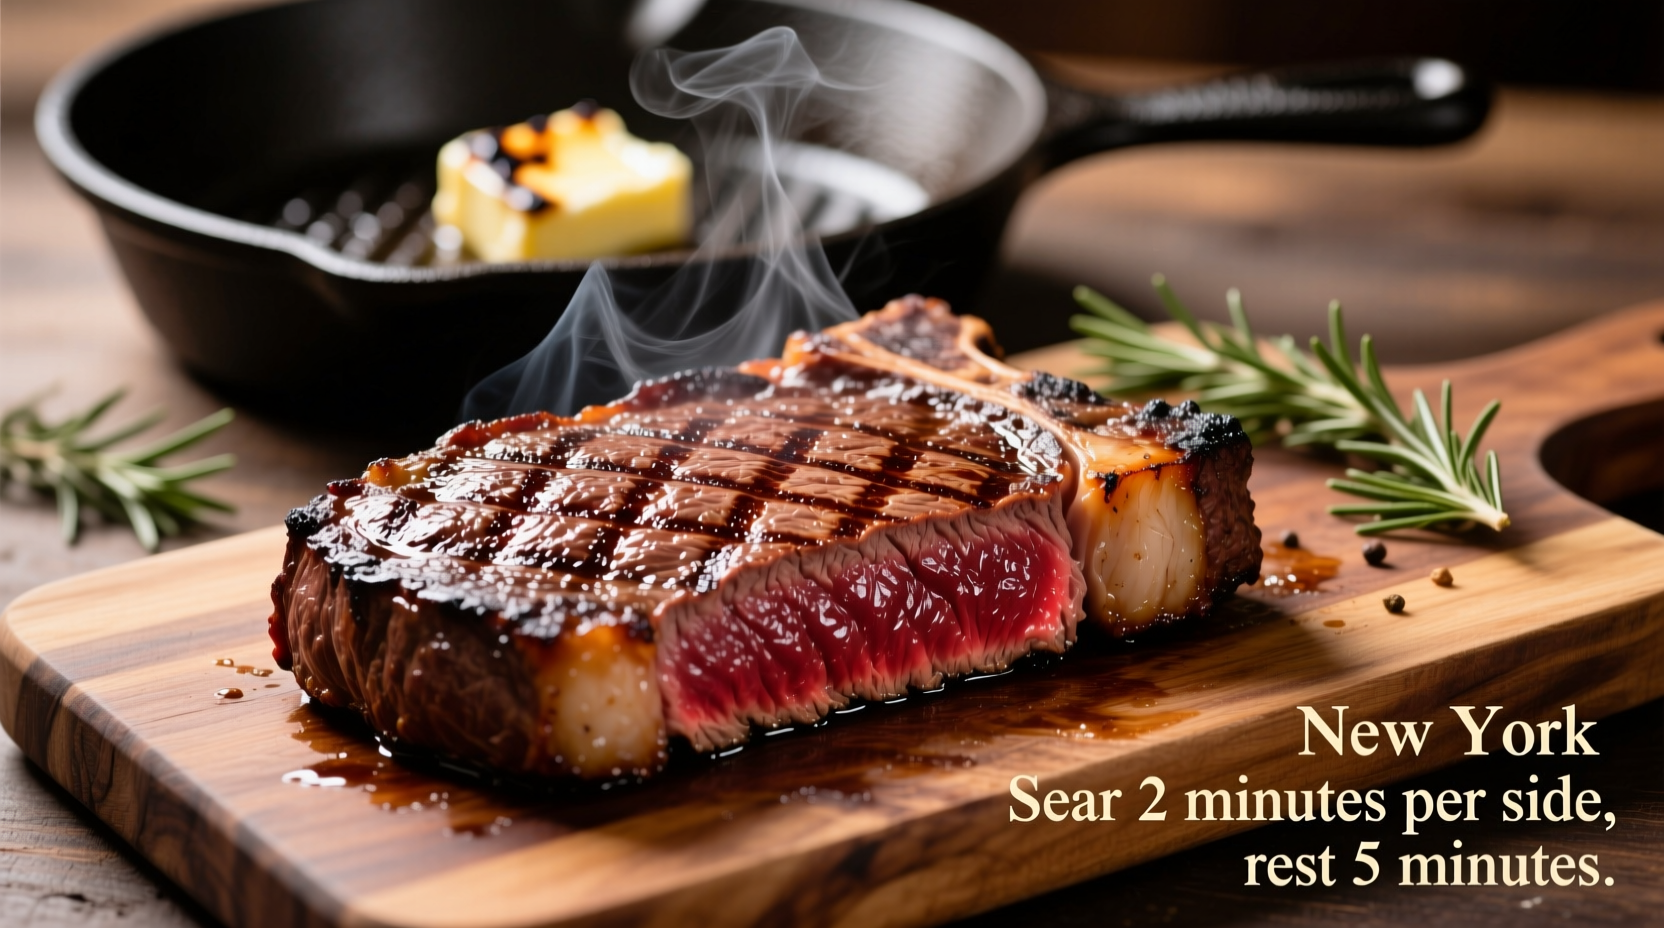
Cooking a New York strip steak properly transforms this already flavorful cut into a restaurant-quality meal in your own kitchen. Unlike tougher cuts that require slow cooking, the New York strip's marbling and tenderness respond beautifully to high-heat searing followed by precise temperature control. Whether you're using a cast-iron skillet, grill, or trying the reverse sear method, understanding the science behind steak preparation ensures consistent results that impress.
Why the New York Strip Deserves Special Attention
The New York strip (also called Kansas City strip, top loin, or shell steak) comes from the short loin section of the cow, just behind the ribs. This well-exercised but not overworked muscle develops excellent marbling while maintaining tenderness. According to the USDA's Beef Cut Guide, this cut typically ranks second only to the ribeye in marbling, making it ideal for dry-heat cooking methods that maximize flavor development through the Maillard reaction.
Your Steak Preparation Checklist
Professional kitchens follow these preparation steps religiously because they directly impact your final result:
1. Selecting Quality Meat
Look for USDA Prime or Choice grading with visible marbling throughout the cut. The meat should appear bright cherry red with creamy white fat. Avoid steaks with excessive liquid in the packaging or grayish discoloration. For optimal results, select steaks at least 1.5 inches thick—thinner cuts overcook before developing a proper crust.
2. Temperature Matters Before Cooking
Remove your steak from refrigeration 60-90 minutes before cooking. This critical step, often skipped by home cooks, ensures even cooking. A cold steak placed directly in a hot pan causes the exterior to overcook while the center remains raw. The American Meat Science Association confirms that bringing meat to room temperature reduces cooking time variance by up to 30%.
| Doneness Level | Internal Temperature | Visual Cues | Texture Test |
|---|---|---|---|
| Rare | 120-125°F | Bright red center | Very soft, like palm base |
| Medium Rare | 130-135°F | Warm red center | Soft with slight resistance |
| Medium | 140-145°F | Pink center | Springy resistance |
| Medium Well | 150-155°F | Small pink area | Firm with little give |
| Well Done | 160°F+ | No pink remaining | Very firm |
The Foolproof Cooking Method
Stovetop-to-Oven Technique (Best for 1.5"+ Thickness)
- Dry the surface thoroughly with paper towels—moisture is the enemy of proper searing
- Season simply with kosher salt and freshly ground black pepper (no oil needed on the meat)
- Preheat cast-iron skillet over medium-high heat for 5-7 minutes until smoking slightly
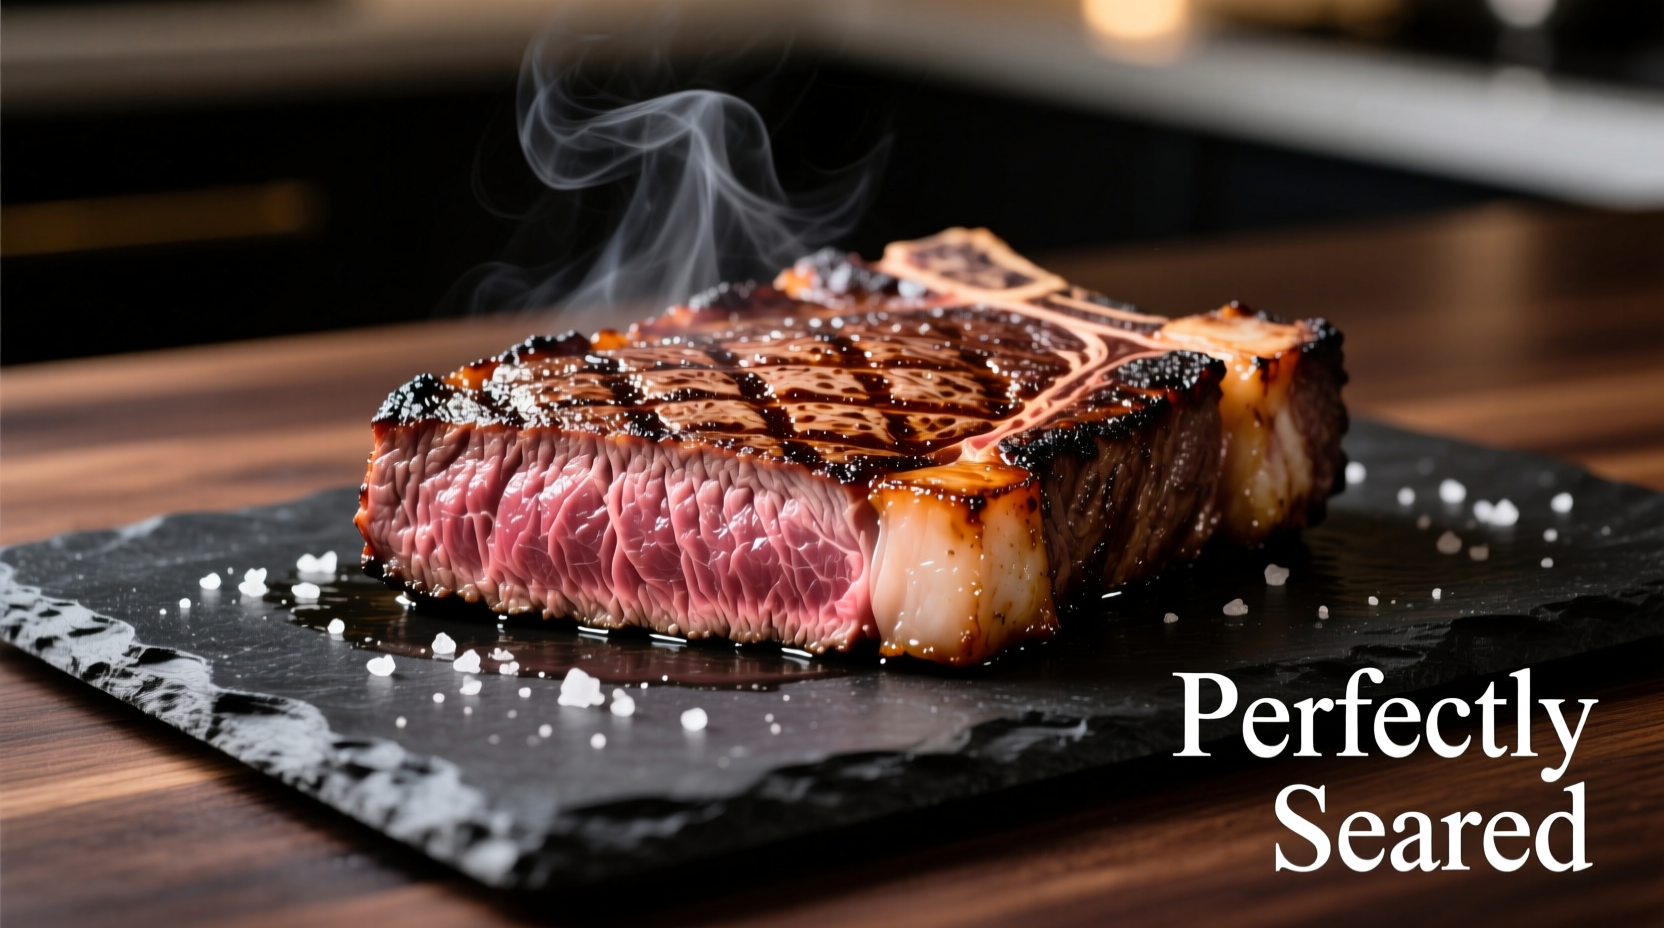
- Sear undisturbed for 3-4 minutes until deep brown crust forms
- Flip and add aromatics (2 garlic cloves, rosemary sprigs, 2 tbsp butter)
- Transfer to 400°F oven for 4-8 minutes depending on thickness and desired doneness
- Rest properly on a wire rack for 8-10 minutes (critical for juice retention)
Grill Method (For Outdoor Cooking)
Create two heat zones on your grill—one side for direct high heat (450-500°F), the other for indirect medium heat (300-350°F). Sear over direct heat for 3-4 minutes per side, then move to indirect heat to finish cooking to your target temperature. This two-zone approach prevents flare-ups while ensuring even cooking.
Common Mistakes That Ruin Perfect Steak
- Moving the steak too soon - Wait until it releases naturally from the cooking surface
- Skipping the rest period - Cutting immediately causes juices to flood out
- Using a fork to flip - Pierces the meat, releasing precious juices
- Overcomplicating seasoning - Let the beef flavor shine with simple salt and pepper
- Guessing doneness - Always use an instant-read thermometer for accuracy
When Things Go Wrong: Troubleshooting Guide
Burnt exterior, raw interior: Your pan wasn't hot enough initially. Proper searing requires a screaming hot surface that immediately caramelizes the exterior without overcooking the interior.
Steak sticking to the pan: The surface wasn't sufficiently dry, or you tried to move it before the crust formed. Allow 3-4 minutes of undisturbed contact for proper browning.
Dry, tough steak: Either overcooked beyond 145°F or not rested properly. The USDA Food Safety and Inspection Service confirms that resting allows muscle fibers to reabsorb juices, improving tenderness by up to 25%.
Serving Like a Professional
Slice against the grain at a 45-degree angle using a sharp knife—this shortens the muscle fibers for maximum tenderness. For optimal presentation, fan the slices slightly and serve with the charred crust facing up. Pair with simple sides that complement rather than compete: roasted asparagus, garlic mashed potatoes, or a crisp arugula salad.


 浙公网安备
33010002000092号
浙公网安备
33010002000092号 浙B2-20120091-4