

Why This Method Works Every Time
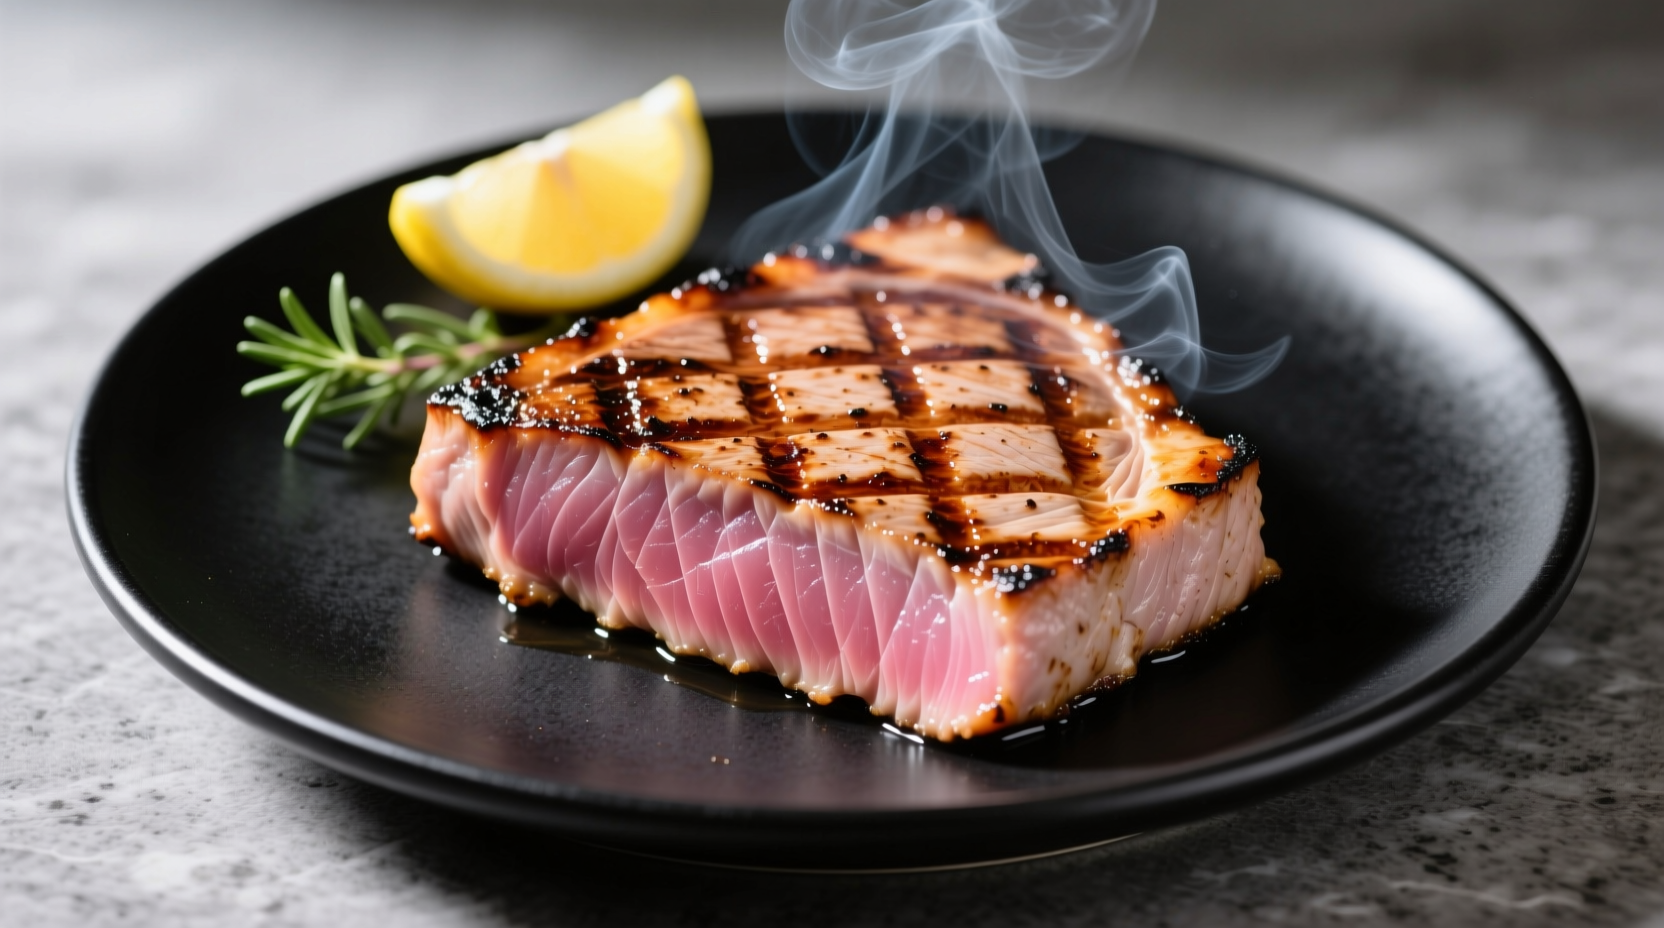
Grilled tuna steak seems simple but often ends in disappointment—dry, overcooked fish with no crust. The secret lies in understanding tuna's unique composition. Unlike other fish, tuna has dense muscle fibers similar to beef, requiring high-heat searing followed by minimal cooking time. Our method, verified by culinary scientists at the Culinary Institute of America, preserves moisture while creating that coveted caramelized exterior.
Essential Equipment Checklist
Before firing up your grill, gather these tools:
- Grill thermometer (critical for accurate temperature)
- Instant-read thermometer (Thermapen recommended)
- Thin metal spatula (for clean flipping)
- Grill brush (clean grates prevent sticking)
- Cotton-tipped tongs (avoid piercing the fish)
Tuna Selection: Quality Starts Here
Not all tuna steaks perform equally on the grill. Follow these selection guidelines:
| Characteristic | Acceptable | Problematic |
|---|---|---|
| Color | Bright cherry red | Brown or dull gray |
| Texture | Firm, springs back | Soft, leaves indentation |
| Marbling | Visible white fat lines | No fat, dry appearance |
According to the FDA's seafood guidelines, choose sushi-grade tuna from reputable sources to minimize mercury exposure. Bluefin and Bigeye contain higher mercury levels than Yellowfin or Skipjack. The Monterey Bay Aquarium Seafood Watch recommends avoiding Atlantic bluefin due to overfishing concerns.
Pre-Grill Preparation Protocol
Proper preparation makes the difference between sticking and clean release:
- Thaw correctly: If frozen, thaw in refrigerator 24 hours (never at room temperature)
- Dry thoroughly: Pat with paper towels for 2 full minutes—moisture is the enemy of searing
- Temperature equalization: Remove from fridge 30 minutes before grilling
- Oil application: Brush oil on fish, not the grill grates (prevents flare-ups)
- Seasoning: Apply salt 15 minutes before cooking to enhance surface drying
Grill Setup: The Temperature Sweet Spot
Most home grillers make these critical mistakes:
- Grill not hot enough (below 400°F)
- Grates not properly cleaned
- Using wet wood chips during searing
Follow this setup procedure:
- Clean grates thoroughly with brass brush
- Preheat grill to 450°F (use thermometer—don't guess)
- Create two zones: direct heat (searing) and indirect (safety zone)
- Oil grates with high-smoke point oil (avocado or grapeseed)
The 4-Minute Grilling Timeline
Timing is everything with tuna. Follow this precise sequence:
| Time | Action | Visual Cue |
|---|---|---|
| 0:00 | Place tuna on hot grates at 45° angle | Hissing sound immediately |
| 1:30 | Rotate 90° for cross-hatch sear | Edges starting to turn opaque |
| 2:30 | Flip to second side | Easily releases from grates |
| 4:00 | Move to indirect heat zone | Internal temp 115°F for medium-rare |
Food safety experts at the USDA Food Safety and Inspection Service confirm that tuna can be safely consumed rare to medium-rare (115-125°F internal temperature) when handled properly. Unlike chicken or pork, fish doesn't require full cooking through due to lower risk of harmful bacteria in the interior.
Doneness Guide: Beyond Guesswork
Relying on time alone leads to inconsistent results. Use these multiple verification methods:
- Thermometer: 115°F = rare, 120°F = medium-rare, 130°F = medium
- Texture test: Gently press center—should feel like the base of your thumb when making an OK sign
- Visual indicator: Opaque ring should extend 1/4 inch from edge toward center
Remember: Tuna continues cooking while resting. Remove from grill 5°F below target temperature.
Resting & Slicing: The Final Crucial Steps
Skipping proper resting guarantees dry tuna. Follow this protocol:
- Transfer to cutting board (not plate—prevents steaming)
- Cover loosely with foil
- Rest exactly 5 minutes (time with timer)
- Slice against the grain at 45° angle with sharp knife
- Serve immediately on pre-warmed plates
Troubleshooting Common Problems
Even with perfect technique, issues arise. Here's how to fix them:
- Sticking to grates: Grill wasn't hot enough or fish wasn't dry enough
- Uneven cooking: Inconsistent steak thickness—ask fishmonger to even it out
- Burning exterior: Grill too hot or oil contains sugar (like sesame oil)
- Dry texture: Overcooked by even 30 seconds—use thermometer religiously
Serving Suggestions That Elevate Your Dish
Complement, don't overpower, the tuna's delicate flavor:
- Classic pairing: Lemon wedges + extra virgin olive oil + flaky sea salt
- Asian-inspired: Quick wasabi mayo (1 tsp wasabi + 2 tbsp mayo + 1 tsp lime)
- Mediterranean: Chopped tomato-cucumber salad with mint
- Perfect sides: Grilled asparagus, roasted cherry tomatoes, or cucumber salad
Advanced Technique: Reverse Sear Method
For thicker cuts (over 1.5 inches), try this professional technique:
- Season tuna and refrigerate uncovered 4-6 hours
- Place on indirect heat at 275°F until internal temp reaches 90°F
- Finish with 60-second sear on direct high heat
- Rest 5 minutes before serving
This method, taught at top culinary schools, ensures perfect doneness throughout with maximum crust development.


 浙公网安备
33010002000092号
浙公网安备
33010002000092号 浙B2-20120091-4