
Cook fresh ham by roasting at 325°F for 20-25 minutes per pound until internal temperature reaches 145°F (with 3-minute rest). Unlike cured ham, fresh ham requires thorough cooking and benefits from dry brining overnight, scoring the fat cap, and basting during roasting for optimal tenderness and flavor.
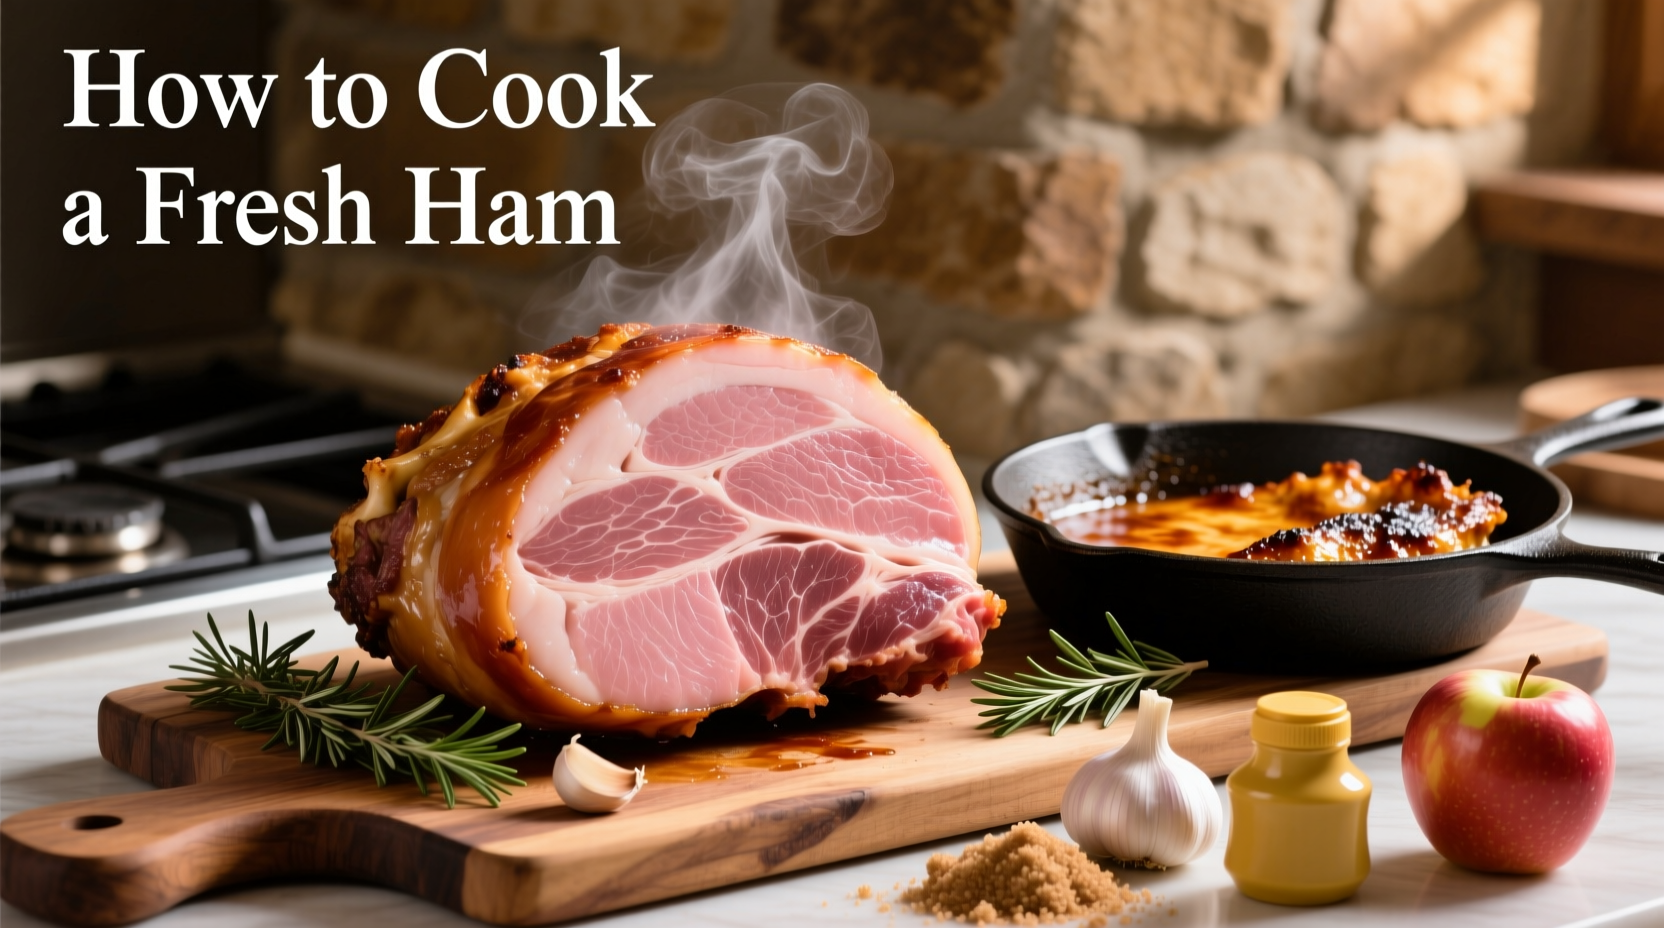
Planning to serve fresh ham for your next special occasion? You're making an excellent choice. Unlike the pre-cooked spiral hams commonly found during holidays, fresh ham offers a blank canvas for flavor development and delivers a succulent, pork-forward experience when prepared correctly. This comprehensive guide walks you through every step of transforming that raw, pink leg of pork into a show-stopping centerpiece that will have your guests asking for seconds.
Fresh Ham vs. Cured Ham: Critical Differences You Must Know
Before you start cooking, understanding what makes fresh ham unique is essential. Many home cooks mistakenly treat fresh ham like the cured variety found in grocery stores, leading to disappointing results. The table below highlights key distinctions:
| Characteristic | Fresh Ham | Cured/Smoked Ham |
|---|---|---|
| Processing | Raw, uncured, uncooked | Cured with salt, sugar, nitrates; often smoked |
| Color | Pink to red (like raw pork) | Deep pink to rosy |
| Cooking Requirement | Must be fully cooked | Often pre-cooked (ready to heat) |
| Flavor Profile | Pure pork flavor, mild | Salty, smoky, complex |
| Storage (unopened) | 3-5 days refrigerated | Months refrigerated |
Your Fresh Ham Preparation Timeline
Successful fresh ham preparation begins days before cooking. Rushing this process leads to uneven seasoning and less flavorful results. Follow this realistic timeline for optimal outcomes:
- 3-5 days before cooking: Purchase your fresh ham from a reputable butcher (check for firm texture and minimal liquid in packaging)
- 24-48 hours before cooking: Begin dry brine with salt, sugar, and aromatics (refrigerate uncovered)
- 4-6 hours before cooking: Remove from refrigerator to come closer to room temperature
- 1 hour before cooking: Score fat cap in diamond pattern and apply final seasoning
- Cooking time: 20-25 minutes per pound at 325°F
- After cooking: Rest for 15-20 minutes before carving
Step-by-Step Fresh Ham Cooking Process
Preparation: Setting the Foundation for Flavor
Dry brining transforms fresh ham by enhancing moisture retention and flavor penetration. Combine 1/4 cup kosher salt, 2 tablespoons brown sugar, 1 tablespoon black pepper, and your choice of dried herbs (thyme, rosemary, or sage work well). Rub this mixture thoroughly over the entire ham surface, paying special attention to the crevices. Place on a wire rack over a baking sheet and refrigerate uncovered for 24-48 hours. This critical step, recommended by the USDA Food Safety and Inspection Service for fresh meats, develops better texture and flavor than wet brining for large cuts like ham (USDA FSIS guidelines).
Seasoning and Scoring Techniques
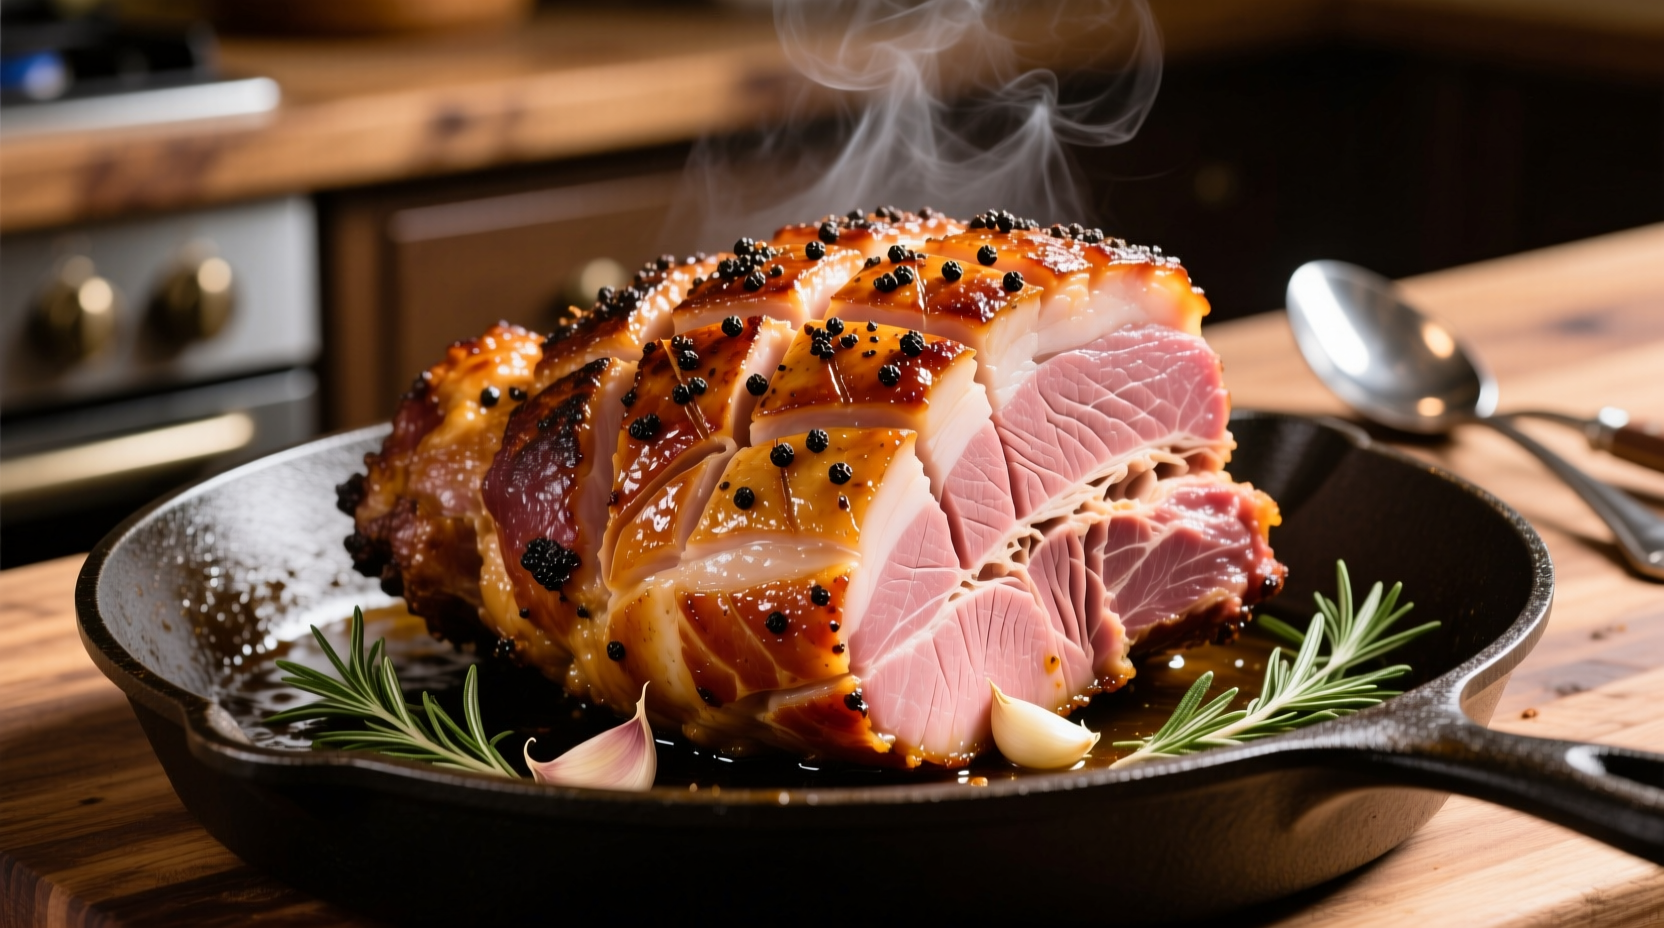
Before cooking, remove the ham from the refrigerator and let it sit for 4-6 hours to reduce thermal shock during cooking. Score the fat cap in a 1/4-inch deep diamond pattern, being careful not to cut into the meat. This allows seasonings to penetrate and helps render fat evenly. For added flavor, insert whole cloves or slivered garlic into the score marks. Create a flavorful paste with mustard, honey, and apple cider vinegar to brush over the surface just before roasting.
Perfect Roasting Method
Preheat your oven to 325°F. Place the ham on a rack in a roasting pan with the fat side up. Add 1 cup of liquid (apple juice, broth, or water) to the bottom of the pan to prevent drippings from burning. Insert a meat thermometer into the thickest part of the ham, avoiding bone. Roast according to weight:
- 5-7 pound ham: 100-140 minutes
- 8-10 pound ham: 160-200 minutes
- 11-14 pound ham: 220-280 minutes
Baste every 30-45 minutes with pan juices. During the last 30 minutes, increase oven temperature to 400°F to develop a beautiful caramelized crust. The ham is done when it reaches 145°F internally, followed by a mandatory 3-minute rest period as specified by the USDA for safe pork consumption.
Alternative Cooking Methods
While traditional oven roasting produces excellent results, other methods work well depending on your equipment and time constraints:
- Slow cooker method: Best for smaller hams (under 8 pounds). Cook on low for 6-8 hours until reaching 145°F. Less browning but extremely tender.
- Sous vide method: For precision cooking, vacuum-seal with aromatics and cook at 140°F for 12-24 hours, then sear for crust. Ideal for special occasions but requires specialized equipment.
- Grill method: Indirect heat at 325°F with wood chips for subtle smokiness. Monitor temperature carefully as outdoor conditions affect cooking time.
Each method has context boundaries: slow cooker works best when you need hands-off preparation but sacrifices crust development; sous vide delivers perfect internal temperature but requires finishing for texture; traditional roasting offers the best balance of flavor development and convenience for most home cooks.
Troubleshooting Common Fresh Ham Issues
Dry or Tough Ham
This typically occurs from overcooking or skipping the dry brine step. Always use a reliable meat thermometer and remove the ham from the oven at 140°F (it will continue cooking to 145°F during resting). Never skip the resting period, as this allows juices to redistribute throughout the meat.
Bland Flavor
If your ham lacks flavor, you likely didn't allow enough time for the dry brine to work. The 24-48 hour refrigeration period is non-negotiable for deep flavor penetration. Consider adding more aromatic elements to your brine like citrus zest, garlic powder, or mustard seeds.
Uneven Cooking
Fresh ham often cooks unevenly due to its irregular shape. Position the ham with the thicker end toward the back of the oven (usually the hottest spot) and rotate the pan halfway through cooking. Tent thinner sections with foil if they're browning too quickly.
Serving and Storage Tips
Carve against the grain for maximum tenderness, slicing perpendicular to the bone. Serve with complementary sides like roasted root vegetables, apple sauce, or creamy polenta. Leftover fresh ham maintains quality for 3-4 days refrigerated when stored in an airtight container with some pan juices. For longer storage, slice and freeze portions for up to 2 months.
Why This Method Works: The Science Behind Perfect Fresh Ham
Professional chefs rely on the combination of dry brining, controlled roasting temperature, and precise internal temperature monitoring because these methods address the unique challenges of fresh ham. Unlike cured ham, fresh ham lacks the salt penetration that helps retain moisture during cooking. The dry brine compensates for this by creating a moisture barrier while enhancing flavor. Cooking at 325°F allows for gradual fat rendering without excessive moisture loss, while the 145°F target temperature ensures safety without overcooking the delicate muscle fibers.
Frequently Asked Questions
Can I use the same method for bone-in and boneless fresh ham?
Yes, but bone-in hams typically require slightly longer cooking (add 5-10 minutes per pound) and benefit from more frequent basting as the bone conducts heat differently.
How do I know if my ham is truly fresh and not cured?
Check the label for terms like "fresh," "raw," or "cook before eating." Cured hams will mention "pre-cooked," "cured," or "smoked." Fresh ham appears pink like raw pork, while cured ham has a deeper pink color.
What's the best wood for smoking fresh ham?
Apple, cherry, or hickory provide complementary flavors without overwhelming the delicate pork. Avoid strong woods like mesquite for fresh ham as they can dominate the natural flavor.
Can I glaze fresh ham, and when should I apply it?
Absolutely! Apply glazes during the last 30-60 minutes of cooking to prevent burning. Thicker glazes with sugar content should go on later (last 30 minutes), while thinner, vinegar-based glazes can be applied earlier.
Why does my fresh ham shrink so much during cooking?
Some shrinkage is normal (15-20%), but excessive shrinkage indicates overcooking. Use a thermometer to ensure you're not exceeding 145°F internal temperature, and consider brining to improve moisture retention.


 浙公网安备
33010002000092号
浙公网安备
33010002000092号 浙B2-20120091-4