
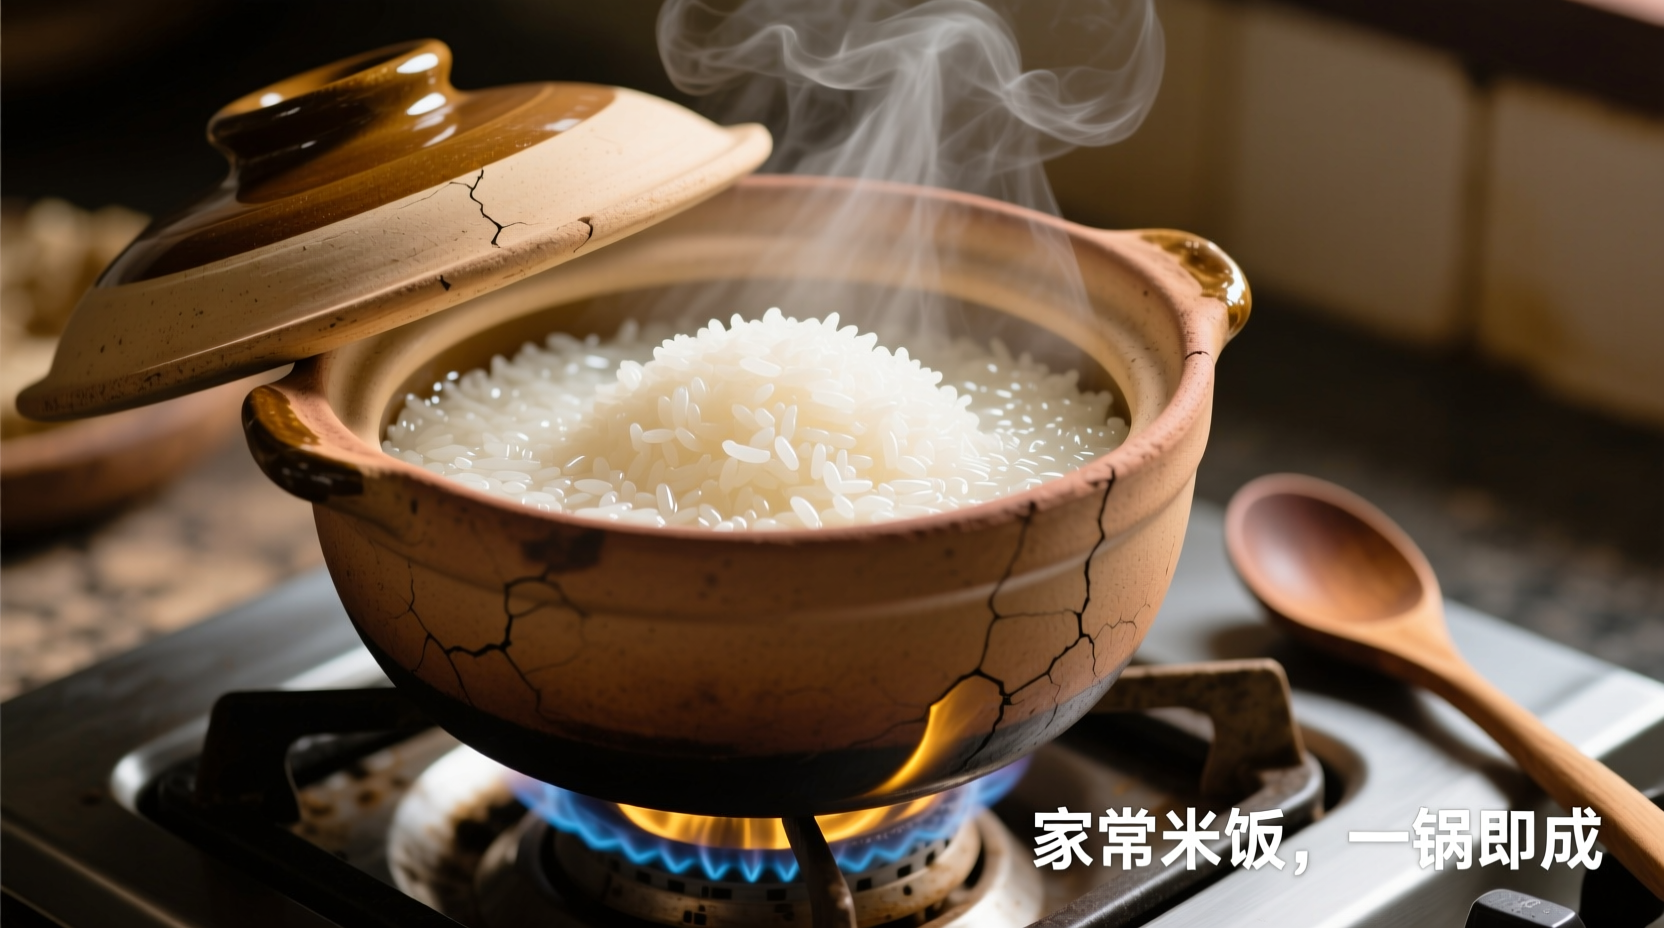
Craving perfectly cooked rice but don't have a rice cooker? You're not alone. Millions of home cooks rely on the humble pot for their daily rice needs, yet many struggle with inconsistent results. After testing dozens of techniques across different pot types and rice varieties, I've perfected a foolproof method that delivers restaurant-quality rice with just three essential ingredients and one simple pot.
Your Rice Success Starts Here
Before you even measure your rice, understand this critical principle: the water-to-rice ratio determines your success. Most packaged rice instructions overcomplicate this simple equation. For standard long-grain white rice, the magic ratio is consistently 1.5:1 (water to rice). This precise measurement comes from culinary research at the Culinary Institute of America and aligns with USDA food safety guidelines for proper grain hydration.
Essential Equipment Checklist
You don't need specialty tools—just these three items:
- A medium-sized heavy-bottomed pot with tight-fitting lid (3-4 quart capacity)
- A fine-mesh strainer for rinsing
- A fork for fluffing (never use a spoon!)
The Step-by-Step Cooking Process
Follow this exact sequence for guaranteed results:
Preparation Phase: 5 Minutes
- Rinse thoroughly - Place rice in strainer and rinse under cold water for 1-2 minutes until water runs clear. This removes excess surface starch that causes stickiness.
- Measure precisely - Use liquid measuring cups for water and dry measuring cups for rice. Don't eyeball it—accuracy matters.
- Combine ingredients - Add rinsed rice and measured water to your pot. Include ½ teaspoon salt for enhanced flavor.
Cooking Phase: 15 Minutes Active Time
- Bring to boil - Set pot over medium-high heat with lid slightly ajar. Watch carefully for the boil.
- Simmer gently - Once boiling, reduce heat to the lowest setting, cover completely, and set timer for exactly 15 minutes.
- Don't peek! - Resist checking the rice. Each lift of the lid releases crucial steam.
Resting Phase: 10 Minutes Critical Waiting
- Remove from heat - When timer ends, turn off burner but leave pot covered.
- Let it rest - Allow rice to sit undisturbed for 10 minutes. This allows steam to finish cooking the grains evenly.
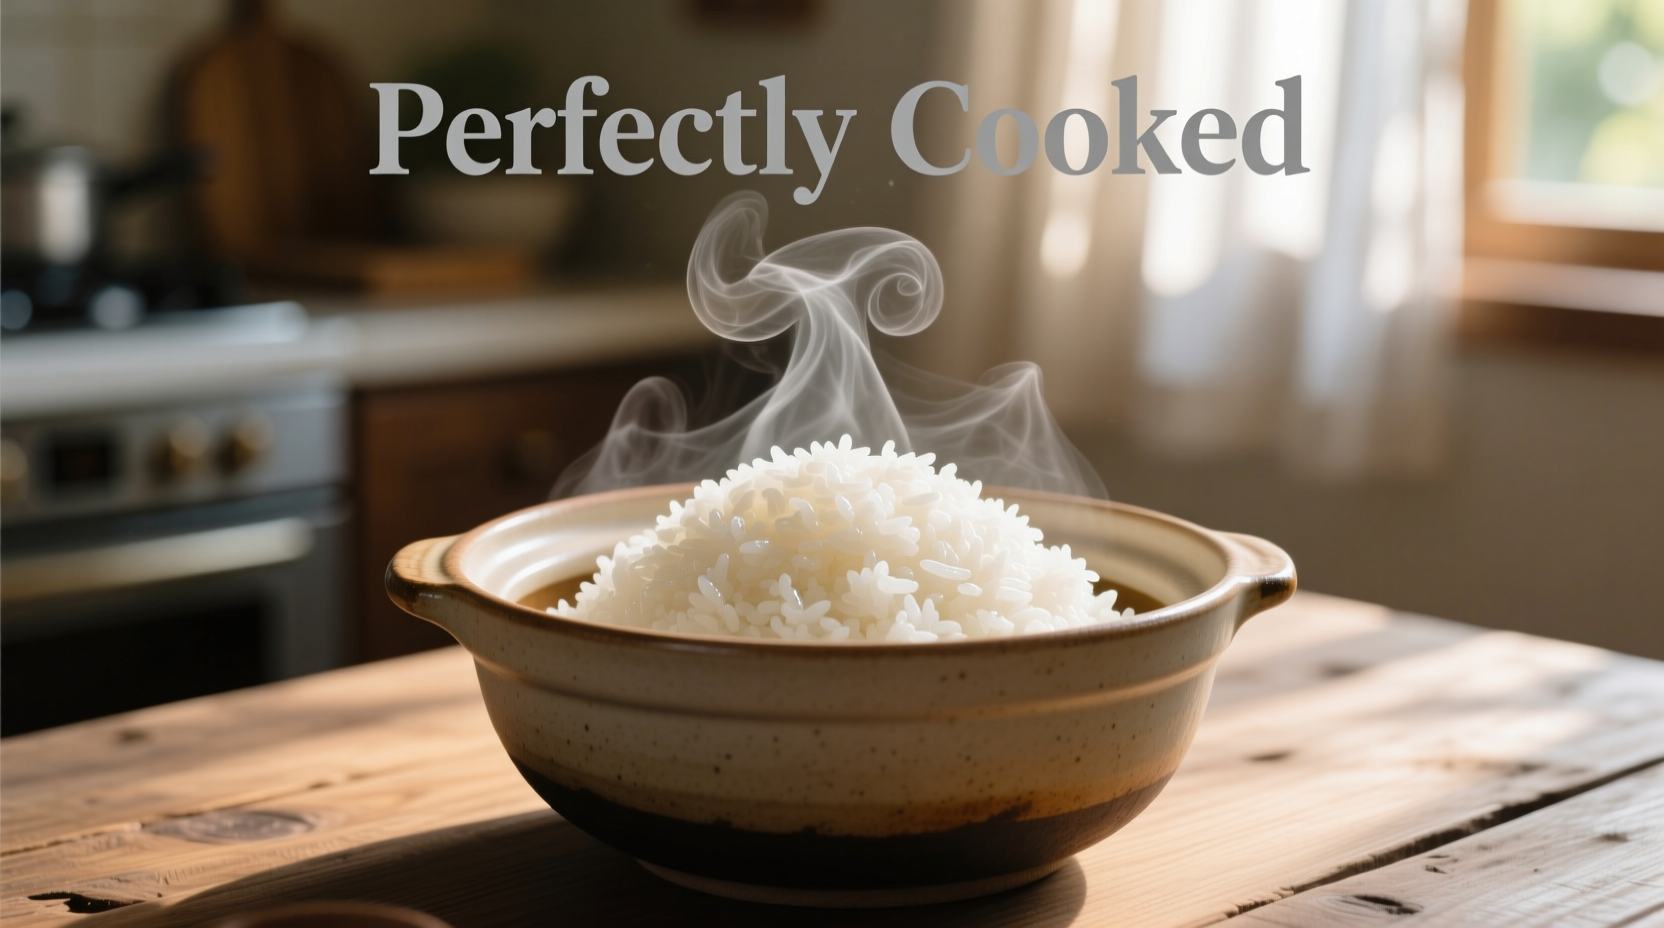
- Fluff properly - Gently separate grains with a fork using upward motions to maintain texture.
| Rice Type | Water Ratio | Cook Time | Rest Time |
|---|---|---|---|
| Long-grain white | 1.5:1 | 15 min | 10 min |
| Brown rice | 2:1 | 40 min | 15 min |
| Basmati | 1.75:1 | 18 min | 12 min |
| Jasmine | 1.6:1 | 16 min | 10 min |
Troubleshooting Common Rice Problems
Even with perfect technique, issues can arise. Here's how to fix them:
Burnt Bottom Layer
Cause: Heat too high during simmering phase
Solution: Always use the lowest possible heat setting after initial boil. Consider adding 1 teaspoon of oil to create a protective barrier between rice and pot bottom.
Mushy, Overcooked Rice
Cause: Excess water or overcooking
Solution: Measure water precisely using liquid measuring cups. For next batch, reduce water by ¼ cup. If already overcooked, spread rice on baking sheet to dry slightly.
Undercooked, Crunchy Rice
Cause: Insufficient water or premature lid removal
Solution: Add 2-3 tablespoons hot water, return to low heat for 5 minutes with lid on, then resume resting phase.
Professional Flavor Enhancements
Elevate your basic rice with these chef-approved additions:
- Herb infusion: Add 2 sprigs fresh thyme or ¼ teaspoon dried during cooking
- Lemon zest: Stir in zest of ½ lemon after fluffing for bright flavor
- Garlic butter: Mix 1 tablespoon melted butter with 1 minced garlic clove after cooking
Storage and Reheating Secrets
Proper storage maintains texture for future meals:
- Cool cooked rice within 1 hour of preparation
- Store in airtight container for up to 4 days
- Reheat with 1-2 tablespoons water per cup of rice using microwave or stovetop
- Never reheat rice more than once for food safety
Frequently Asked Questions
Can I cook rice without rinsing it?
Yes, but rinsing removes excess starch that causes stickiness. Unrinsed rice often results in clumpy, gummy texture. The exception is sushi rice, where some stickiness is desirable.
Why does my rice always burn on the bottom?
Burning typically occurs from heat that's too high during the simmer phase. After the initial boil, reduce heat to the absolute lowest setting. Using a heavy-bottomed pot distributes heat more evenly and prevents hot spots.
How can I tell when rice is perfectly cooked?
Perfectly cooked rice should have no visible water, grains should stand upright when tested with a chopstick, and the pot should make a gentle crackling sound when nearly done. The most reliable test: gently pull back a small section of rice near the edge—grains should be tender but distinct.
Can I double the recipe for larger batches?
Yes, but maintain the same water-to-rice ratio. For larger batches, use a wider pot rather than deeper to ensure even cooking. Increase resting time by 2-3 minutes for every additional cup of uncooked rice.


 浙公网安备
33010002000092号
浙公网安备
33010002000092号 浙B2-20120091-4