
Steam perfect rice in a pressure cooker using a 1:1.25 rice-to-water ratio for white rice or 1:1.5 for brown rice. Cook white rice for 4 minutes at high pressure with a 10-minute natural release, and brown rice for 22 minutes with a 15-minute natural release. This method produces consistently fluffy, non-sticky rice every time.
Why Pressure Cooker Rice Beats Traditional Methods
Pressure cooking transforms rice preparation by creating a controlled steam environment that cooks grains evenly while preserving texture. Unlike stovetop methods where heat fluctuates, pressure cookers maintain consistent temperature and pressure, preventing common issues like burning or uneven cooking. Food science research shows that the sealed environment helps maintain optimal starch gelatinization between 185-203°F (85-95°C), resulting in perfectly separated grains every time.
Essential Equipment Checklist
Before starting, ensure you have these items:
- 6-8 quart electric pressure cooker (Instant Pot or similar)
- Measuring cups (use the cup that came with your cooker)
- Fine-mesh strainer for rinsing
- Wooden spoon or silicone spatula
- Timer for precise cooking
The Perfect Rice-to-Water Ratio Guide
Getting the water ratio right is the most critical factor for perfect pressure cooker rice. Here's a comprehensive reference:
| Rice Type | Rice (cups) | Water (cups) | Cooking Time | Natural Release |
|---|---|---|---|---|
| White rice (basmati, jasmine) | 1 | 1.25 | 4 minutes | 10 minutes |
| Brown rice | 1 | 1.5 | 22 minutes | 15 minutes |
| Sushi rice | 1 | 1.15 | 5 minutes | 15 minutes |
| Wild rice blend | 1 | 1.75 | 25 minutes | 20 minutes |
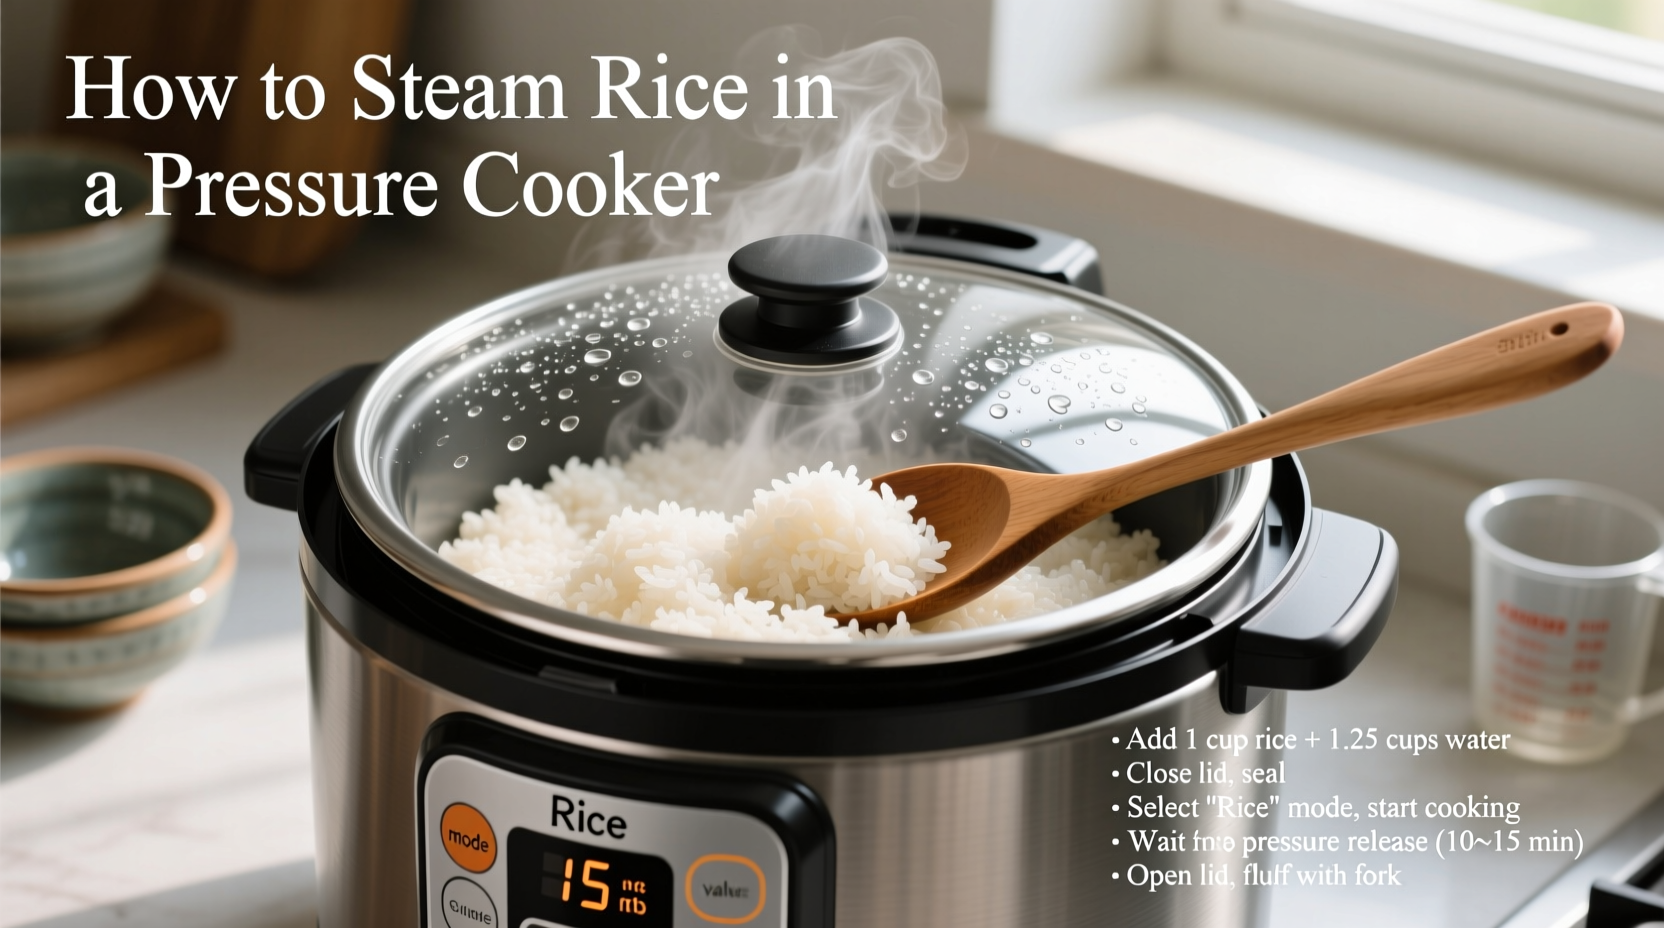
Step-by-Step Cooking Process
Preparation Phase
- Rinse thoroughly: Place rice in a fine-mesh strainer and rinse under cold water until water runs clear (2-3 minutes). This removes excess starch that causes stickiness.
- Soak (optional for white rice): Soak white rice for 15-30 minutes to reduce cooking time and improve texture. Skip this step for brown rice.
- Measure precisely: Use your pressure cooker's measuring cup for both rice and water to ensure accuracy.
Cooking Phase
- Add ingredients: Place rinsed rice and measured water into the inner pot. Add ½ teaspoon salt and 1 teaspoon oil (optional but recommended for fluffier results).
- Seal properly: Close the lid, ensuring the steam release valve is set to "Sealing." Check that the float valve is down before starting.
- Set cooking time: For white rice, select "Manual" or "Pressure Cook" mode at high pressure for 4 minutes. For brown rice, set to 22 minutes.
Release Phase
- Natural release: After cooking completes, allow pressure to release naturally for the recommended time (10 minutes for white rice, 15 for brown). Do not use quick release as this causes mushy rice.
- Fluff and serve: Open the lid away from you to avoid steam. Gently fluff rice with a fork, then let it sit for 5 minutes before serving.
Troubleshooting Common Issues
Even with precise measurements, issues can occur. Here's how to fix them:
Rice Is Mushy or Overcooked
This typically happens when using quick release instead of natural release. The sudden pressure drop causes grains to absorb too much water. Solution: Always use natural release for at least 10 minutes. If rice is consistently too soft, reduce water by 2-3 tablespoons next time.
Rice Is Undercooked or Crunchy
Undercooked rice usually means insufficient cooking time or inaccurate water measurement. Solution: Increase cooking time by 1-2 minutes for white rice or 3-5 minutes for brown rice. Ensure you're using the correct measuring cup - standard cups differ from pressure cooker cups.
Rice Sticks to the Bottom
This "burn" error occurs when rice settles and burns before pressure builds. Prevention: Always add oil or butter, and ensure the "Sauté" function isn't left on too long before pressure cooking. If using a multi-cooker, select the "Rice" function which automatically adjusts heat.
Scenario Applicability and Limitations
While pressure cookers excel at cooking most rice varieties, certain situations require adjustments:
- High-altitude cooking: Above 3,000 feet, increase water by ¼ cup and cooking time by 25% due to lower atmospheric pressure (USDA Food Safety and Inspection Service guidelines)
- Older rice: Rice stored over 6 months absorbs moisture differently. Increase water by 2-3 tablespoons for optimal results
- Multi-grain blends: When combining different rice types, base water ratio on the grain requiring the most liquid
- Delicate varieties: Arborio and other short-grain rices may become too creamy; reduce water by 2 tablespoons
Advanced Tips from Professional Kitchens
Professional chefs use these techniques to elevate pressure cooker rice:
- Add a pandan leaf or lemon zest during cooking for subtle aromatic notes without overpowering the rice
- Replace ¼ of the water with coconut milk for Southeast Asian-style rice
- Toast rinsed rice in the "Sauté" function for 2 minutes before adding water to enhance nutty flavor
- For restaurant-quality texture, spread cooked rice on a baking sheet for 5 minutes to evaporate excess surface moisture
Storage and Reheating Guidelines
Proper storage maintains rice quality for future meals:
- Cool cooked rice within 1 hour by spreading on a baking sheet
- Store in airtight containers for up to 5 days in the refrigerator
- Freeze portions in resealable bags for up to 6 months
- Reheat in the pressure cooker with 1-2 tablespoons water for 1 minute at low pressure


 浙公网安备
33010002000092号
浙公网安备
33010002000092号 浙B2-20120091-4