
Master the Perfect Crock Pot Beef Roast: Your Foolproof Guide
Cooking a tender, flavorful beef roast in a crock pot seems simple, but many home cooks end up with dry, tough meat or lackluster results. The secret lies in understanding the science behind slow cooking and following precise techniques that transform an inexpensive cut into a restaurant-quality meal with minimal effort.Why This Method Works Every Time
Unlike traditional oven roasting that relies on high heat, slow cooking breaks down tough connective tissues through controlled, low-temperature cooking. This process converts collagen into gelatin, creating that signature fall-apart tenderness without drying out the meat. The enclosed environment also preserves natural juices that would otherwise evaporate in conventional cooking.
Planning Your Crock Pot Beef Roast Success
Before you start cooking, proper planning ensures optimal results. Many home cooks make critical mistakes at this stage that compromise their final dish.
Choosing the Right Cut
Not all beef roasts work equally well in slow cookers. The best options contain sufficient marbling and connective tissue that breaks down during long cooking:
- Chuck roast (most recommended) - Rich marbling, ideal fat content
- Brisket - Excellent for shredding, requires longer cooking
- Round roast - Leaner option, needs careful monitoring to prevent drying
| Cut of Beef | Best For | Cooking Time | Texture Result |
|---|---|---|---|
| Chuck Roast | Traditional roast with gravy | 8-10 hours on low | Fork-tender, holds shape |
| Brisket | Shredded sandwiches | 10-12 hours on low | Falls apart easily |
| Rump Roast | Slicing for sandwiches | 7-9 hours on low | Firm but tender |
Essential Equipment Checklist
While a basic crock pot works, these additional tools improve results:
- Cast-iron skillet for proper searing
- Instant-read thermometer (critical for food safety)
- Slotted spoon for fat removal
- Meat thermometer with probe (optional but helpful)
Preparation: The Foundation of Flavor
What happens before the meat hits the crock pot determines 70% of your final results. Don't skip these crucial steps:
Dry Brining for Maximum Flavor
At least 12 hours before cooking, generously season your roast with kosher salt (1 teaspoon per pound). Place on a wire rack over a plate in the refrigerator. This process:
- Draws out moisture that then reabsorbs with seasoning
- Breaks down proteins for more tender meat
- Creates a better crust during searing
The Critical Searing Step
Despite what some "dump and go" recipes claim, searing is non-negotiable for flavorful results:
- Pat roast completely dry with paper towels
- Heat 2 tablespoons oil in cast-iron skillet until shimmering
- Sear all sides for 3-4 minutes per side until deep brown crust forms
- Don't rush this step - proper Maillard reaction creates complex flavors
Perfect Cooking Process: Timing and Temperature
Following USDA food safety guidelines, beef roast should reach a minimum internal temperature of 145°F (63°C) with a 3-minute rest time. However, for slow-cooked roasts, we're aiming for much higher temperatures to break down connective tissues.
Step-by-Step Cooking Instructions
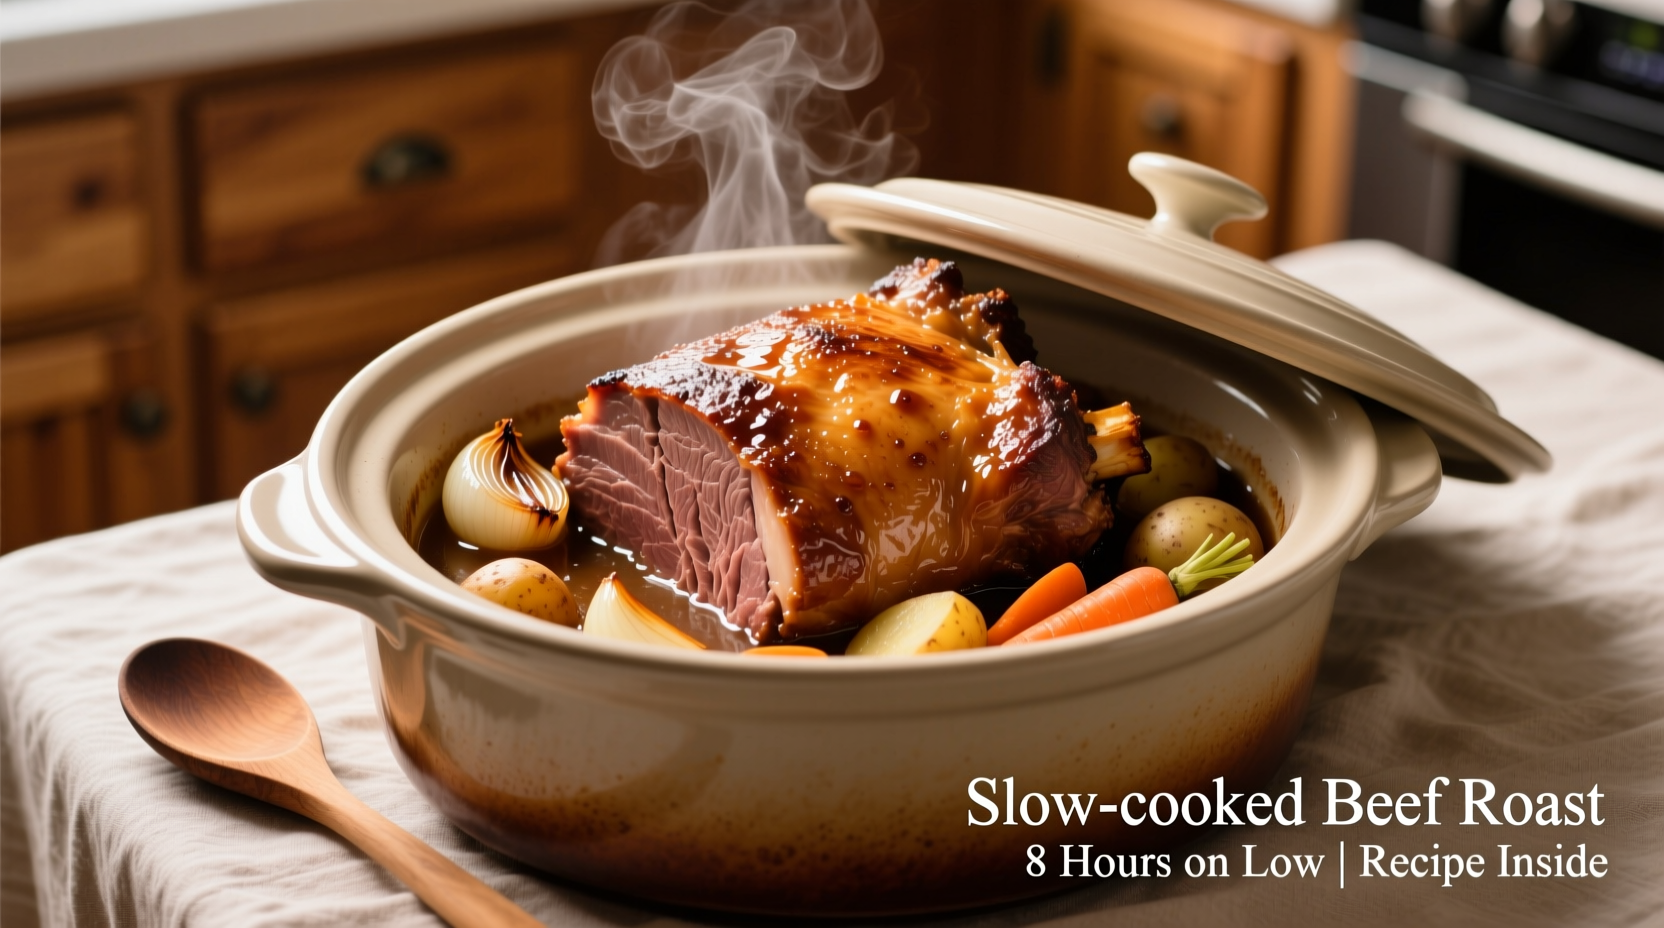
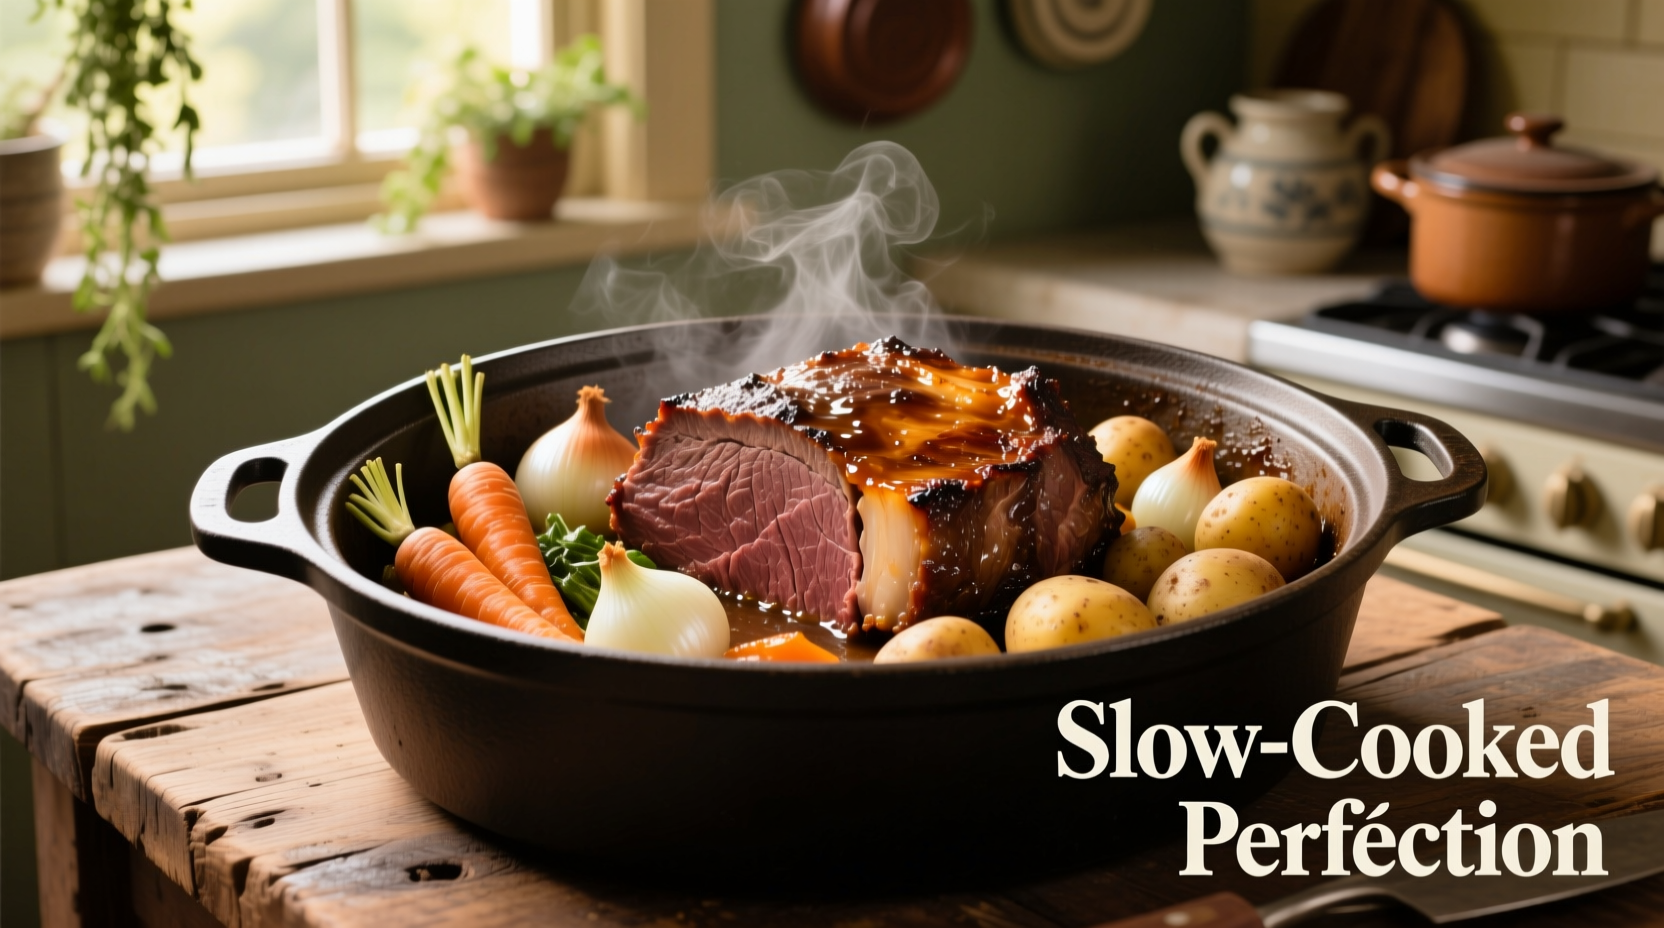
- After searing, transfer roast to crock pot
- Add 1 cup flavorful liquid (beef broth, red wine, or combination)
- Place vegetables around roast (carrots, potatoes, onions)
- Cook on LOW for 8-10 hours (never HIGH for roasts)
- Check temperature at 8 hours - target 195-205°F for fork-tender results
- Remove roast and vegetables, tent with foil
- Skim fat from cooking liquid before making gravy
Why Low and Slow Wins Every Time
Slow cooking has evolved significantly since the 1970s when crock pots first became popular household items. Modern understanding of meat science reveals why:
- 1970s approach: High heat, minimal preparation, often resulted in tough meat
- 1990s understanding: Recognized benefits of searing, but still used HIGH setting frequently
- Current best practice: Strategic searing, LOW setting exclusively, precise temperature monitoring
The shift toward LOW setting comes from research showing that temperatures above 200°F cause muscle fibers to contract excessively, squeezing out moisture before connective tissues have time to break down properly.
Avoiding Common Crock Pot Roast Mistakes
Even experienced cooks make these critical errors that ruin otherwise good roasts:
When Crock Pots Aren't the Right Tool
Not every situation calls for slow cooking. Avoid using your crock pot when:
- You need dinner in under 4 hours (use oven method instead)
- Cooking very lean cuts like tenderloin (they'll dry out)
- When precise temperature control is critical (like for medium-rare)
- During power outages or unreliable electricity situations
Vegetable Placement Matters
Many cooks place vegetables under the roast, but this creates uneven cooking. Instead:
- Place harder vegetables (potatoes, carrots) at bottom
- Put roast on top of vegetables
- Add delicate vegetables (peas, green beans) in last hour
Finishing Touches: From Good to Exceptional
What happens after the cooking time ends determines whether you serve mediocre or magnificent roast.
The Critical Resting Period
Never skip resting time! After cooking:
- Transfer roast to cutting board
- Tent loosely with foil
- Rest for 15-20 minutes minimum
- This allows juices to redistribute throughout the meat
Creating Perfect Gravy
Transform your cooking liquid into restaurant-quality gravy:
- Skim excess fat from cooking liquid
- Measure 1 cup reduced liquid
- Whisk 2 tablespoons cornstarch with ¼ cup cold water
- Slowly whisk slurry into hot liquid
- Cook 3-5 minutes until thickened
- Season to taste with salt and pepper
Serving and Storage Tips
Proper serving technique makes all the difference in texture:
- Slice against the grain for maximum tenderness
- Use a sharp carving knife with smooth motions
- Store leftovers in cooking liquid for best moisture retention
- Reheat gently in covered dish with splash of broth
Customizing Your Crock Pot Roast
Once you've mastered the basic technique, try these flavor variations:
Classic Herb Roast
Combine 2 tablespoons each dried thyme, rosemary, and parsley with garlic powder and onion powder before seasoning.
Red Wine Reduction
Replace half the broth with robust red wine and add 2 tablespoons tomato paste for depth.
Asian-Inspired Roast
Use beef broth with ¼ cup soy sauce, 2 tablespoons rice vinegar, and star anise for an umami-rich alternative.


 浙公网安备
33010002000092号
浙公网安备
33010002000092号 浙B2-20120091-4