
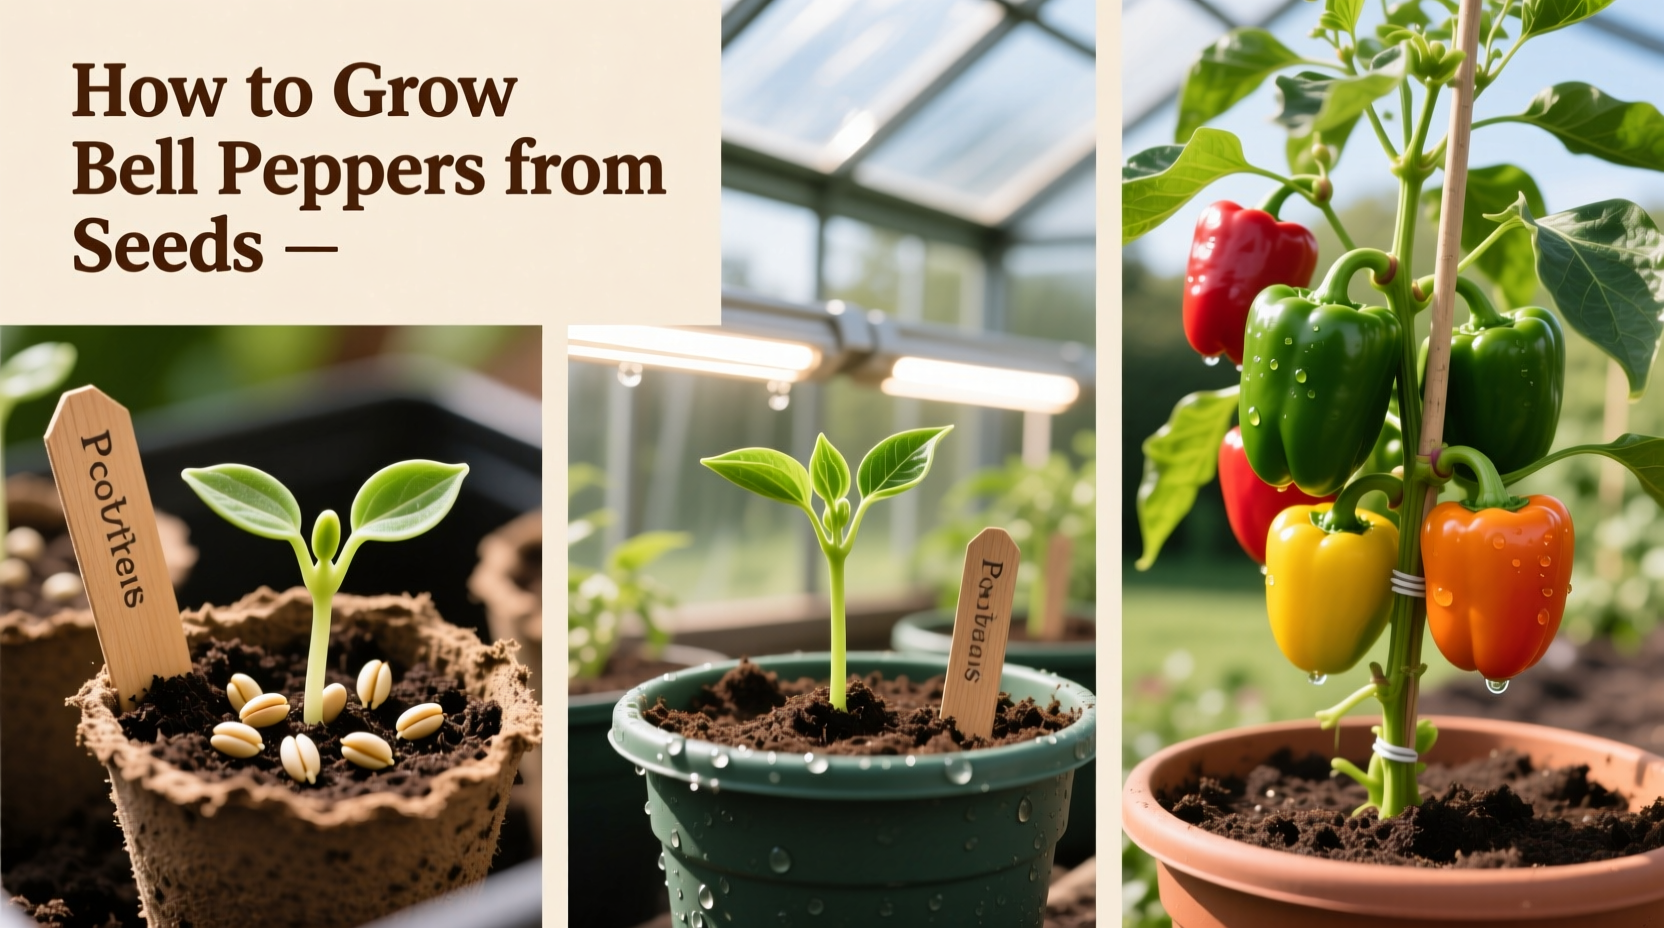
Start bell pepper seeds indoors 8-10 weeks before your last spring frost date using seed starting mix in containers with drainage. Maintain soil temperature at 70-85°F (21-29°C) for optimal germination, which typically occurs within 7-14 days. Provide 14-16 hours of bright light daily, keep soil consistently moist but not soggy, and transplant seedlings to larger pots when they develop their first true leaves. Harden off plants for 7-10 days before moving them to your garden where they'll need full sun and well-draining soil with pH 6.0-6.8.
From Seed to Harvest: Your Complete Bell Pepper Growing Guide
Nothing compares to the crisp sweetness of homegrown bell peppers picked fresh from your garden. Whether you're a first-time gardener or looking to perfect your technique, this guide delivers proven methods for growing vibrant, healthy bell peppers from seed to harvest. Follow these steps to enjoy a bountiful crop of red, yellow, green, or purple peppers that outperform store-bought varieties in both flavor and nutrition.
Your Bell Pepper Growing Timeline
Understanding the complete growth cycle helps set realistic expectations. Bell peppers require patience but reward careful growers with months of harvest:
| Stage | Timeline | Critical Success Factors |
|---|---|---|
| Seed Starting | 8-10 weeks before last frost | Soil temperature 70-85°F, consistent moisture |
| Germination | 7-14 days | Darkness during initial germination phase |
| Seedling Development | 4-6 weeks | 14-16 hours daily light, gradual pot sizing |
| Hardening Off | 7-10 days | Gradual sun exposure increase |
| Garden Planting | After last frost, soil 65°F+ | Full sun, well-draining soil, proper spacing |
| Flowering to Harvest | 60-90 days | Consistent watering, balanced nutrition |
Getting Started: Essential Preparation Checklist
Successful bell pepper growing begins with proper preparation. Don't skip these critical setup steps that determine your entire season's success.
Timing Your Seed Starting Perfectly
Start seeds indoors 8-10 weeks before your area's last expected spring frost date. The University of California Agriculture and Natural Resources emphasizes that bell peppers need warm soil to thrive, making precise timing essential for robust growth. In cooler climates (USDA zones 3-5), start seeds 10 weeks before last frost. Warmer zones (6-8) can start 8-9 weeks prior, while southern growers (zones 9-11) can direct sow after soil warms sufficiently.
Choosing Quality Seeds and Equipment
Select varieties suited to your climate. Early varieties like 'Lunchbox' or 'Gypsy' work well in shorter seasons, while 'Ace' and 'California Wonder' perform better in longer growing seasons. You'll need:
- Seed starting trays with individual cells (2-3" diameter)
- High-quality seed starting mix (not garden soil)
- Heat mat for consistent bottom warmth
- Grow lights or south-facing window
- Small watering can with fine rose
- Organic fertilizer for seedlings
The Step-by-Step Growing Process
Planting Your Seeds for Maximum Germination
Fill cells with moistened seed starting mix, leaving 1/4" space at the top. Place 2-3 seeds per cell 1/4" deep, cover lightly with mix, and mist with water. Maintain soil temperature between 70-85°F (21-29°C) using a heat mat—this temperature range dramatically improves germination rates according to Cornell University's gardening resources. Keep the soil consistently moist but not soggy during germination.
Nurturing Seedlings Through Critical Development
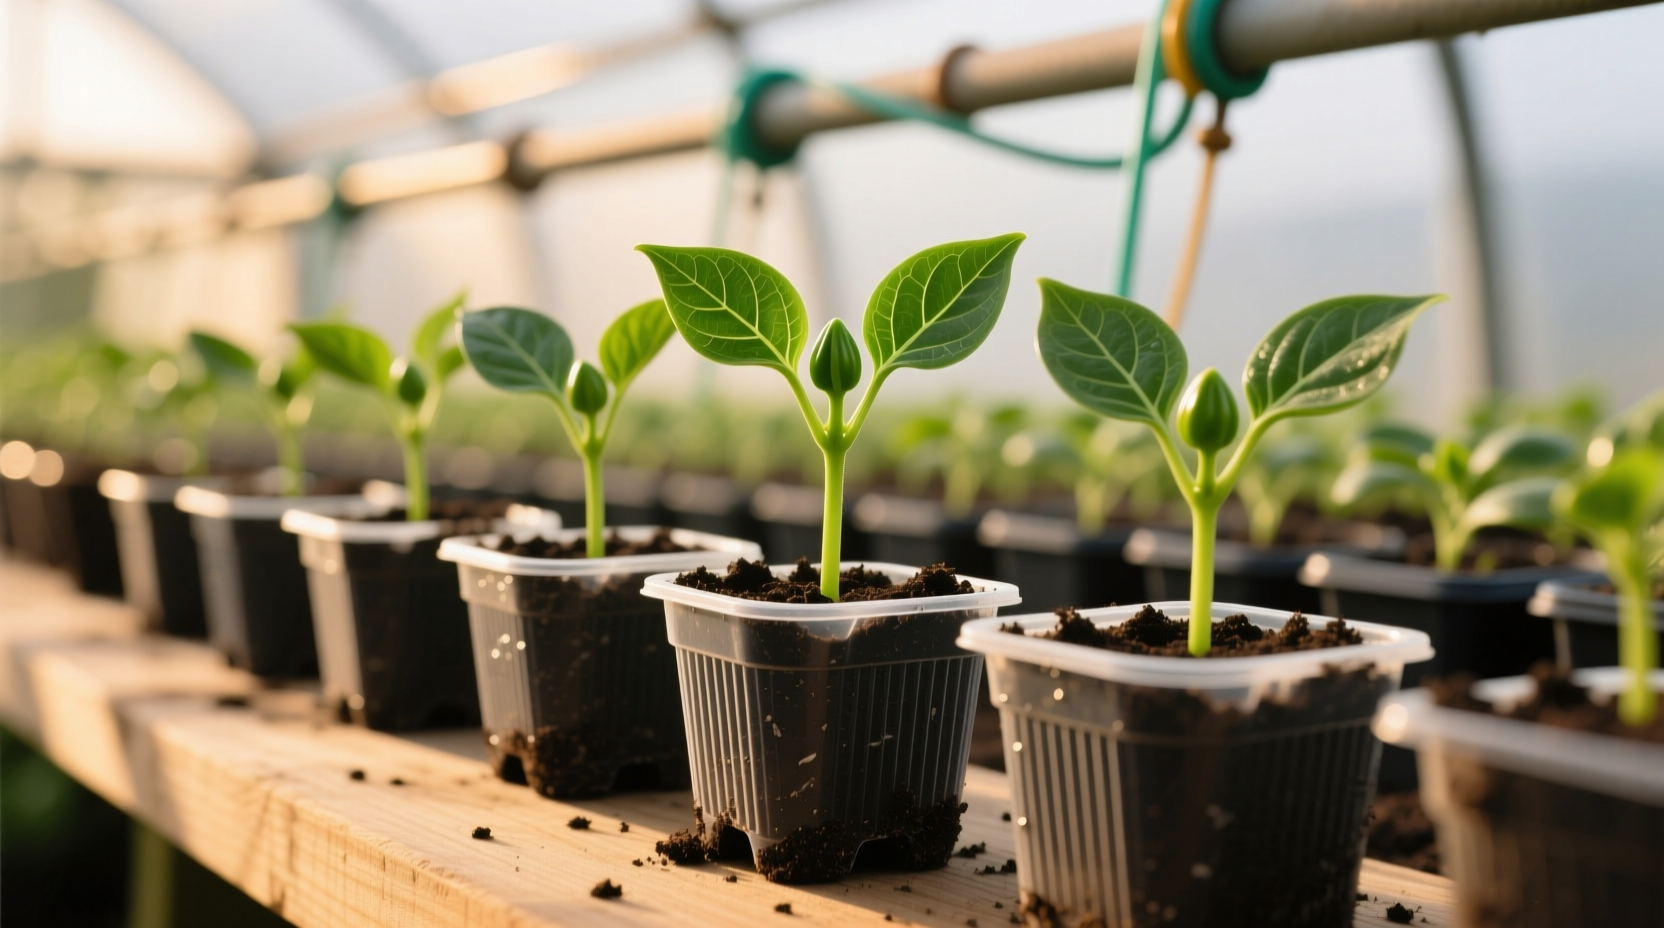
Once sprouts emerge (typically 7-14 days), provide 14-16 hours of bright light daily. Position grow lights 2-3" above plants, raising as they grow. When seedlings develop their first true leaves (not the initial cotyledons), thin to one strong plant per cell by snipping weaker seedlings at soil level.
Water seedlings when the top inch of soil feels dry, avoiding both drought stress and overwatering. Begin fertilizing with a balanced liquid fertilizer (diluted to half strength) when plants have 2-3 sets of true leaves. Transplant to 3-4" pots when roots fill their current container, typically 3-4 weeks after germination.
Hardening Off: The Critical Transition
Skip this step at your plants' peril. Hardening off acclimates indoor-grown seedlings to outdoor conditions over 7-10 days:
- Days 1-2: Place in shaded area for 1-2 hours
- Days 3-4: Increase to 3-4 hours with morning sun
- Days 5-6: 5-6 hours including midday sun
- Days 7-10: Full days outdoors, protected from strong winds
This gradual transition prevents transplant shock and sunscald that can set back growth for weeks.
Planting and Ongoing Care for Maximum Yield
Optimal Garden Conditions for Bell Peppers
Plant hardened-off seedlings in your garden after all danger of frost has passed and soil temperature reaches at least 65°F (18°C). Choose a location with 6-8 hours of direct sunlight daily. Prepare soil by incorporating 2-3" of compost and ensuring pH between 6.0-6.8. Space plants 18-24" apart in rows 24-36" apart to allow for proper air circulation.
Watering Wisdom for Healthy Plants
Bell peppers need consistent moisture but hate soggy roots. Water deeply 1-2 times weekly (more during extreme heat) to maintain even soil moisture. Drip irrigation or soaker hoses work best to keep foliage dry and prevent disease. Mulch with 2-3" of straw or shredded leaves to conserve moisture and regulate soil temperature. Avoid overhead watering which promotes fungal diseases.
Fertilizing for Continuous Production
Feed plants every 3-4 weeks with a balanced organic fertilizer after transplanting. When flowers appear, switch to a fertilizer higher in phosphorus and potassium to support fruit development. The Texas A&M AgriLife Extension recommends side-dressing with compost tea every 3 weeks for sustained nutrient availability without chemical buildup.
Troubleshooting Common Bell Pepper Problems
Germination and Early Growth Issues
Problem: Seeds fail to germinate
Solution: Check soil temperature—bell peppers need consistent warmth. Older seeds have lower viability; use fresh seeds within 2-3 years. Ensure proper moisture levels without waterlogging.
Problem: Leggy, weak seedlings
Solution: Increase light intensity or duration. Leggy growth indicates insufficient light. Position grow lights closer to plants or extend daily light exposure.
Flowering and Fruit Development Challenges
Problem: Blossom drop
Solution: This often occurs when nighttime temperatures exceed 75°F or drop below 60°F. Maintain consistent watering and avoid high-nitrogen fertilizers during flowering.
Problem: Small or misshapen fruit
Solution: Ensure adequate calcium and consistent moisture. Blossom end rot (dark, sunken spots) indicates calcium deficiency often caused by irregular watering rather than actual soil deficiency.
Pest Management Without Chemicals
Common pests include aphids, flea beetles, and cutworms. The University of Florida IFAS Extension recommends these organic solutions:
- Hand-pick larger pests like hornworms
- Use floating row covers early in season
- Spray aphids with strong water stream
- Apply diatomaceous earth for crawling insects
- Introduce beneficial insects like ladybugs
Harvesting and Beyond
Perfect Timing for Peak Flavor
Harvest bell peppers when they reach full size and develop firm, glossy skin. Most varieties start green and mature to red, yellow, or orange. For sweeter flavor, allow peppers to fully ripen to their mature color. Use sharp scissors or pruners to cut peppers from the plant, leaving a short stem attached. Never pull peppers off as this can damage the plant.
Maximizing Your Harvest Season
Regular harvesting encourages more production. Pick peppers every 2-3 days during peak season. In fall, remove any remaining flowers to direct energy to ripening existing fruit before frost. In cooler climates, extend your season by covering plants with row covers when temperatures dip.
Seed Saving for Future Seasons
Save seeds from fully ripe, disease-free peppers. Cut open mature peppers, scrape seeds onto paper towel, and air-dry for 1-2 weeks. Store in labeled envelope in cool, dark place. Properly stored seeds remain viable for 2-3 years. Remember that hybrid varieties may not produce identical offspring, so save seeds only from open-pollinated or heirloom varieties.


 浙公网安备
33010002000092号
浙公网安备
33010002000092号 浙B2-20120091-4