
The Smart Way to Microwave a Perfect Baked Potato
When you're craving a fluffy baked potato but don't want to wait 45-60 minutes for oven baking, your microwave offers a surprisingly effective solution. Contrary to popular belief, microwaving potatoes correctly produces tender, evenly cooked results in a fraction of the time—without the risk of explosions that many fear.Why Microwave Baking Works for Potatoes
Microwave cooking uses electromagnetic waves that excite water molecules within food, generating heat from the inside out. Potatoes, with their high water content (about 80%), respond exceptionally well to this method. According to the USDA Food Safety and Inspection Service, proper microwave cooking preserves nutrients better than boiling while significantly reducing preparation time.
Preparation: The Critical First Step
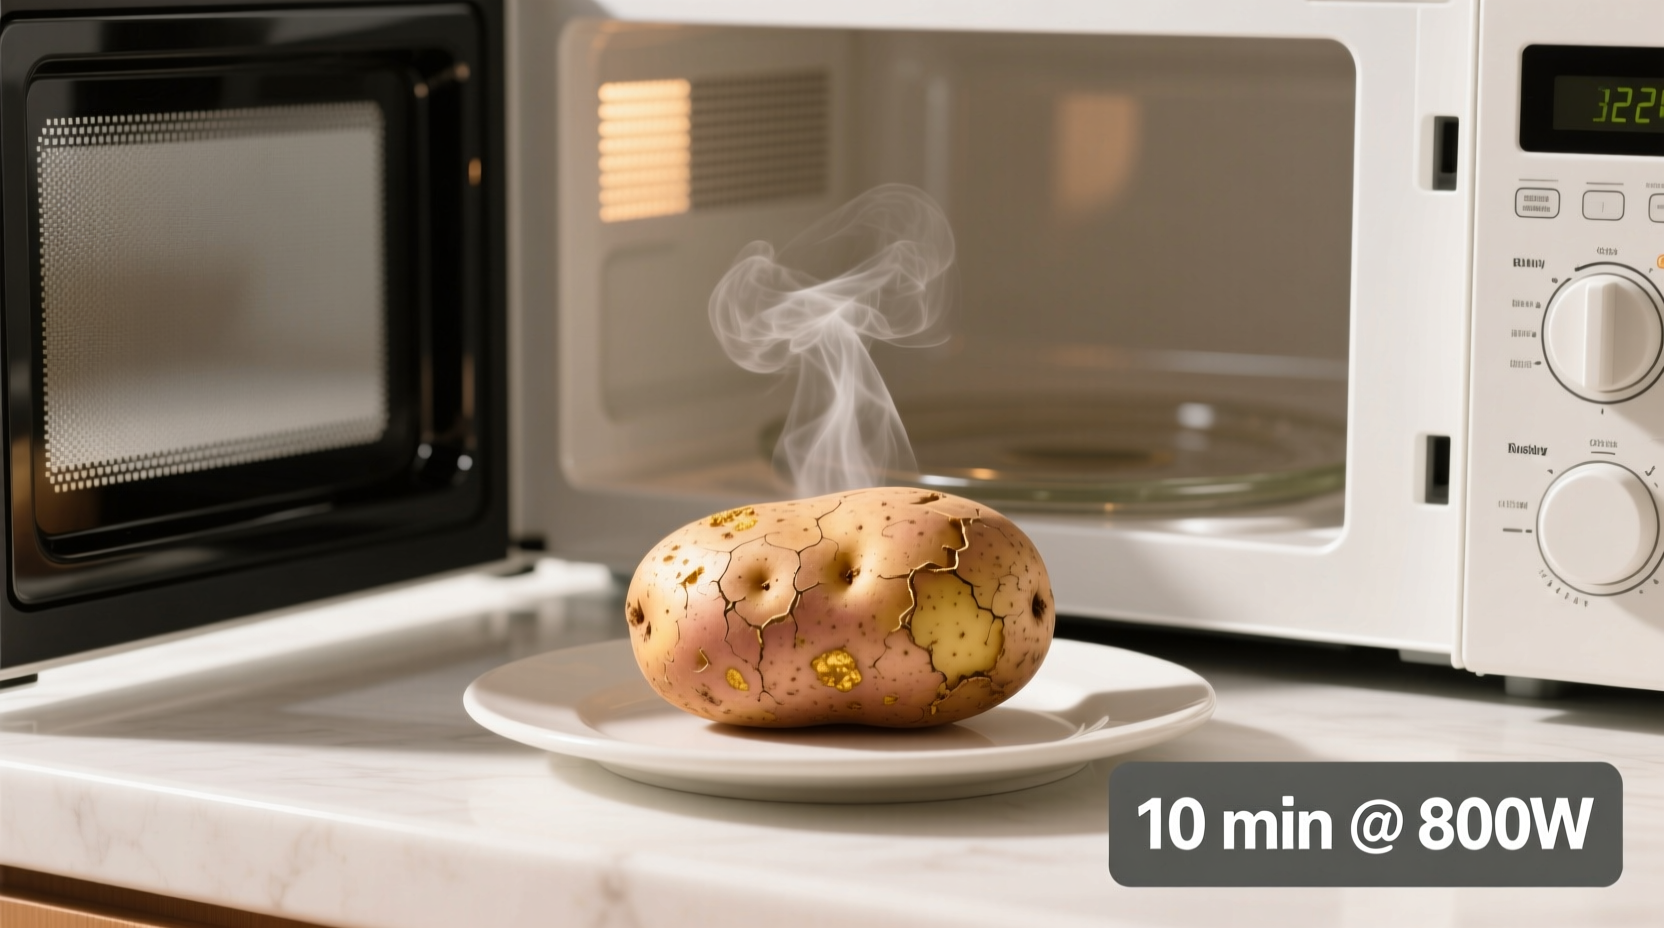
The single most important step that prevents dangerous explosions is proper piercing. Many home cooks skip this or do it inadequately, leading to messy microwave disasters.
Follow these preparation steps:
- Wash potatoes thoroughly under running water
- Dry completely with a clean towel
- Use a fork to pierce at least 8-10 times around the potato
- Ensure piercings penetrate deeply (about 1/4 inch)
Why so many piercings? As potatoes heat, internal steam builds pressure. Without sufficient escape routes, this pressure can cause explosive results. The FDA recommends multiple deep piercings to allow steam to escape safely during cooking.
Cooking Process: Timing and Technique
Microwave wattage varies significantly between models, affecting cooking times. Most home microwaves operate between 600-1200 watts. Use this reference table for accurate timing:
| Potato Size | 600-700W Microwave | 800-900W Microwave | 1000W+ Microwave |
|---|---|---|---|
| Small (4-6 oz) | 4-5 minutes | 3-4 minutes | 2.5-3.5 minutes |
| Medium (6-8 oz) | 5-7 minutes | 4-6 minutes | 3.5-5 minutes |
| Large (8-10 oz) | 7-9 minutes | 6-8 minutes | 5-7 minutes |
Step-by-step cooking method:
- Place prepared potato directly on microwave turntable
- Cook on high power for half the recommended time
- Carefully flip potato using tongs (it will be hot!)
- Cook remaining time
- Let rest 2-3 minutes before handling
The resting period allows heat to distribute evenly through the potato, completing the cooking process without overcooking the exterior.
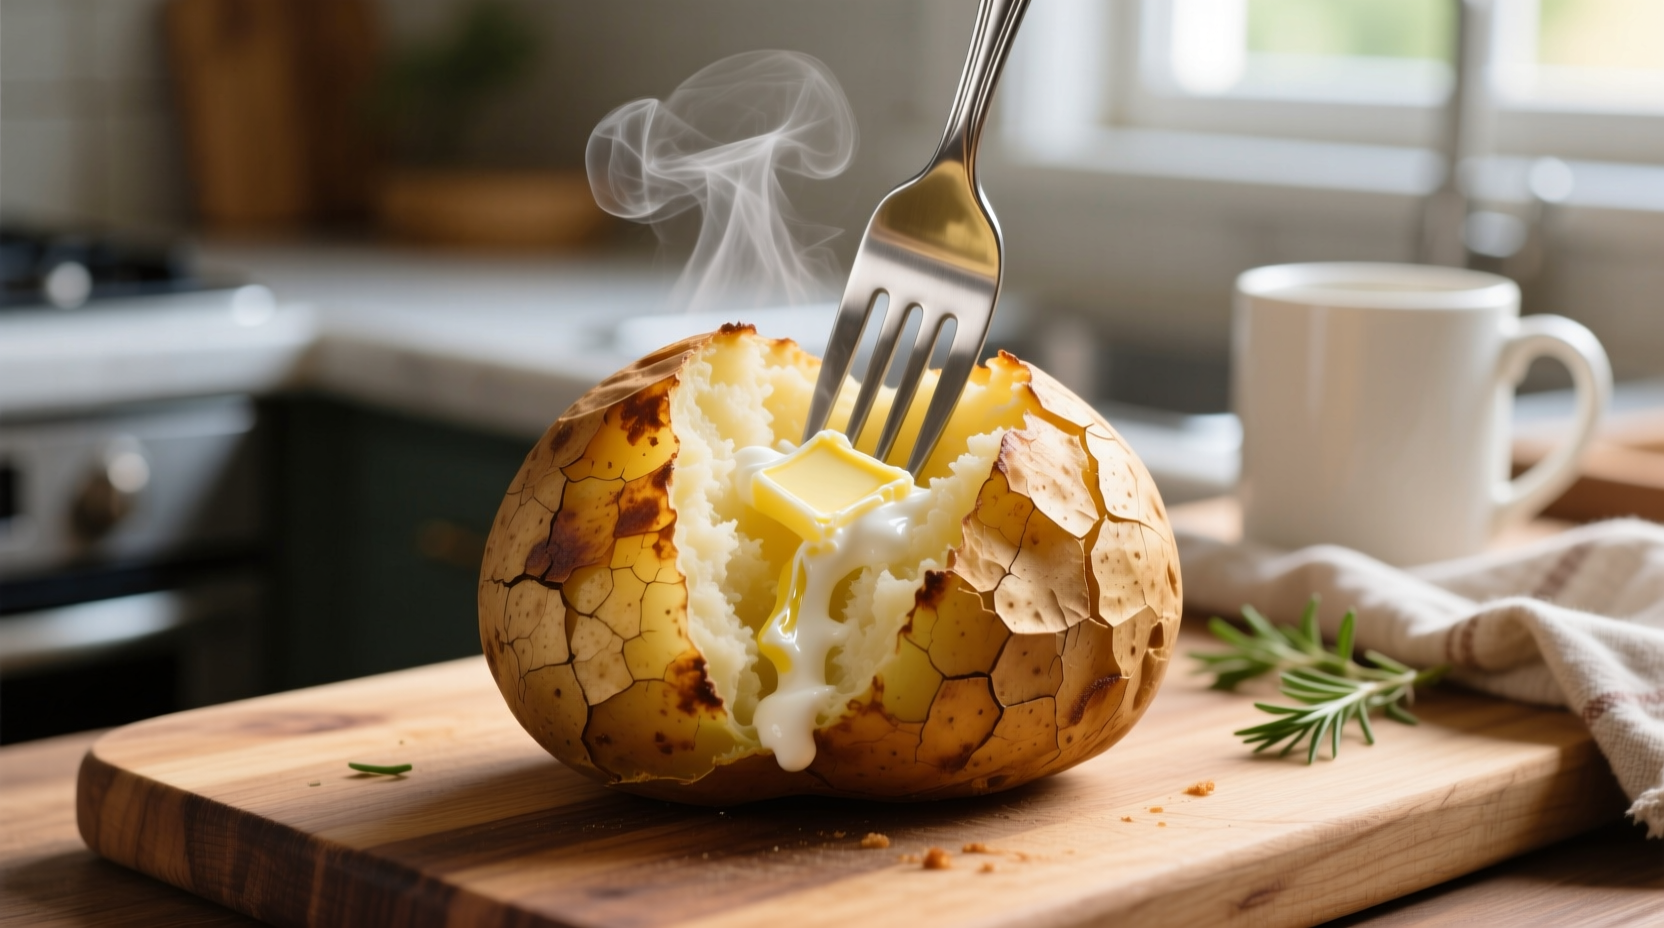
Finishing and Serving Like a Pro
After microwaving, handle your potato with care—it will be extremely hot. Follow these professional finishing techniques:
- Use a sharp knife to make a small slit across the top
- Gently squeeze ends toward center to open naturally
- Fluff interior with a fork before adding toppings
- Season immediately while hot for best flavor absorption
For restaurant-quality results, try these flavor boosters:
- Classic: Butter, salt, and freshly cracked pepper
- Mediterranean: Olive oil, rosemary, and garlic powder
- Loaded: Greek yogurt instead of sour cream with chives
- Spicy: Chipotle powder and lime zest
Troubleshooting Common Microwave Potato Problems
Even with proper technique, issues can arise. Here's how to solve them:
Problem: Potato is hard in the center
Solution: Return to microwave in 60-second increments, checking after each interval. Larger potatoes may need additional time based on your microwave's actual power output.
Problem: Potato skin is tough
Solution: Rub skin with oil before cooking or wrap loosely in a damp paper towel during the final cooking minutes to soften the skin.
Problem: Potato exploded during cooking
Solution: You didn't pierce deeply enough or create sufficient steam vents. Always use a fork to make at least 8 deep piercings next time.
Advanced Microwave Potato Techniques
Once you've mastered the basics, try these professional enhancements:
- Multiple potatoes: Arrange in a circle with space between them. Add 1.5-2 minutes per additional potato.
- Different varieties: Russets need full cooking time; Yukon Golds cook 1-2 minutes faster; sweet potatoes require 1-2 minutes longer.
- Flavor infusion: Place herbs or garlic cloves in the potato slit before cooking to infuse flavors from within.
- Texture improvement: For crispier skin, finish under the broiler for 2-3 minutes after microwaving.
According to culinary research from America's Test Kitchen, finishing microwaved potatoes under the broiler creates the best texture compromise—fluffy interior with slightly crisp skin—without the full time commitment of oven baking.
Frequently Asked Questions
Can you microwave a potato without piercing it?
No, piercing is essential for safety. Without proper venting, steam pressure builds until the potato explodes. Always pierce at least 8-10 times with a fork before microwaving.
How do you know when a microwaved potato is done?
Test doneness by gently squeezing (use oven mitts) or inserting a fork. A fully cooked potato yields easily to pressure with no resistance in the center. The internal temperature should reach 205-210°F (96-99°C).
Why does my microwaved potato sometimes have a rubbery texture?
Rubbery texture usually indicates undercooking. Potatoes need sufficient time for starches to fully gelatinize. Increase cooking time in 60-second increments until a fork inserts smoothly through the center with no resistance.
Can you reheat a baked potato in the microwave?
Yes, but with precautions. Slice the potato in half, place cut-side down on a microwave-safe plate, cover loosely, and heat at 50% power for 2-3 minutes. This prevents drying while ensuring even reheating without becoming gummy.


 浙公网安备
33010002000092号
浙公网安备
33010002000092号 浙B2-20120091-4