
Have you found an onion sprouting in your pantry? Don't toss it! That seemingly spoiled onion is actually a free gardening opportunity. Planting a sprouted onion is one of the easiest ways to grow your own food, requiring minimal equipment and yielding results in weeks. This practical guide shows you exactly how to transform kitchen scraps into a continuous supply of fresh onions.
Why Plant Sprouted Onions Instead of Throwing Them Away
Sprouted onions often get discarded as "past their prime," but they're actually ready to grow. According to the USDA National Institute of Food and Agriculture, food waste reduction starts with repurposing items we'd normally throw away. Onions that have begun sprouting still contain all the energy needed to produce new growth, making them perfect candidates for home cultivation. This sustainable practice aligns with the growing movement toward kitchen gardening and food self-sufficiency.
What You'll Need Before Planting
Before you begin planting your sprouted onion, gather these simple materials:
- Sprouted onion bulb (any variety that's begun growing green shoots)
- Container with drainage holes (at least 6 inches deep) or garden space
- Well-draining potting mix or amended garden soil
- Watering can or spray bottle
- Sunlight source (6+ hours of direct sun daily)
Step-by-Step Planting Process
Preparing Your Sprouted Onion
Carefully separate the sprouted onion from any others it's attached to. If the outer skin is papery and dry, gently remove it to expose more of the bulb surface. Don't worry if some roots have already started growing from the base - this is a good sign! According to Cornell University's gardening resources, onions with established root growth have higher success rates when transplanted.
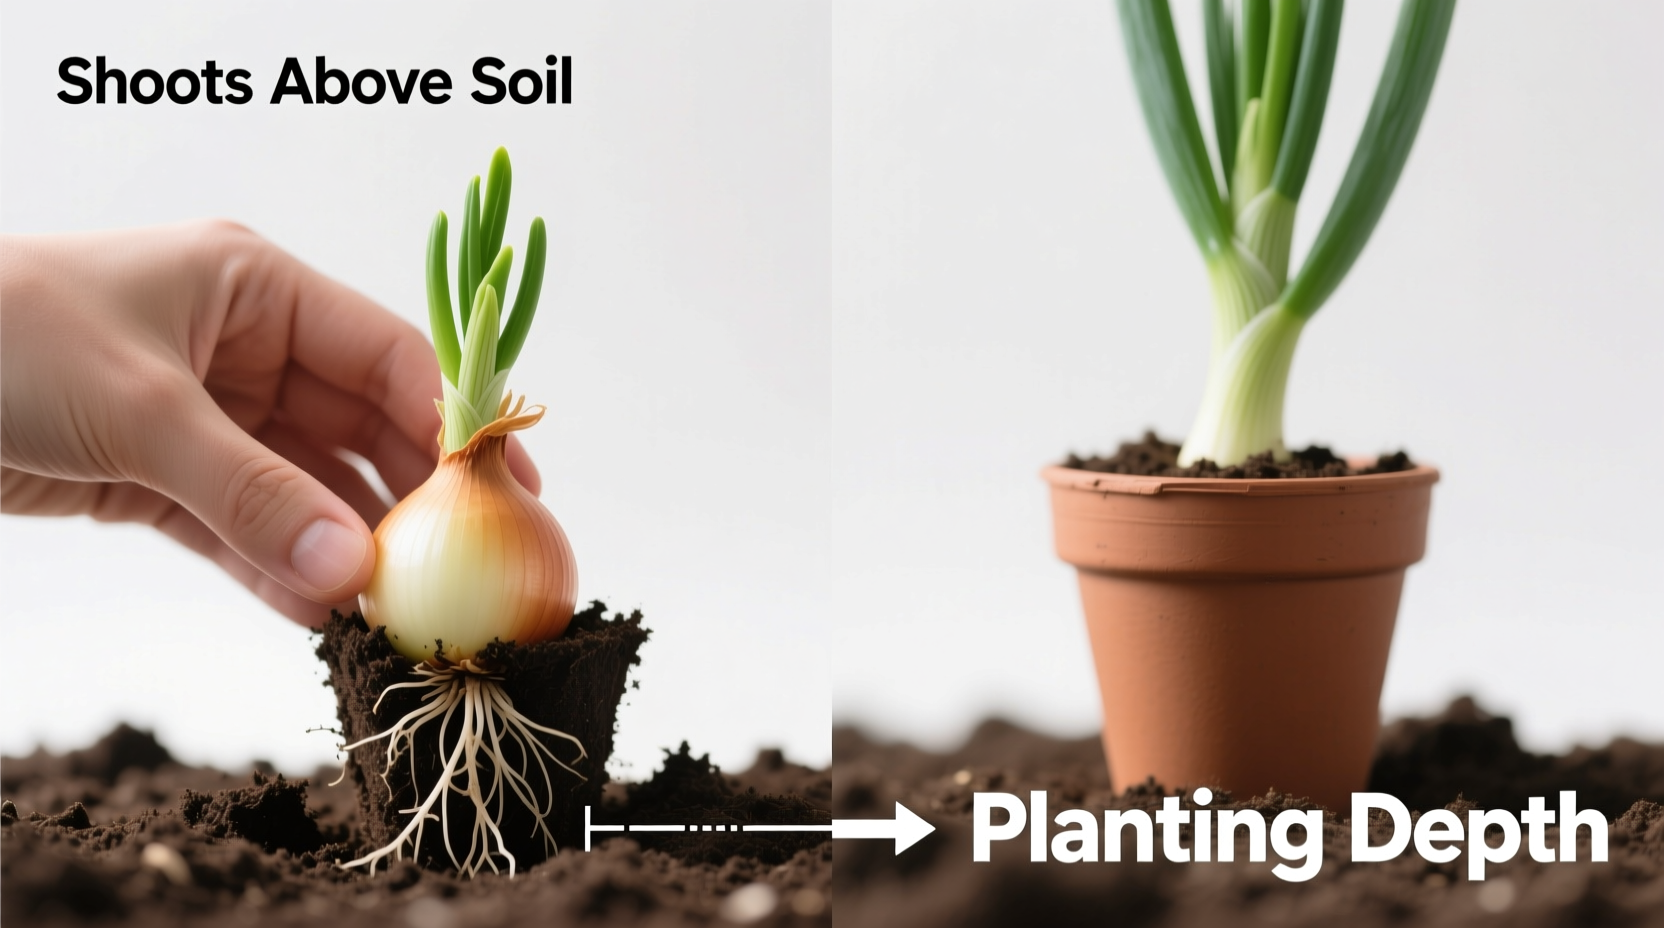
Planting in Soil: The Most Reliable Method
Fill your container with moist potting mix, leaving 1-2 inches of space below the rim. Create a hole deep enough to bury the onion bulb with only the green shoots visible above the soil line. Position the onion with the pointy end (where sprouts emerge) facing up and the root end down. Gently firm the soil around the bulb without compacting it.
| Planting Method | Success Rate | Time to First Harvest | Best For |
|---|---|---|---|
| Soil planting | 90-95% | 3-4 weeks | Full bulb development |
| Water propagation | 70-80% | 2-3 weeks | Green onion tops only |
| Direct garden planting | 85-90% | 4-6 weeks | Large harvests |
Watering and Initial Care
After planting, water thoroughly until moisture drains from the bottom. Keep the soil consistently moist but not soggy. During the first two weeks, check daily - container plants often need watering every 2-3 days. The University of California Cooperative Extension recommends using room-temperature water to avoid shocking the developing roots.
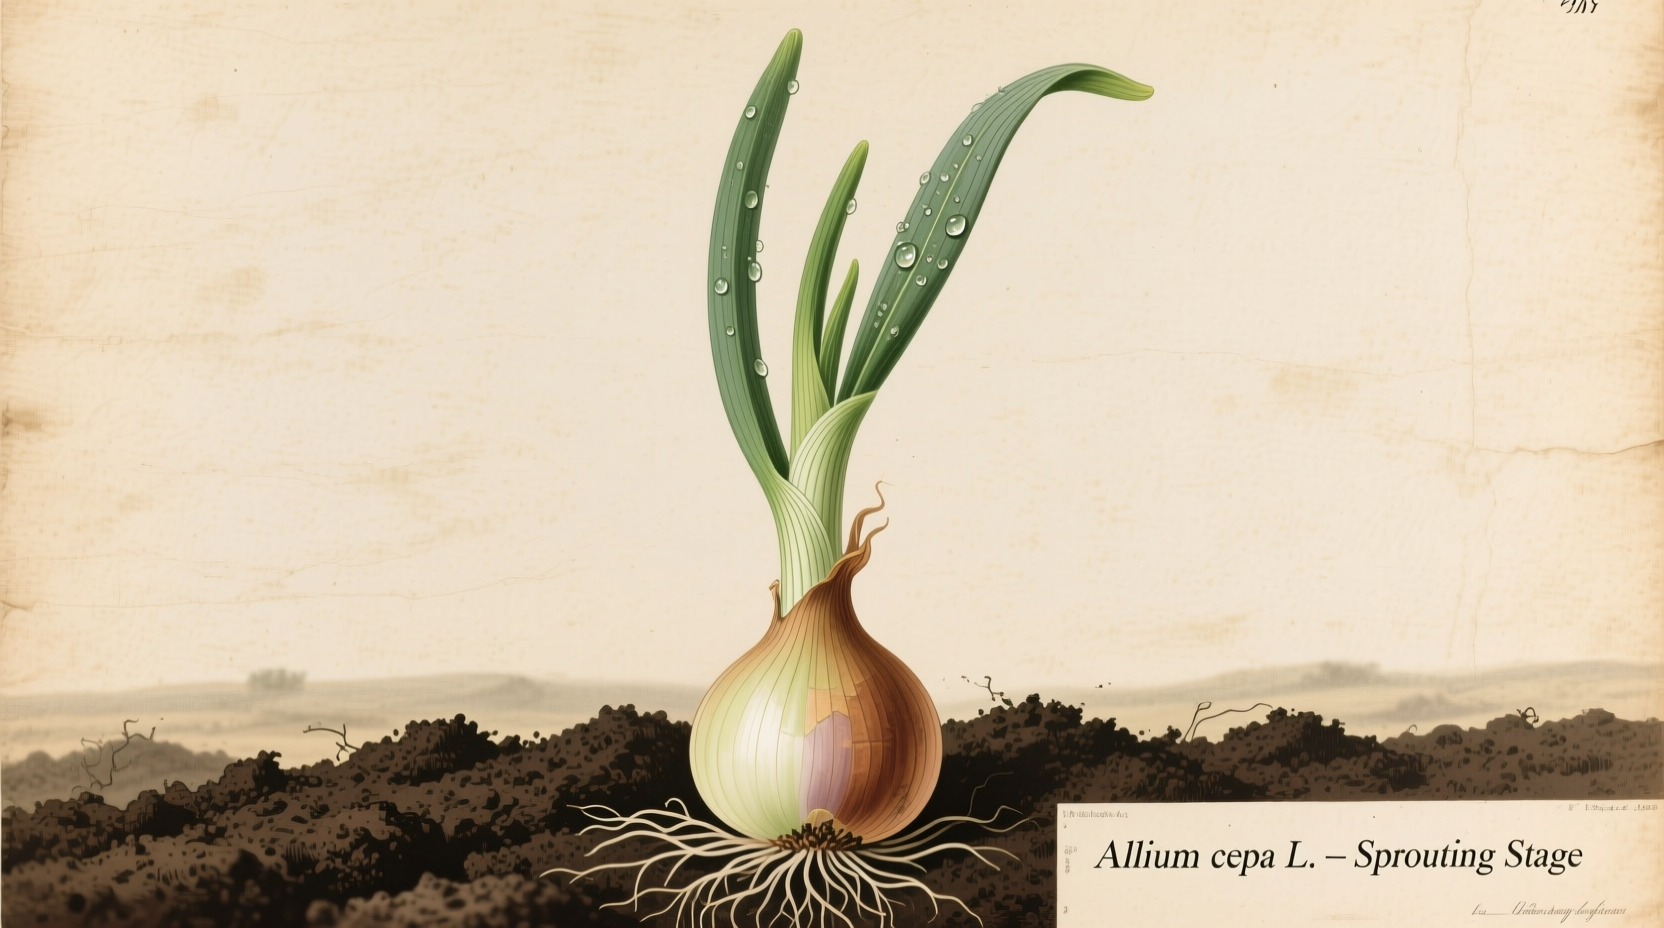
Timeline: How Your Sprouted Onion Develops
Understanding the growth stages helps you provide appropriate care:
- Days 1-7: Roots establish in new soil; green shoots continue growing upward
- Weeks 2-4: Visible leaf growth; first green onion tops ready for harvesting
- Weeks 5-8: Bulb begins forming underground; continue regular watering
- Weeks 9-12: Mature bulb develops; reduce watering to encourage bulb hardening
Care Requirements for Healthy Growth
Sunlight Needs
Onions require at least 6 hours of direct sunlight daily. If growing indoors, place near a south-facing window or supplement with a grow light. Insufficient light causes weak, spindly growth that won't develop proper bulbs.
Watering Schedule
Maintain consistent moisture, especially during bulb formation. Water when the top inch of soil feels dry. Overwatering causes rot, while underwatering stresses the plant. During hot weather, container plants may need daily watering.
Fertilizing for Maximum Growth
After 3-4 weeks, apply a balanced liquid fertilizer (10-10-10) every 2-3 weeks. Avoid high-nitrogen fertilizers which promote leaf growth at the expense of bulb development. Organic options like compost tea work well for continuous feeding.
When NOT to Plant a Sprouted Onion
Not all sprouted onions are suitable for planting. Avoid using onions that:
- Show signs of mold or soft rot (squishy texture)
- Have extensive black or slimy roots
- Smell sour or unpleasant
- Are extremely shriveled or lightweight
These indicate the bulb has deteriorated too much to support new growth. The National Gardening Association notes that onions with minor sprouting but firm texture have the highest success rates when planted.
Troubleshooting Common Problems
Yellowing Leaves
If leaves turn yellow from the tips downward, this usually indicates overwatering. Reduce watering frequency and ensure proper drainage. If yellowing starts at the base, it may signal nutrient deficiency - apply a balanced fertilizer.
Thin, Weak Growth
Insufficient light is the most common cause. Move to a sunnier location or add supplemental lighting. Crowded planting can also cause weak growth - ensure plants have at least 4-6 inches of space between them.
No Bulb Formation
If your plant produces healthy greens but no bulb, it's likely receiving too much nitrogen. Switch to a phosphorus-rich fertilizer to encourage bulb development. Day length also affects bulb formation - onions need 12+ hours of daylight to form proper bulbs.
Harvesting Your Homegrown Onions
You can harvest green onion tops anytime after 3-4 weeks by snipping what you need with scissors, leaving 2 inches of growth. For mature bulbs, wait until the tops begin yellowing and falling over (typically 60-90 days after planting). Gently dig around the bulb and lift it from the soil. Cure bulbs in a warm, dry location for 2-3 weeks before storing.
Maximizing Your Onion Harvest
For continuous harvests, plant multiple sprouted onions 2-3 weeks apart. This staggered approach ensures you always have onions at different growth stages. When harvesting green tops, never remove more than one-third of the plant at once to maintain healthy growth.


 浙公网安备
33010002000092号
浙公网安备
33010002000092号 浙B2-20120091-4