
Getting chicken cooking times right separates good home cooking from great home cooking. Whether you're pan-searing chicken breasts for a weeknight dinner or grilling thighs for weekend barbecue, precise timing ensures juicy, safe results every time. This guide delivers exact cooking durations based on cut, thickness, and method - backed by USDA food safety standards and professional chef techniques.
Why Exact Cooking Times Matter for Chicken
Undercooked chicken risks Salmonella and campylobacter exposure, while overcooked chicken becomes dry and tough. The USDA Food Safety and Inspection Service mandates chicken reach 165°F (74°C) internal temperature to eliminate pathogens. But timing alone isn't enough - thickness, starting temperature, and cooking method dramatically impact results.
Standard Cooking Times by Cut and Method
These baseline times apply to medium-high heat (375°F surface temperature) with properly preheated pans or grills. Always finish cooking by verifying internal temperature.
| Chicken Cut | Thickness | Pan-Fry Time Per Side | Grill Time Per Side | Internal Temp Target |
|---|---|---|---|---|
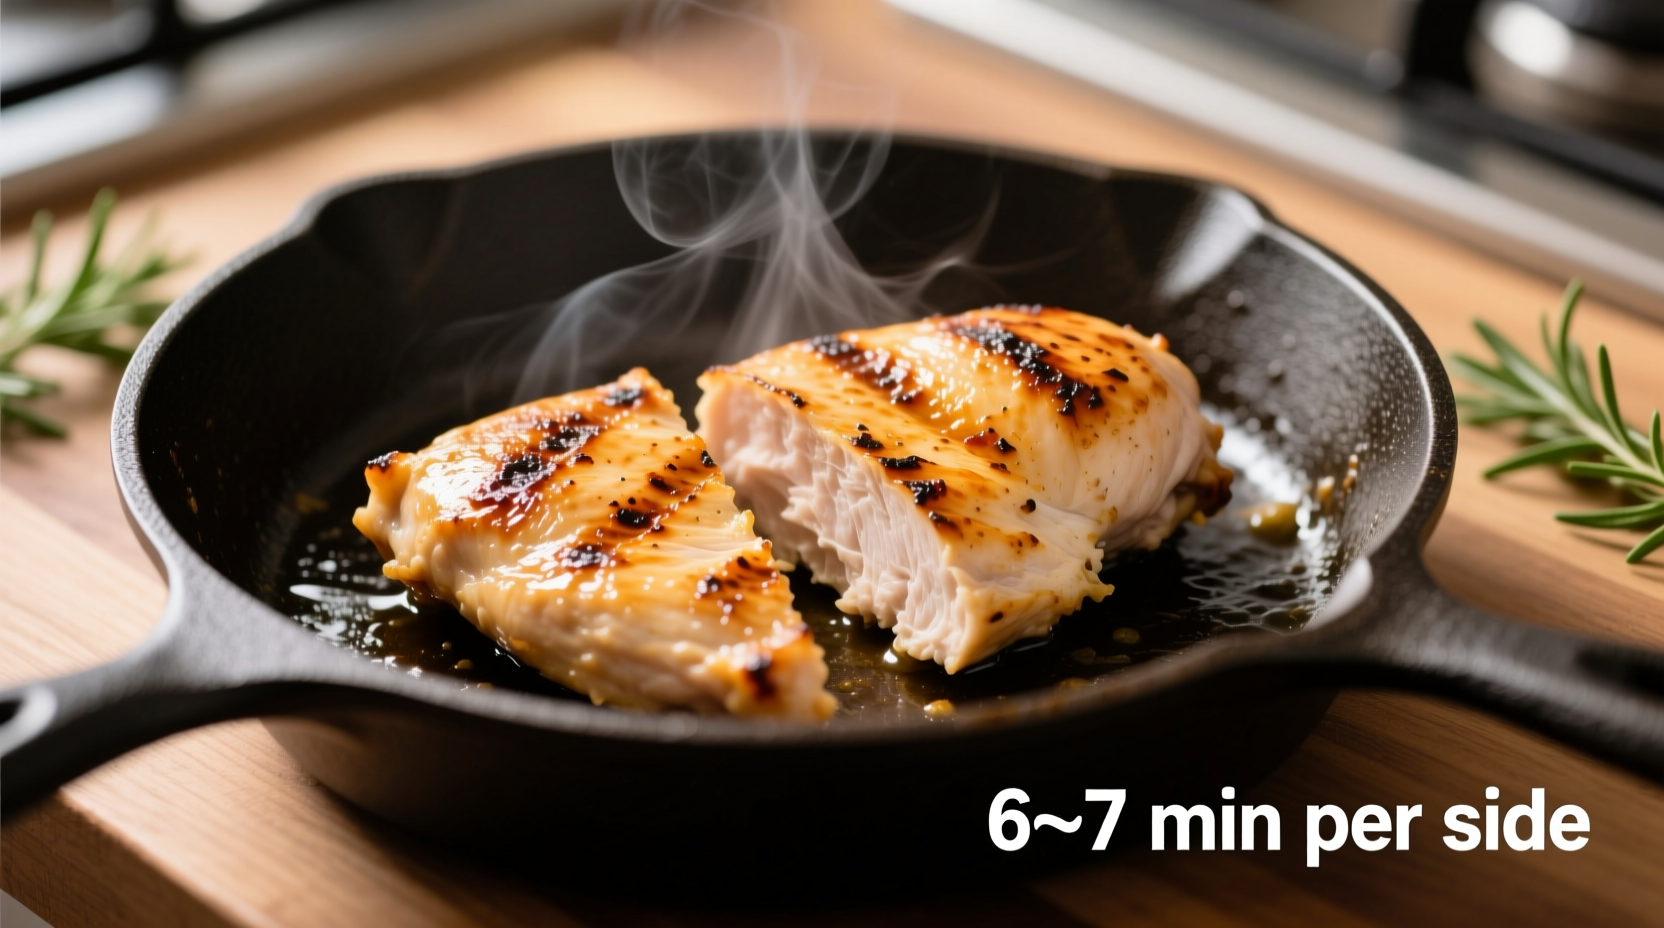
| Boneless breast | 1 inch | 5-7 minutes | 6-8 minutes | 165°F |
| Bone-in breast | 1.5 inches | 8-10 minutes | 10-12 minutes | 165°F |
| Thighs (boneless) | 0.75 inch | 6-8 minutes | 7-9 minutes | 175°F |
| Thighs (bone-in) | 1 inch | 8-10 minutes | 10-12 minutes | 175°F |
| Drumsticks | 1.5 inches | 10-12 minutes | 12-15 minutes | 175°F |
Source: USDA Food Safety and Inspection Service guidelines updated September 2024 (fsis.usda.gov/food-safety/safe-food-handling/chicken-from-farm-table)
Mastering the Cooking Process: Step-by-Step
Preparation Essentials
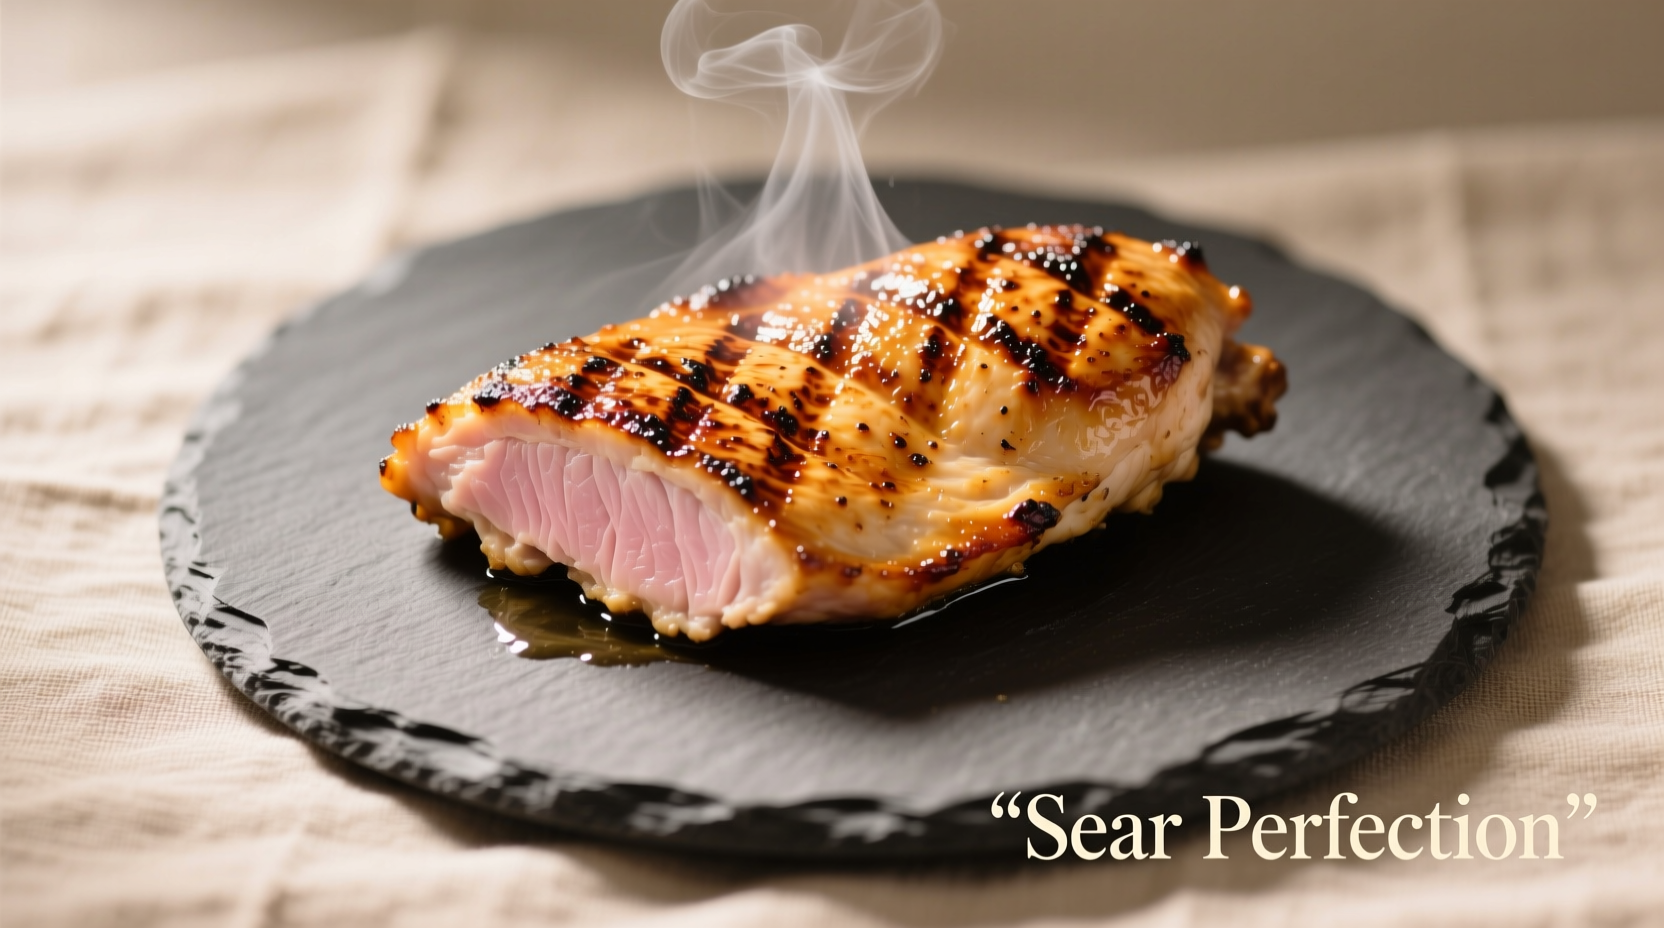
Pat chicken dry with paper towels before cooking - moisture creates steam instead of sear. Season just before cooking to prevent drawing out moisture. Bring chicken to room temperature for 20-30 minutes for even cooking. Professional kitchens follow this exact protocol to achieve consistent results.
Pan Selection and Heat Management
Use heavy-bottomed stainless steel or cast iron pans for optimal heat distribution. Test heat readiness by sprinkling water droplets - they should sizzle and evaporate within 1-2 seconds. For boneless breasts, medium-high heat (375°F) creates perfect sear without burning. Adjust heat downward for thicker cuts to prevent exterior charring before interior cooks through.
The Flip Timing Technique
Resist flipping too early - chicken should release naturally from the pan when properly seared. If it sticks, give it 30 more seconds. For boneless breasts, flip when golden brown (about 70% cooked through visually). The second side typically cooks faster due to carryover heat. This professional technique prevents tearing and ensures even browning.
Context Boundaries: When Standard Times Don't Apply
Cooking duration varies based on several factors requiring adjustment:
- Cold-start chicken: Adds 2-3 minutes per side if cooking straight from refrigerator
- Thin-cut breasts: Reduce to 3-4 minutes per side to prevent drying
- Cast iron vs. nonstick: Cast iron retains heat better, potentially reducing second-side cooking time
- Gas vs. electric burners: Electric coils have slower response time, requiring earlier heat adjustment
Always prioritize internal temperature over time. The USDA's Food Safety and Inspection Service emphasizes that visual cues alone cannot guarantee safety - a thermometer is essential equipment.
Doneness Verification: Beyond Cooking Time
Timing provides guidance, but these verification methods ensure perfect results:
Thermometer Method (Most Reliable)
Insert digital thermometer into thickest part without touching bone. White meat reaches safe temperature at 165°F while dark meat benefits from 175°F for optimal tenderness. Wait 10 seconds for accurate reading. This method eliminates guesswork and aligns with FDA Food Code standards.
Visual and Texture Indicators
When thermometer isn't available, check for:
- No pink color remaining in thickest areas
- Clear juices when pierced (not pink or red)
- Firm but springy texture when pressed
Common Mistakes and How to Avoid Them
Mistake: Overcrowding the Pan
Causes steaming instead of searing. Cook in batches with space between pieces. Restaurant kitchens maintain this discipline even during rush service.
Mistake: Moving Chicken Too Soon
Prevents proper crust formation. Let chicken sear undisturbed for at least 70% of first-side cooking time. Professional chefs use the "release test" - if it sticks, it's not ready to flip.
Mistake: Skipping Resting Time
Rest cooked chicken 5-10 minutes before cutting. This allows juices to redistribute, preventing dryness. Fine dining establishments universally follow this practice.
Advanced Technique: Carryover Cooking Management
Chicken continues cooking after removal from heat due to residual heat. To prevent overcooking:
- Remove breasts at 160°F (reaches 165°F during rest)
- Remove thighs at 170°F (reaches 175°F during rest)
- Rest on warm plate, not cold surface
- Cover loosely with foil to retain heat without steaming
This technique, used by professional chefs worldwide, accounts for the 5-7°F temperature rise during resting. The Culinary Institute of America's cooking curriculum emphasizes this principle for optimal results.
Food Safety Timeline: From Raw to Safe
Understanding the temperature danger zone is critical for safe chicken preparation:
- 40°F or below: Safe refrigeration temperature
- 40-140°F: Danger zone where bacteria multiply rapidly
- 140-165°F: Bacteria die at increasing rates
- 165°F: Instant pathogen elimination (USDA standard)
Minimize time in the danger zone by bringing chicken closer to room temperature before cooking and finishing cooking promptly. The FDA Food Code specifies these temperature benchmarks for commercial food safety.


 浙公网安备
33010002000092号
浙公网安备
33010002000092号 浙B2-20120091-4