
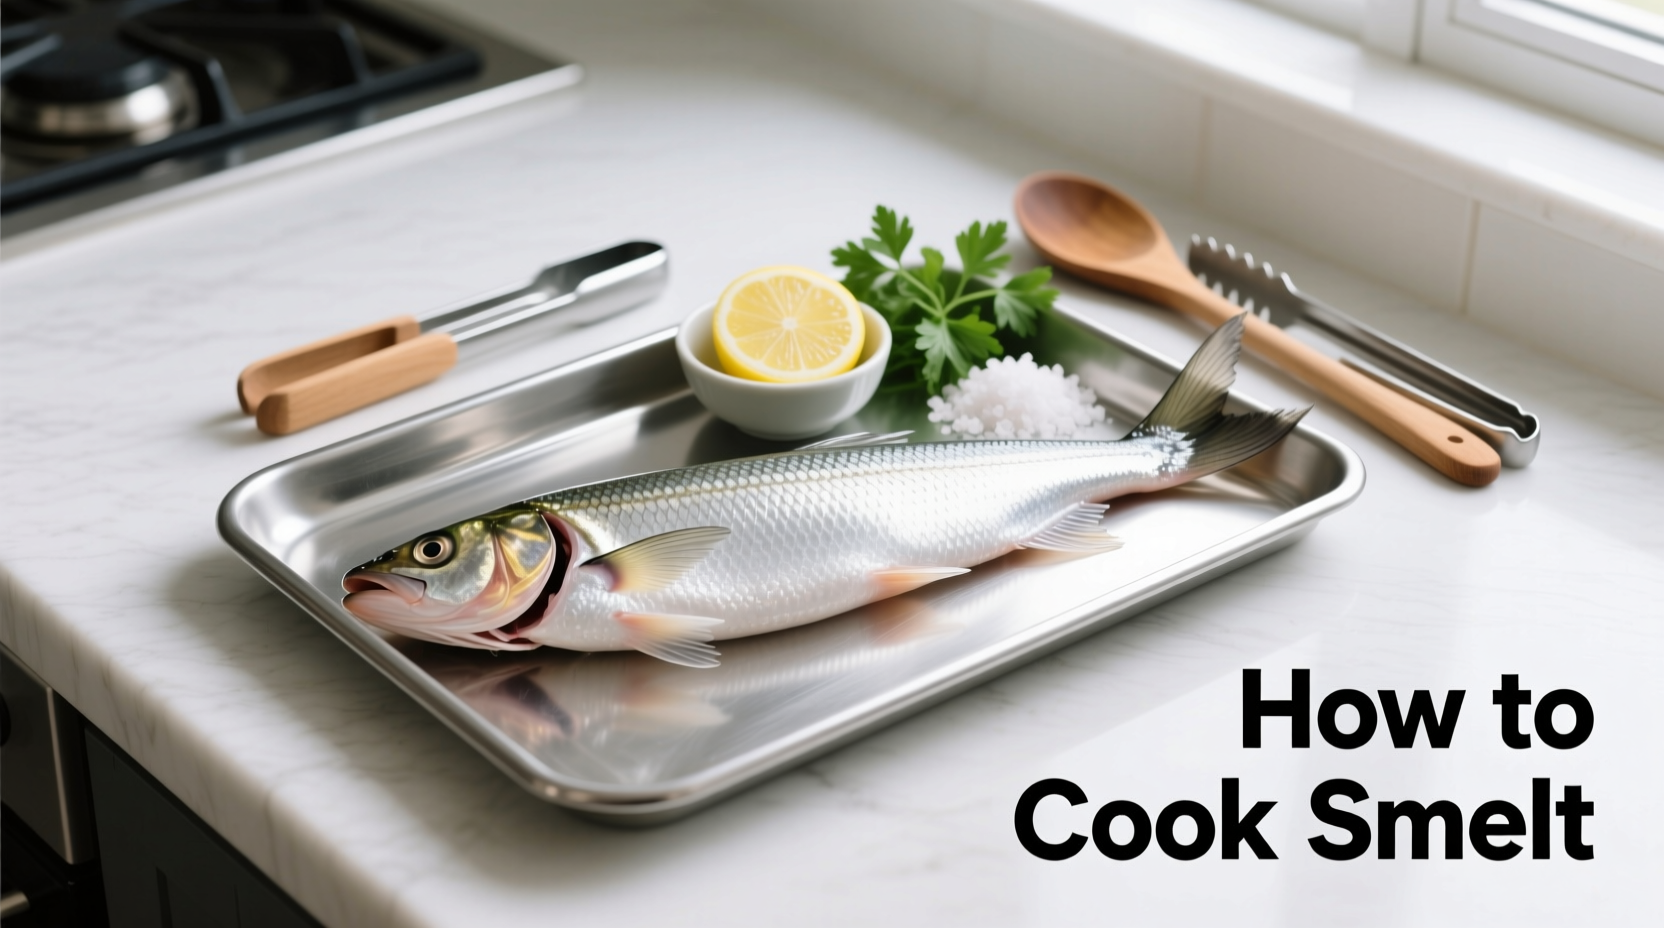
Smelt, those delicate silver fish with a rich, oceanic flavor, transform from overlooked catch to restaurant-quality meal with the right preparation. This guide delivers precise temperature controls, professional cleaning techniques, and cooking methods that prevent soggy results—whether you're working with fresh or frozen smelt. Follow these steps to create perfectly crisp, flavorful smelt that impresses even seasoned seafood lovers.
Why Smelt Deserves a Place in Your Cooking Rotation
Often overshadowed by more popular fish, smelt offers exceptional value with its tender flesh and rich omega-3 content. Unlike larger fish that require complex preparation, smelt's small size (typically 6-8 inches) means they cook quickly with minimal waste. The University of Maine Cooperative Extension confirms smelt contains 1,200-1,500 mg of omega-3 fatty acids per 3-ounce serving—comparable to salmon but at a fraction of the cost.
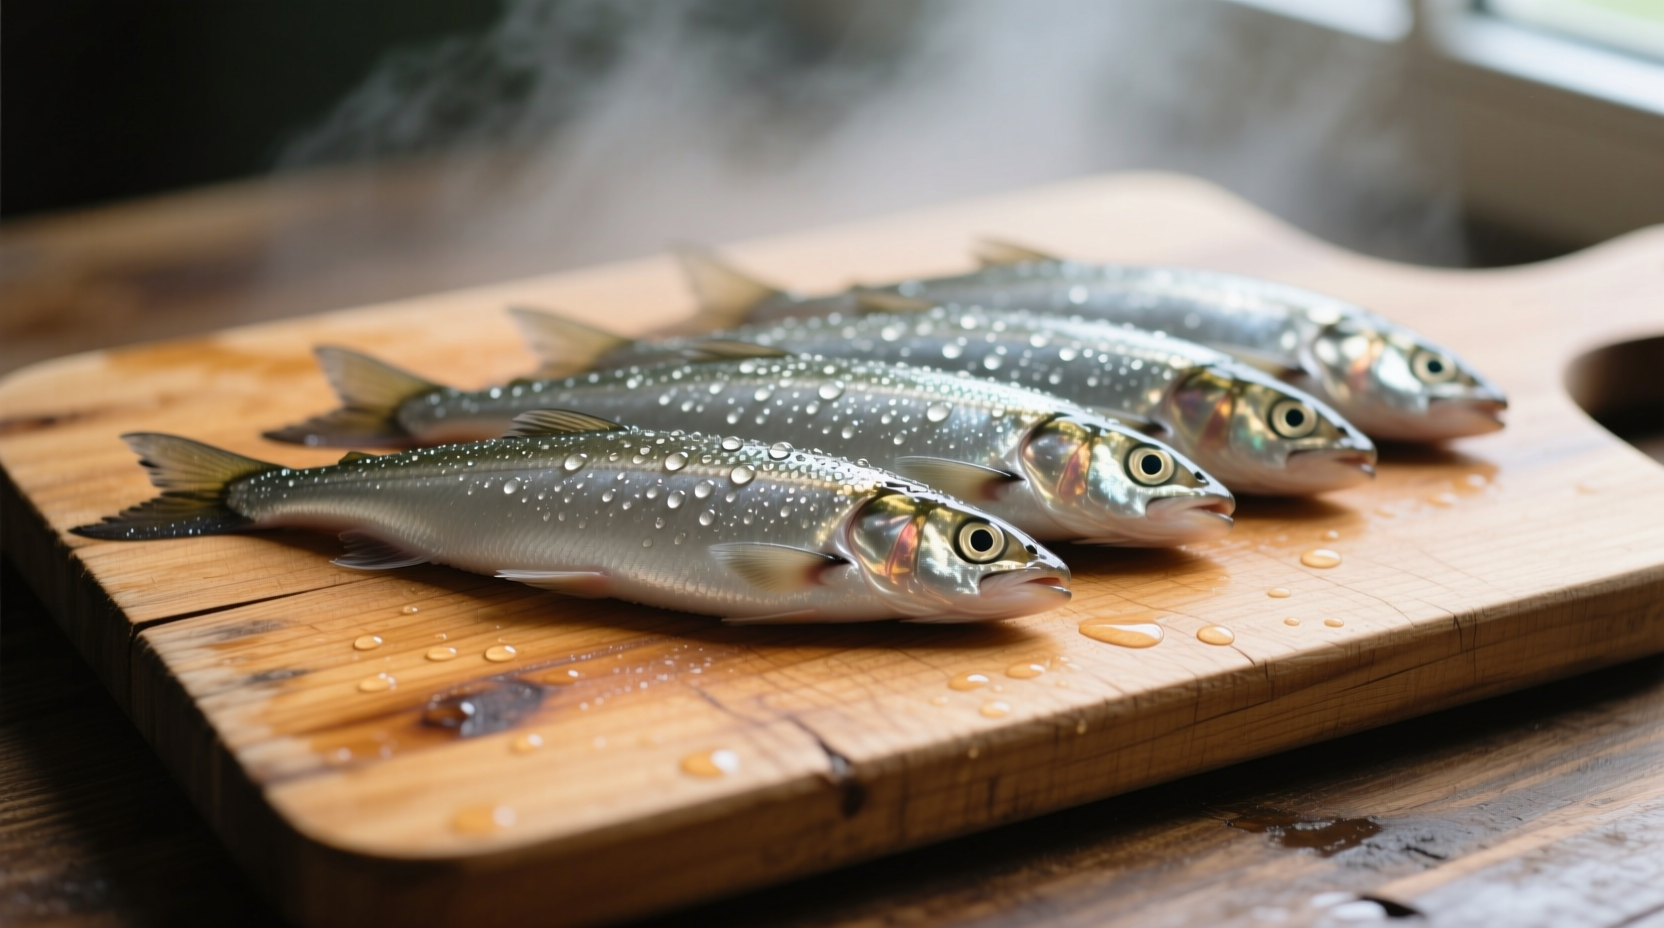
Selecting and Preparing Your Smelt
Quality selection determines your final result. Look for these characteristics when choosing smelt:
- Eyes: Clear and bulging (avoid cloudy or sunken eyes)
- Gills: Bright red (not brown or gray)
- Texture: Firm flesh that springs back when touched
- Smell: Fresh ocean scent (never fishy or ammonia-like)
Frozen smelt works well when fresh isn't available. Thaw overnight in the refrigerator—not at room temperature—to maintain texture. Never refreeze thawed smelt.
Cleaning Smelt: Two Professional Methods Compared
| Method | Best For | Time Required | Key Benefit |
|---|---|---|---|
| Head-Off Gutting | Most home cooks | 2-3 minutes per 6 fish | Maintains presentation while removing impurities |
| Tube Method | Experienced cooks | 1-2 minutes per 6 fish | Preserves natural oils for richer flavor |
Head-Off Gutting (Recommended for Beginners):
- Remove heads by cutting behind the gills with kitchen shears
- Rinse cavity under cold water to remove bloodline
- Pat thoroughly dry with paper towels—critical for crispiness
Tube Method (Professional Technique):
- Hold fish by tail and gently pull head and innards in one motion
- Rinse inside tube under cold water
- Dry completely inside and out
Food safety note: Always clean smelt within 2 hours of purchase. The FDA recommends keeping raw fish at 40°F (4°C) or below until preparation (FDA Seafood Guidelines).
Pan-Frying Smelt: The Foolproof Method
Pan-frying delivers the crispiest results with minimal equipment. Follow these precise steps:
Essential Equipment Setup
- Heavy-bottomed skillet (cast iron preferred)
- Cooking thermometer (critical for oil temperature)
- Metal spatula (prevents breaking delicate fish)
Step-by-Step Frying Process
- Heat 1/2 inch of neutral oil (canola or avocado) to 365°F (185°C)
- Season cleaned smelt with salt and pepper—no additional coating needed
- Carefully place fish in single layer without crowding
- Fry 2-3 minutes per side until golden brown
- Drain on wire rack (not paper towels) to maintain crispness
Temperature is crucial—oil below 350°F creates greasy fish, while above 375°F burns the exterior before interior cooks. The University of California Sea Grant program confirms proper oil temperature reduces oil absorption by 40% compared to incorrect temperatures.
Avoiding Common Smelt Cooking Mistakes
Even experienced cooks encounter these issues. Here's how to prevent them:
- Soggy fish: Caused by insufficient drying or overcrowded pan. Solution: Pat fish completely dry and fry in batches.
- Burning: Results from oil temperature above 375°F. Solution: Monitor with thermometer and adjust heat.
- Bones: Smelt bones become edible when properly cooked. Solution: Ensure oil at correct temperature for full crispness.
- Sticking: Occurs with cold fish or inadequate oil. Solution: Dry fish thoroughly and ensure proper oil temperature.
Serving Suggestions That Elevate Your Dish
Smelt's delicate flavor pairs beautifully with simple accompaniments:
- Lemon wedges with fresh dill (classic preparation)
- Light cucumber salad with rice vinegar
- Roasted new potatoes with garlic and parsley
- Quick tartar sauce: 1/2 cup mayo, 1 tbsp capers, 1 tbsp dill, 1 tsp lemon juice
For authentic presentation, serve whole smelt on a bed of lemon slices. Their small size means they're eaten with fingers—no need for forks.
Alternative Cooking Methods for Different Results
While pan-frying delivers optimal crispness, these alternatives work well in specific situations:
- Baking: Best for large batches. 400°F (200°C) for 12-15 minutes on parchment paper. Results in more delicate texture.
- Grilling: Ideal for smoky flavor. Use fish basket at medium-high heat for 3-4 minutes per side. Prevents sticking.
- Air Frying: Good for oil-conscious cooks. 380°F (193°C) for 8-10 minutes with light oil spray.
Remember: Each method requires adjusting cooking time based on fish thickness. Always check for opaque flesh that flakes easily with a fork.
Storage and Leftover Guidance
Proper handling ensures food safety and maintains quality:
- Refrigerate cooked smelt within 2 hours
- Store in airtight container for up to 2 days
- Reheat in oven at 300°F (150°C) for 8-10 minutes—never microwave
- Freeze raw cleaned smelt for up to 3 months
The USDA Food Safety and Inspection Service emphasizes that proper reheating to 145°F (63°C) internal temperature prevents foodborne illness (USDA Fish Handling Guidelines).
Perfect Smelt Every Time: Final Checklist
Before you start cooking, verify these critical elements:
- Fish properly cleaned and completely dry
- Oil at precise 365°F (185°C) temperature
- Sufficient oil depth (1/2 inch minimum)
- Skillet preheated before adding oil
- Not overcrowding the cooking surface


 浙公网安备
33010002000092号
浙公网安备
33010002000092号 浙B2-20120091-4