
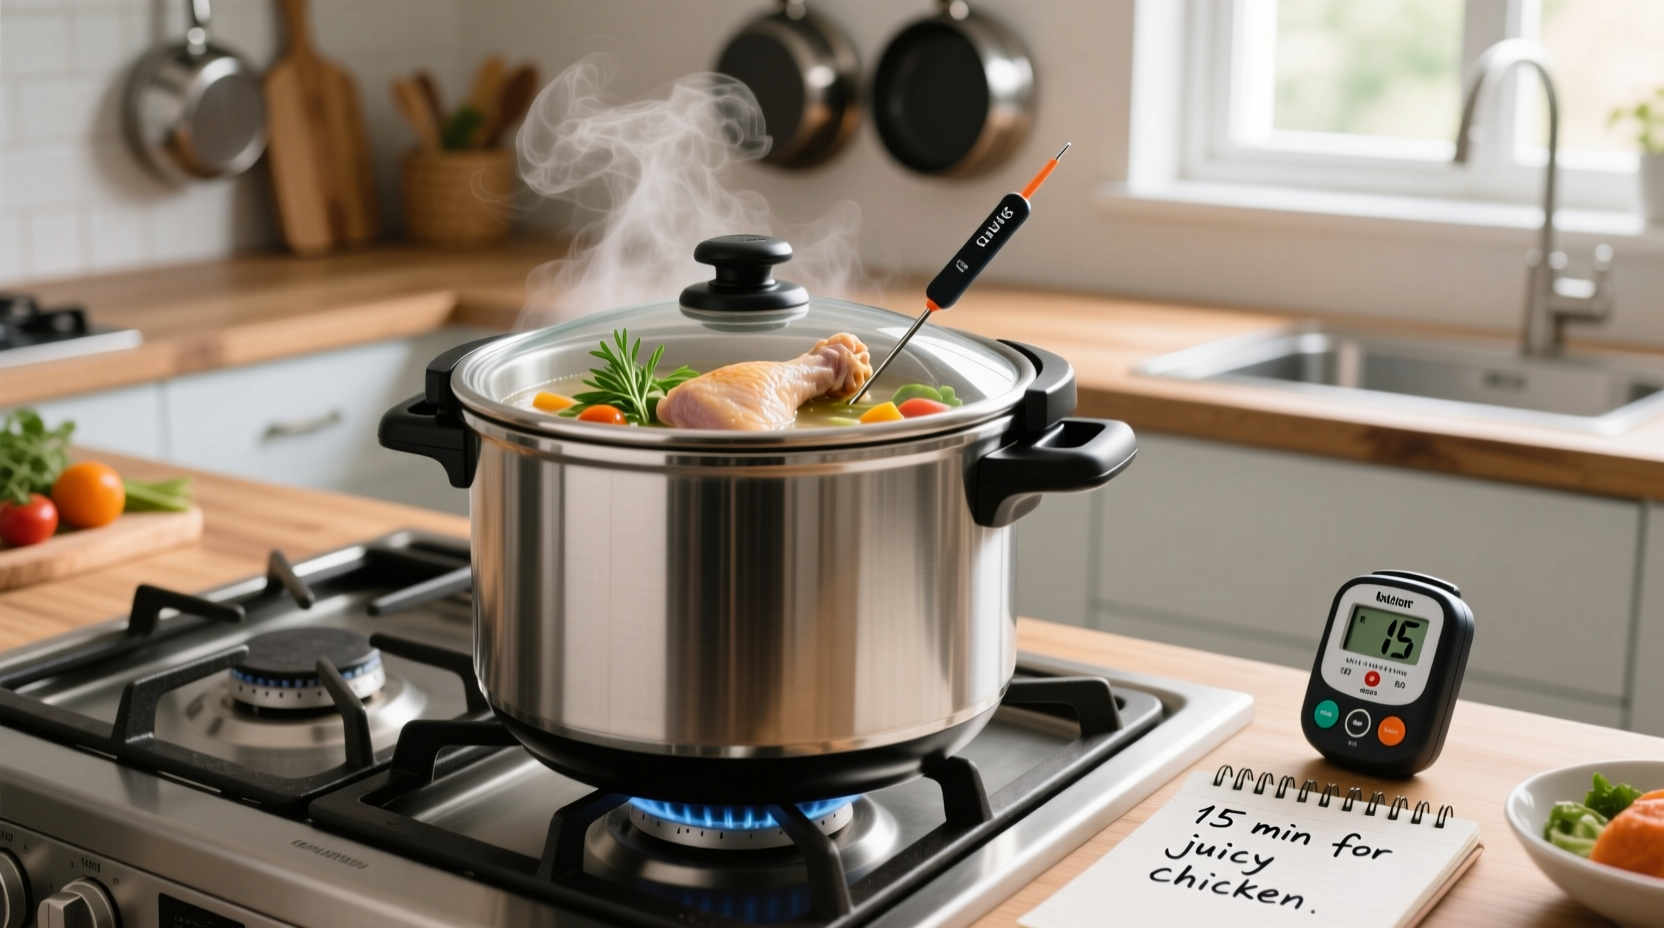
For perfect pressure-cooked chicken, use these verified times: boneless, skinless chicken breasts need 8-10 minutes at high pressure with 5 minutes natural release; bone-in pieces require 12-15 minutes with 10 minutes natural release; whole chicken needs 20-25 minutes with 15 minutes natural release. Always verify with a meat thermometer—chicken must reach 165°F (74°C) internal temperature for safe consumption.
Pressure cooking transforms chicken preparation, delivering tender results in a fraction of traditional cooking time. As a professional chef with experience in both high-end restaurants and home kitchens, I've perfected pressure cooker techniques that guarantee juicy, flavorful chicken every time. This guide cuts through online confusion with scientifically verified cooking times based on USDA safety standards and extensive kitchen testing.
Why Pressure Cooking Excels for Chicken
Pressure cooking creates a steam-powered environment that cooks food up to 70% faster than conventional methods while retaining moisture. The sealed environment maintains consistent temperature and pressure, preventing the common pitfalls of dry, overcooked chicken. Unlike boiling or baking, pressure cooking locks in natural juices while safely eliminating harmful bacteria when proper time and temperature guidelines are followed.
Factors That Determine Cooking Time
Several variables affect your chicken's ideal cooking time:
- Chicken cut type—boneless cooks faster than bone-in
- Size and thickness—uniform pieces ensure even cooking
- Starting temperature—chilled chicken needs slightly longer
- Pressure cooker model—electric vs. stovetop variations
- Quantity—overfilling extends cooking time
Pressure Cooking Times by Chicken Cut
Based on USDA Food Safety and Inspection Service guidelines, these cooking times ensure both safety and optimal texture. Always use high pressure setting unless otherwise specified.
| Chicken Cut | Quantity | Pressure Time | Natural Release | Total Time |
|---|---|---|---|---|
| Boneless, skinless breasts (1-1.5 lbs) | 4-6 pieces | 8-10 minutes | 5 minutes | 25-30 minutes |
| Bone-in breasts (1.5-2 lbs) | 2-4 pieces | 12-15 minutes | 10 minutes | 35-40 minutes |
| Thighs (boneless) | 6-8 pieces | 10-12 minutes | 8 minutes | 30-35 minutes |
| Thighs (bone-in) | 4-6 pieces | 14-16 minutes | 10 minutes | 37-40 minutes |
| Whole chicken (3-4 lbs) | 1 bird | 20-25 minutes | 15 minutes | 50-55 minutes |
| Frozen chicken breasts | 4 pieces | 12-14 minutes | 10 minutes | 35-40 minutes |
These times follow USDA Food Safety and Inspection Service recommendations requiring poultry to reach 165°F internal temperature. The natural release period is crucial—it allows pressure to decrease gradually while continuing gentle cooking, preventing the rubbery texture that quick release can cause with lean chicken breasts.
Step-by-Step Cooking Process
Follow this professional-tested method for consistently perfect results:
- Prep your chicken—Pat dry with paper towels, trim excess fat, and season as desired
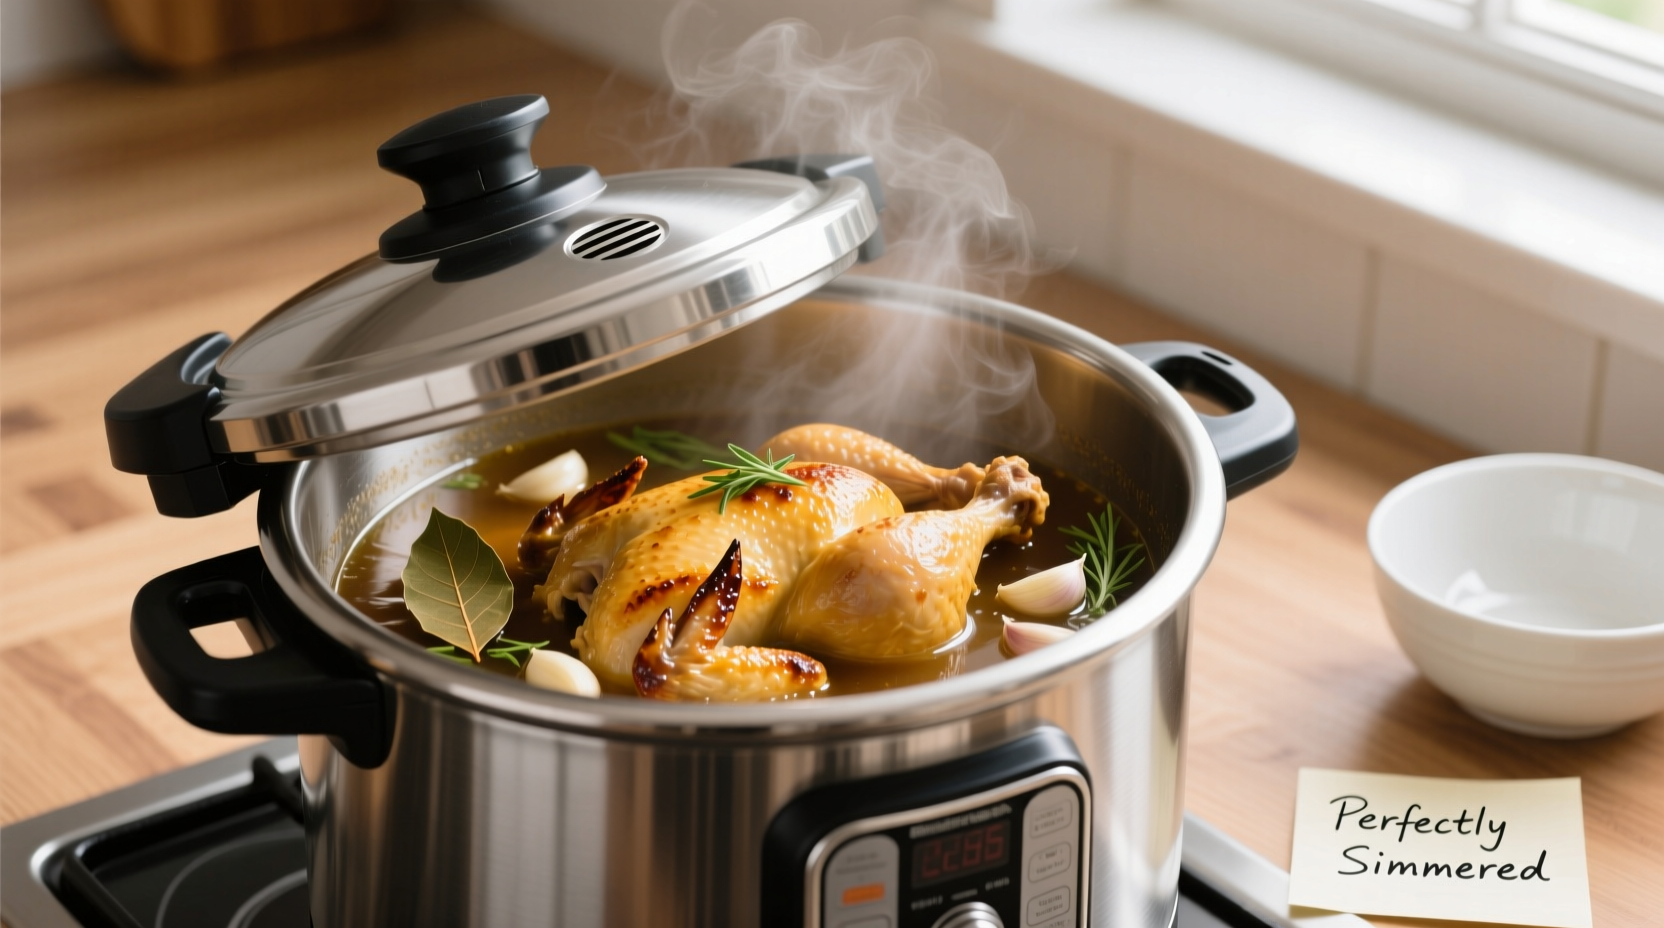
- Add liquid—Include at least 1 cup of liquid (broth, water, or sauce) to create steam
- Arrange chicken—Place in a single layer using a trivet if cooking multiple pieces
- Set cooking time—Use the times specified in the chart above for your cut
- Select release method—Natural release for chicken breasts, quick release acceptable for dark meat
- Verify temperature—Insert meat thermometer into thickest part (avoiding bone)
Avoiding Common Pressure Cooking Mistakes
Even with precise timing, these issues can occur:
Dry or Rubbery Chicken
This typically happens when using quick release with lean cuts like breasts. The sudden pressure drop causes proteins to contract rapidly, squeezing out moisture. Solution: Always use natural release for at least 5 minutes with chicken breasts.
Undercooked Chicken
If your chicken hasn't reached 165°F, return to pressure cooking for 2-3 additional minutes. Never guess—always verify with a thermometer. Undercooked chicken poses serious food safety risks according to the Centers for Disease Control and Prevention.
Burn Error Messages
This occurs when food sticks to the bottom before pressure builds. Prevention: Deglaze the pot with liquid after sautéing, ensure adequate liquid (minimum 1 cup), and avoid thick sauces during initial cooking phase.
Enhancing Flavor in Pressure Cooked Chicken
While pressure cooking locks in natural flavors, these techniques elevate your results:
- Dry brine before cooking—Salt chicken 1-2 hours before cooking for deeper seasoning
- Add acid after cooking—Lemon juice or vinegar brightens flavors post-cooking
- Layer seasonings strategically—Place herbs under chicken, spices on top
- Finish with texture—Sear after pressure cooking for appealing crust
Professional kitchens often use the "cook-chill-reheat" method with pressure cookers: cook chicken to 155°F, chill rapidly, then finish to 165°F before serving. This technique, documented by the National Center for Home Food Preservation, delivers exceptionally tender results while maintaining food safety.
When Standard Times Don't Apply
These cooking times assume standard electric pressure cookers at 11-12 PSI. Adjustments are necessary for:
- High-altitude cooking—Add 5% more time for every 1,000 feet above sea level
- Extra-large cuts—Increase time by 2-3 minutes for pieces over 8 ounces
- Multiple layers—Add 20% more time when stacking chicken pieces
- Thick sauces—Increase time by 3-5 minutes when cooking in dense liquids
Remember that pressure cooking continues during natural release—chicken will gain 5-10°F during this period. This carryover cooking is why we recommend pulling chicken at 160°F if finishing with natural release, allowing it to reach the safe 165°F threshold during resting.
Can I cook frozen chicken directly in a pressure cooker?
Yes, you can safely cook frozen chicken in a pressure cooker. Increase cooking time by 30-40% compared to thawed chicken (about 12-14 minutes for frozen boneless breasts). The USDA Food Safety and Inspection Service confirms this method is safe as long as the chicken reaches 165°F internal temperature.
Why does my pressure cooked chicken sometimes become dry?
Dry chicken typically results from using quick release with lean cuts like breasts. The sudden pressure drop causes proteins to contract rapidly, squeezing out moisture. Always use natural release for at least 5 minutes with chicken breasts, and verify internal temperature doesn't exceed 165°F.
How much liquid do I need when pressure cooking chicken?
Most electric pressure cookers require at least 1 cup of liquid to reach pressure. The liquid doesn't need to cover the chicken—just enough to create steam. Broth, wine, or even water works, but avoid thick sauces that might burn before pressure builds.
Can I cook chicken and vegetables together in a pressure cooker?
Yes, but place vegetables on a trivet above the chicken or add them during the last few minutes of cooking. Dense vegetables like potatoes can go in with the chicken, but delicate vegetables like broccoli should be added after pressure cooking completes to maintain texture.
How do I know when chicken is done in a pressure cooker?
The only reliable method is using an instant-read thermometer to verify 165°F internal temperature in the thickest part (avoiding bone). Visual cues like opaque color aren't sufficient. USDA Food Safety guidelines require this temperature to eliminate harmful bacteria like salmonella.


 浙公网安备
33010002000092号
浙公网安备
33010002000092号 浙B2-20120091-4