

Mastering Chicken Cooking: Your Complete Guide to Perfect Results
Nothing beats the satisfaction of serving perfectly cooked chicken that's juicy on the inside and beautifully browned on the outside. Whether you're a beginner cook or looking to refine your skills, understanding the science behind cooking chicken transforms your results from hit-or-miss to consistently delicious. This guide covers everything you need to know about preparing safe, flavorful chicken using various cooking methods.
Food Safety First: Essential Handling Practices
Proper food handling prevents foodborne illness and ensures your chicken dishes are safe to eat. According to the USDA Food Safety and Inspection Service, raw chicken should be stored at 40°F (4°C) or below and used within 1-2 days of purchase. Always use separate cutting boards for raw poultry and ready-to-eat foods to prevent cross-contamination.
When thawing frozen chicken, never leave it at room temperature. The USDA recommends three safe methods:
- Refrigerator thawing (24 hours per 4-5 pounds)
- Cold water thawing (30 minutes per pound, changing water every 30 minutes)
- Microwave thawing (cook immediately after)
Understanding Chicken Cuts and Their Best Cooking Methods
Different chicken parts require different approaches for optimal results. Understanding these variations helps you select the right cooking technique for each cut:
| Chicken Cut | Ideal Cooking Method | Cooking Time | Special Considerations |
|---|---|---|---|
| Boneless, skinless breasts | Pan-searing, baking | 6-8 minutes per side | Prone to drying out; brine for best results |
| Bone-in, skin-on breasts | Roasting, grilling | 35-45 minutes | Skin protects moisture; higher heat for crisp skin |
| Thighs (bone-in) | Braising, roasting | 40-50 minutes | More forgiving; can handle higher temperatures |
| Wings | Baking, frying | 45-50 minutes | High fat content; excellent for crispy results |
| Whole chicken | Roasting, spatchcocking | 1½-2 hours | Requires even cooking; trussing helps maintain shape |
Step-by-Step Cooking Methods
Pan-Seared Chicken Breast: The Weeknight Solution
This reliable technique produces restaurant-quality results in your home kitchen. Start with chicken breasts brought to room temperature for 30 minutes. Pat completely dry with paper towels – this critical step ensures proper browning. Season generously with salt and pepper, then heat 1-2 tablespoons of oil in a heavy skillet over medium-high heat.
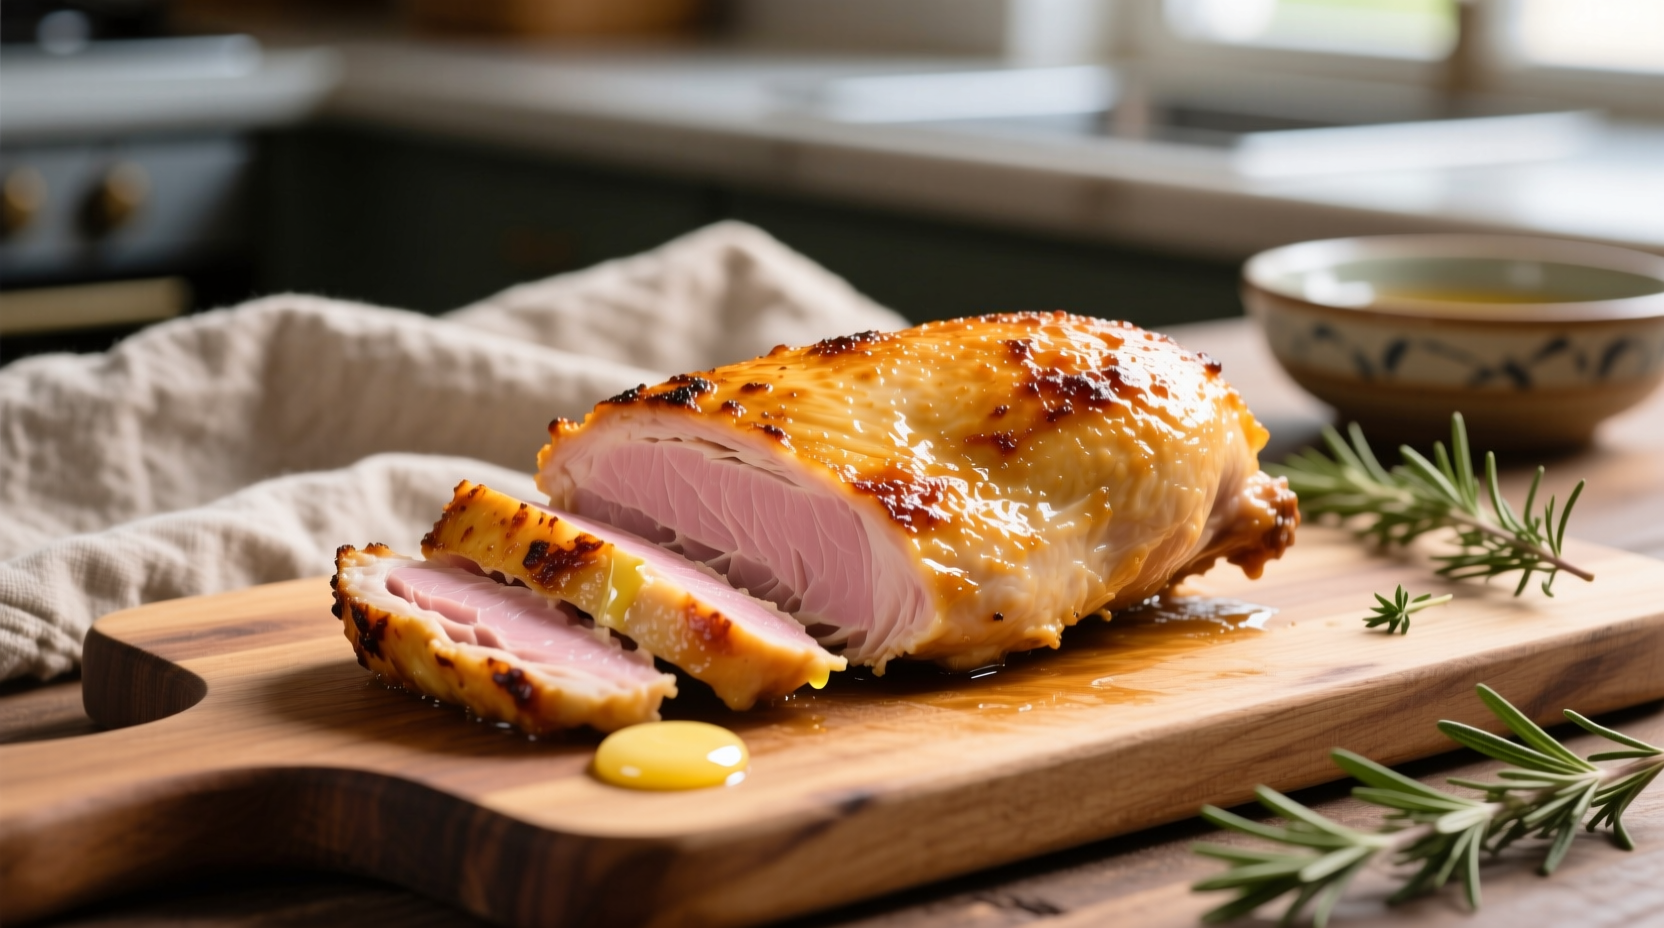
Place chicken in the skillet skin-side down if using skin-on pieces. Cook without moving for 5-7 minutes until golden brown. Flip and cook another 5-8 minutes until the internal temperature reaches 165°F (74°C). For thicker breasts, finish in a 375°F (190°C) oven. Rest for 5 minutes before slicing against the grain.
Perfect Roasted Chicken: Hands-Off Excellence
Roasting delivers evenly cooked, flavorful chicken with minimal effort. Preheat your oven to 425°F (220°C). Season chicken pieces generously, including under the skin for maximum flavor penetration. Place on a rack in a roasting pan or directly on a baking sheet.
For crisp skin, start with the chicken skin-side down in a cold pan, then transfer to the preheated oven. Roast until golden brown and cooked through, about 35-45 minutes for breast pieces. Use an instant-read thermometer to verify 165°F (74°C) in the thickest part, avoiding bone contact.
Grilling Chicken: Outdoor Flavor Mastery
Grilling adds delicious smoky notes to chicken. Create two cooking zones on your grill: one high-heat area for searing and one lower-heat area for finishing. Start chicken over direct heat to develop grill marks and flavor, then move to indirect heat to finish cooking without burning.
For bone-in pieces, grill skin-side down first over indirect heat with the lid closed. Boneless breasts work best with direct heat for 6-8 minutes per side. Always use tongs, not forks, to prevent juice loss. Baste during the last few minutes for extra flavor.
The Science of Temperature: Why 165°F Matters
Understanding chicken's temperature journey transforms your cooking results. The USDA's official guideline specifies 165°F (74°C) as the safe minimum internal temperature for all poultry. At this temperature, harmful bacteria like salmonella are instantly destroyed.
Recent research shows that holding chicken at lower temperatures for specific durations also achieves safety:
- 150°F (66°C) for 2.8 minutes
- 155°F (68°C) for 47.7 seconds
- 160°F (71°C) for 14.8 seconds
However, for home cooks, the straightforward 165°F target remains the most reliable approach. Always use an instant-read thermometer inserted into the thickest part of the meat, avoiding contact with bone.
Troubleshooting Common Chicken Problems
Dry, Overcooked Chicken
This frustrating outcome usually happens when chicken exceeds 170°F (77°C). The proteins tighten excessively, squeezing out moisture. Prevention strategies include:
- Brining in a 6% salt solution for 30-60 minutes before cooking
- Using a thermometer and removing chicken at 160°F (71°C), allowing carryover cooking to reach 165°F
- Cooking dark meat to 175-180°F (79-82°C) for optimal tenderness
Undercooked Chicken
When time is short but safety is paramount, slice thicker pieces horizontally to create thinner cutlets that cook faster. Alternatively, finish in a 350°F (175°C) oven until reaching proper temperature. Never serve chicken that hasn't reached 165°F internally.
Flavor Enhancement Techniques
Professional results come from understanding how to build flavor at each stage:
Dry Brining
Rub 1 teaspoon of kosher salt per pound of chicken 1-24 hours before cooking. This draws out moisture temporarily, then allows the salt to penetrate, seasoning the meat throughout and improving moisture retention during cooking.
Marinating Science
Acid-based marinades (vinegar, citrus) work well for 2-4 hours, while dairy-based marinades (buttermilk, yogurt) can go longer. Oil-based marinades primarily affect surface flavor. For maximum flavor penetration, inject marinade directly into thicker cuts.
Resting: The Critical Final Step
Resting for 5-10 minutes after cooking allows juices to redistribute throughout the meat. Cutting too soon releases these precious juices onto your cutting board. Tent loosely with foil during resting to maintain temperature without steaming the skin.
Expert Tips for Consistent Success
- Temperature equilibrium: Bring chicken to room temperature for 20-30 minutes before cooking for even results
- Dry surface: Pat chicken extremely dry with paper towels before seasoning
- Proper pan temperature: Test oil readiness with a breadcrumb – it should sizzle gently
- Don't overcrowd: Leave space between pieces for proper browning
- Thermometer placement: Insert at the thickest part, avoiding bone contact
Frequently Asked Questions
How long should I cook chicken breasts on the stove?
Boneless, skinless chicken breasts typically need 6-8 minutes per side in a preheated skillet over medium-high heat. Always verify with a thermometer – they're done at 165°F (74°C) internally. Thicker breasts may require finishing in a 375°F (190°C) oven.
Why is my chicken always dry even when I follow recipes?
Chicken becomes dry when cooked beyond 165°F (74°C) or when moisture isn't properly retained. Try dry brining with salt 1-24 hours before cooking, ensure your chicken is completely dry before searing, and let it rest 5-10 minutes after cooking. Bone-in, skin-on pieces are more forgiving than boneless breasts.
Can I cook chicken straight from the refrigerator?
While you can cook chicken straight from the refrigerator, bringing it to room temperature for 20-30 minutes first ensures more even cooking. Cold chicken placed directly in a hot pan will cook unevenly, with the outside overcooking before the inside reaches proper temperature.
How do I know when chicken is fully cooked without a thermometer?
While a thermometer is the only reliable method, visual cues include clear juices when pierced (not pink), firm texture when pressed, and white (not pink) meat when cut into the thickest part. However, these methods are less accurate than using a thermometer, which is strongly recommended for food safety.


 浙公网安备
33010002000092号
浙公网安备
33010002000092号 浙B2-20120091-4