
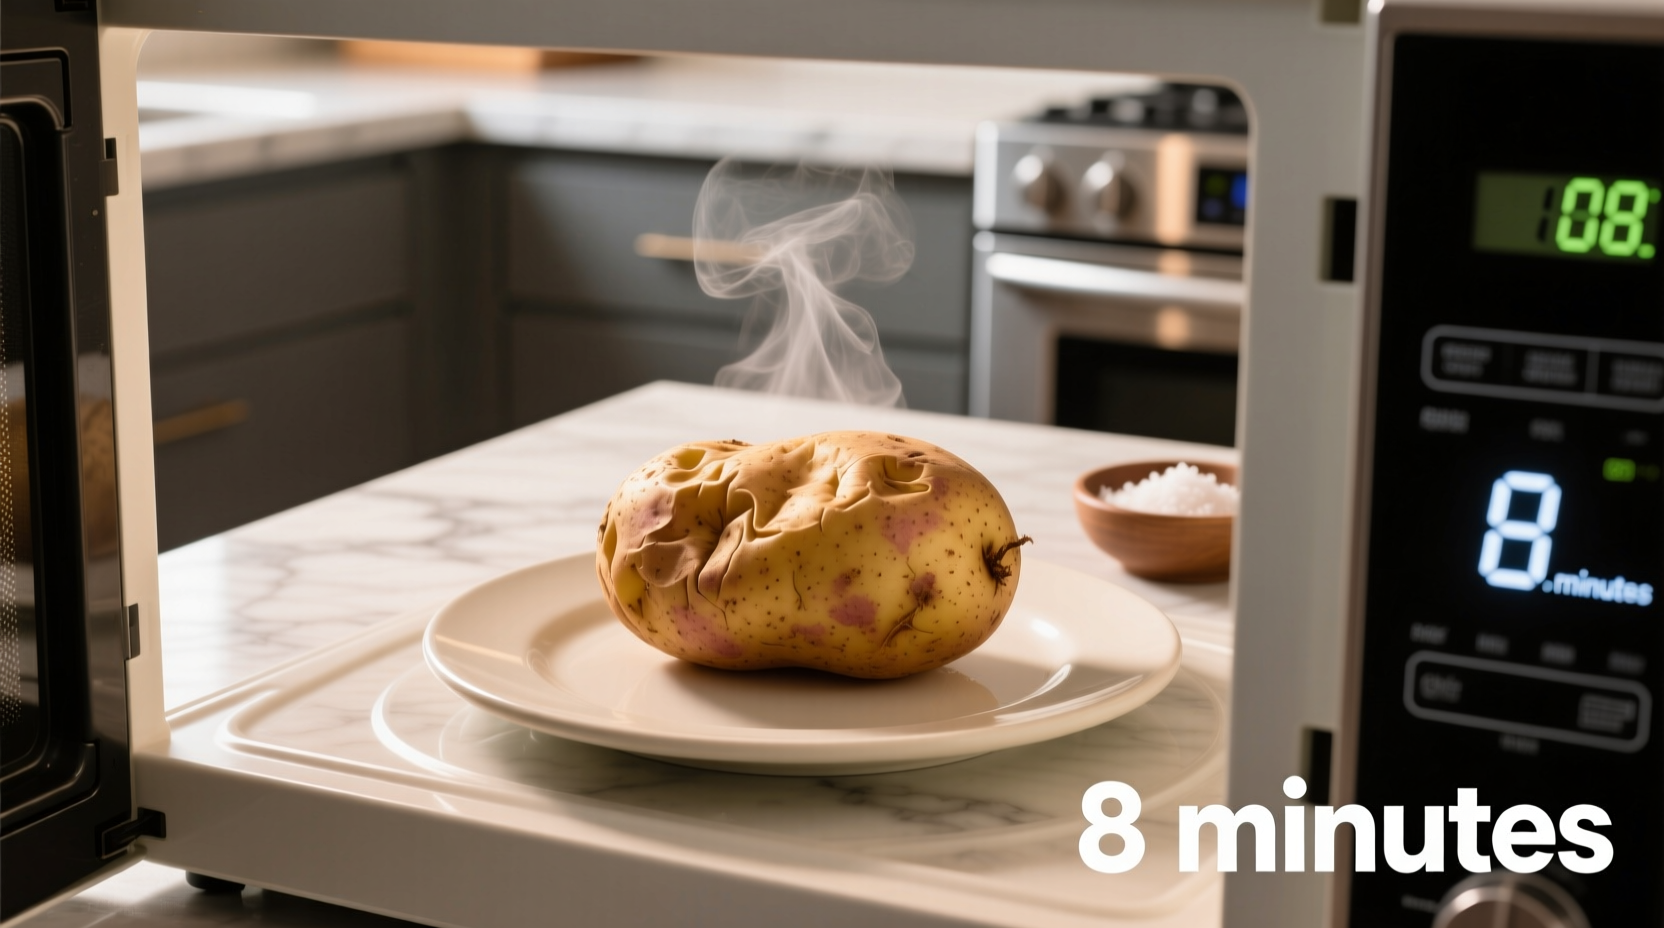
A medium-sized baked potato (5-8 ounces) takes 5-7 minutes per side in a standard 1000-watt microwave. For optimal results, pierce the skin 4-6 times, microwave on high power, and allow 2-3 minutes of resting time before handling. Larger potatoes (8-12 ounces) require 8-10 minutes per side.
Perfect Microwave Baked Potatoes: Timing Made Simple
Cooking a baked potato in the microwave is the fastest method to achieve fluffy, tender results without heating up your entire kitchen. Unlike oven baking which takes 45-60 minutes, the microwave delivers a perfectly cooked potato in under 15 minutes when you follow these precise guidelines.Your Step-by-Step Microwave Potato Journey
Preparation Phase: Setting Up for Success
Before hitting the start button, proper preparation prevents messy explosions and ensures even cooking:- Pierce thoroughly: Use a fork to make 4-6 deep punctures through the skin. This critical step releases steam during cooking, preventing dangerous bursts.
- Clean properly: Scrub potatoes under cool running water to remove dirt. Pat completely dry - moisture on the skin creates steam pockets.
- Size matters: Group similar-sized potatoes together. Mixing small and large potatoes results in uneven cooking.
Cooking Phase: Precision Timing Guide
Microwave wattage significantly impacts cooking duration. Most modern microwaves operate at 700-1200 watts. Adjust times accordingly:| Potato Size | 1000W Microwave | 800W Microwave | 700W Microwave |
|---|---|---|---|
| Small (4-5 oz) | 4-5 min per side | 5-6 min per side | 6-7 min per side |
| Medium (5-8 oz) | 5-7 min per side | 6-8 min per side | 7-9 min per side |
| Large (8-12 oz) | 8-10 min per side | 9-12 min per side | 10-14 min per side |
Finishing Phase: The Critical Rest Period
Never skip the resting time! After microwaving:- Let potatoes stand for 2-3 minutes - this allows residual heat to finish cooking the center
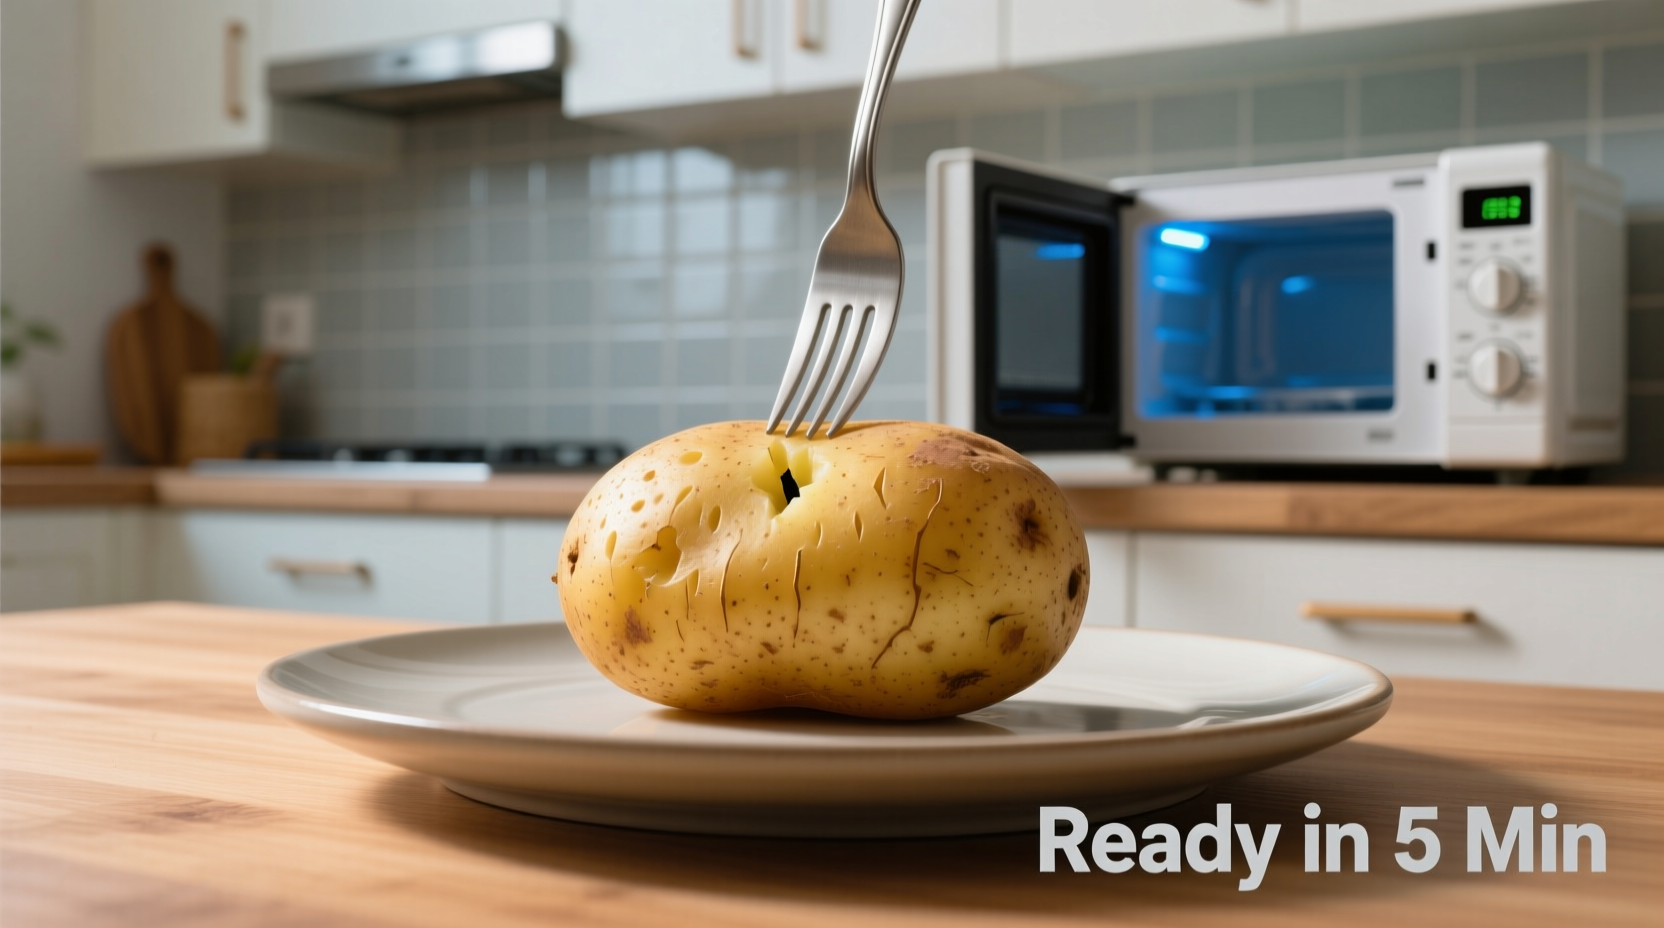
- Test doneness by gently squeezing (use oven mitts!) - properly cooked potatoes yield slightly
- Insert an instant-read thermometer into the thickest part - it should register 205-210°F (96-99°C)
- Carefully slice open and fluff with a fork before adding toppings
When Microwave Cooking Works Best (And When It Doesn't)
While convenient, microwave baking has specific use cases where it shines versus traditional methods:- Ideal for: Weeknight meals, single servings, quick side dishes, when oven access is limited
- Less suitable for: Crispy skin enthusiasts, large gatherings (ovens handle multiple potatoes better), special occasions where presentation matters
Troubleshooting Common Microwave Potato Problems
Problem: Potato exploded in microwaveSolution: You didn't pierce deeply enough. Next time, make 6-8 punctures with a sharp knife rather than a fork. Problem: Potato is still hard in the center
Solution: Your microwave wattage is lower than standard. Increase cooking time by 1-2 minutes per side or check temperature with a thermometer. Problem: Skin is tough and leathery
Solution: Rub potato with olive oil and sprinkle with salt before cooking. The oil creates steam between skin and flesh for better texture.
Why Microwave Timing Has Improved Over Decades
Early microwave ovens (1970s-1980s) required significantly longer cooking times due to lower power output and uneven heating patterns. Modern inverter technology provides consistent power delivery throughout the cooking cycle, reducing hot spots and improving reliability. Culinary research from institutions like the Culinary Institute of America has refined precise timing guidelines based on extensive testing with various potato varieties and microwave models.Maximizing Flavor in Microwave-Baked Potatoes
While speed is the main advantage, you can still achieve restaurant-quality results:- Season before cooking: Rub skin with olive oil and coarse salt for improved texture
- Add flavor boosters: Place a sprig of rosemary or thyme on top during the last 2 minutes
- Rest properly: The 3-minute rest period allows starches to fully gelatinize for optimal fluffiness
- Choose the right variety: Russets work best due to their high starch content and thick skin
Frequently Asked Questions
Can I cook multiple baked potatoes in the microwave at once?
Yes, but with limitations. Arrange up to 4 medium potatoes in a circle with space between them. Add 2-3 minutes to the total cooking time and rotate/flip them halfway through. For more than 4 potatoes, cook in batches for best results.
Why does my microwaved potato sometimes have a rubbery texture?
Rubbery texture typically occurs when potatoes are overcooked or not allowed to rest properly. The starches break down excessively without the resting period that allows moisture redistribution. Always follow the recommended rest time of 2-3 minutes after cooking.
Should I wrap my potato in plastic wrap or paper towel when microwaving?
Neither is recommended. Plastic wrap can melt and paper towels may catch fire. The best method is cooking uncovered after proper piercing. If concerned about mess, place a microwave-safe plate underneath to catch any potential leakage.
How do I know when my microwaved potato is fully cooked without a thermometer?
Gently squeeze the potato (using oven mitts). A fully cooked potato will yield slightly to pressure. Alternatively, insert a fork - it should slide in with no resistance. If the fork meets resistance, continue cooking in 1-minute increments until done.


 浙公网安备
33010002000092号
浙公网安备
33010002000092号 浙B2-20120091-4