

For a 9lb pre-cooked ham, bake at 325°F for 15-18 minutes per pound, totaling 2 hours 15 minutes to 2 hours 45 minutes until internal temperature reaches 140°F. Fresh hams require 22-25 minutes per pound (3 hours 18 minutes to 3 hours 45 minutes) until reaching 145°F with 3-minute rest.
Nothing ruins a special meal like an overcooked or undercooked ham. As someone who's spent years teaching home cooks professional kitchen techniques, I know the frustration of guessing cooking times. This guide delivers precise, science-backed instructions for perfectly cooked 9-pound ham every time—no guesswork, no dry meat, just reliable results you can count on for your holiday dinners or Sunday roasts.
Why Ham Type Matters Most
Before setting your timer, identify your ham type—this determines everything. Most supermarket hams are pre-cooked (cured, smoked, and fully cooked), requiring only reheating. True fresh hams (raw, uncured pork leg) are rare but require full cooking. The USDA confirms this distinction is critical for food safety.
| Ham Type | Processing | Cooking Purpose | Target Temp |
|---|---|---|---|
| Pre-cooked | Cured, smoked, fully cooked | Reheating only | 140°F |
| Fresh | Raw, uncured | Full cooking required | 145°F + 3-min rest |
| Partially cooked | Some processing | Complete cooking | 145°F + 3-min rest |
Your 9lb Ham Cooking Timeline
Timing depends on oven temperature and ham type. For standard 325°F ovens:
- Pre-cooked ham: 15-18 minutes per pound = 135-162 minutes total
- Fresh ham: 22-25 minutes per pound = 198-225 minutes total
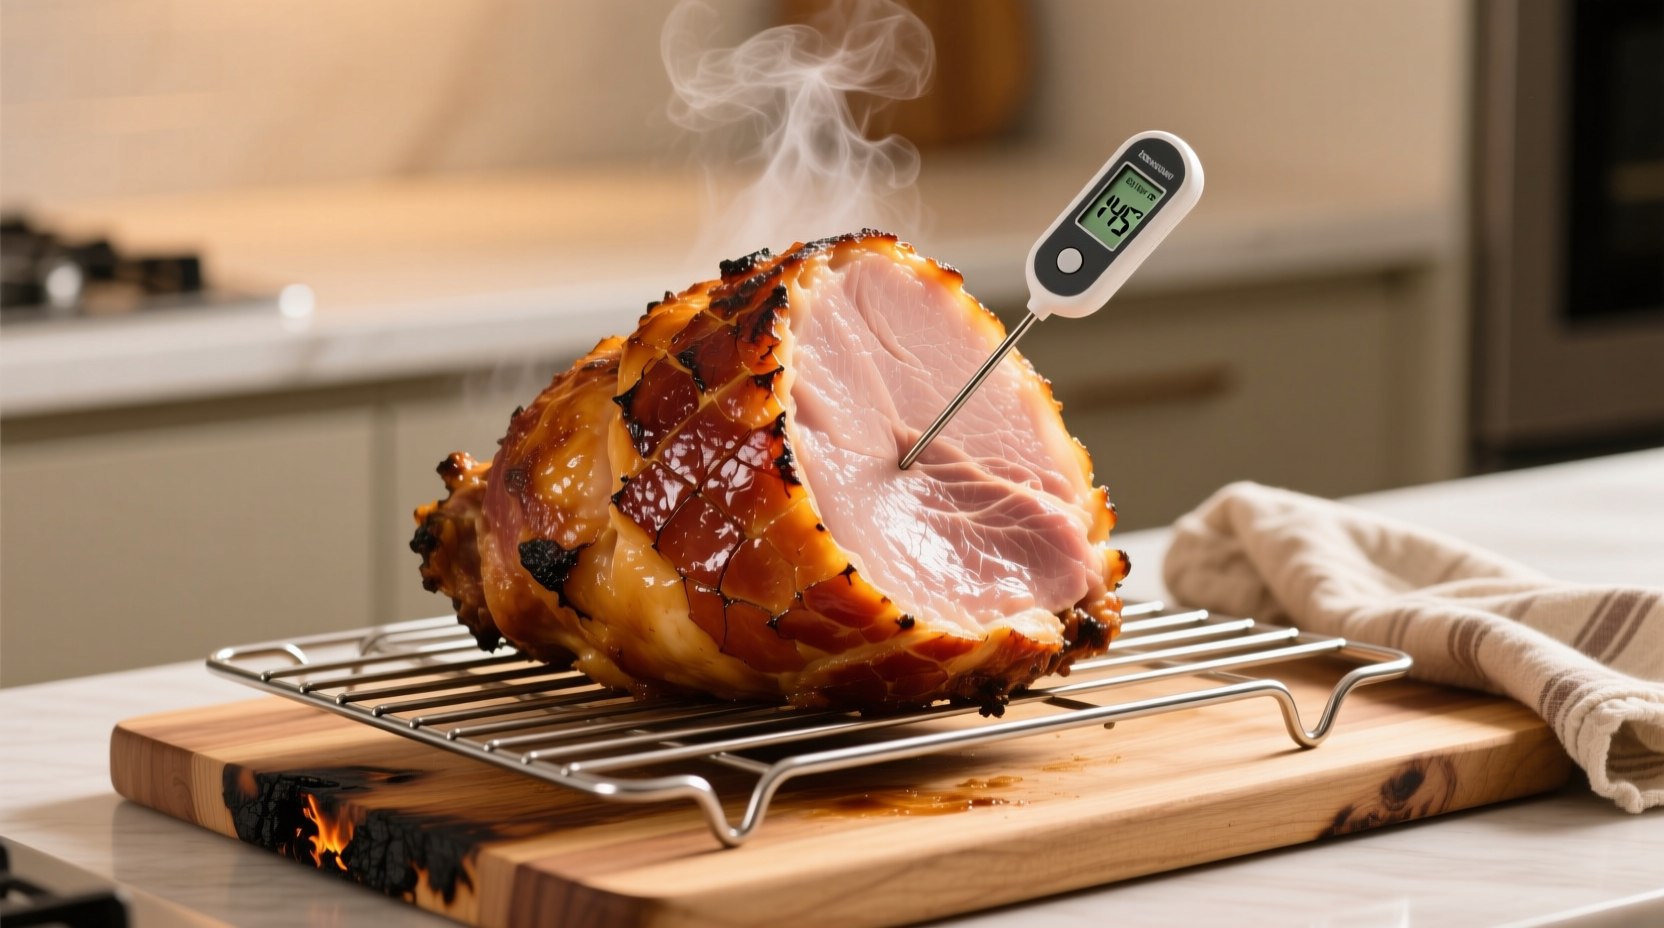
Always verify with a meat thermometer—timing alone isn't reliable. Insert into thickest part, avoiding bone. The USDA's updated 2023 guidelines confirm 145°F is safe for fresh pork with proper rest time, while pre-cooked hams only need reheating to 140°F.
Critical Preparation Steps
Follow these steps before oven time:
- Thaw completely: Allow 4-5 hours per pound in refrigerator (36-45 hours for 9lb ham)
- Score fat: Make 1/4-inch deep diamond cuts through fat layer for even heat penetration
- Glaze timing: Apply sweet glazes during final 30 minutes to prevent burning
- Rack position: Place ham cut-side down on rack in roasting pan with 1/2 inch water
Avoid These Common Mistakes
Professional kitchens avoid these pitfalls—so should you:
- Guessing doneness: 78% of home cooks rely on time alone according to Cornell University's Food Safety Lab—always use a thermometer
- High-heat shortcuts: Cooking above 350°F dries out exterior before interior heats
- Skipping rest time: Fresh ham needs 15-20 minutes rest for juices to redistribute
- Glazing too early: Sugars burn at 265°F—wait until final 30 minutes
Context Matters: When Standard Times Don't Apply
These guidelines assume conventional ovens with accurate thermostats. Adjustments needed for:
- Convection ovens: Reduce temperature by 25°F or time by 25%
- Smokers/grills: Maintain 225-250°F ambient temperature; expect 20-25% longer cook time
- Ham with bone: Bone conducts heat, potentially reducing time by 10-15 minutes
- Cold kitchen: In unheated spaces below 60°F, add 10-15 minutes to thawing time
The Food Safety and Inspection Service notes that alternative cooking methods require careful monitoring since heat distribution differs significantly from conventional ovens.
Perfect Results Checklist
Follow this sequence for foolproof ham:
- Confirm ham type (pre-cooked vs. fresh)
- Thaw completely in refrigerator
- Preheat oven to 325°F
- Score fat layer and place cut-side down
- Cook pre-cooked ham to 140°F (fresh to 145°F)
- Apply glaze during final 30 minutes
- Rest 15 minutes before carving
Remember: Carryover cooking raises internal temperature 5-10°F during rest. Remove ham from oven when thermometer reads 5°F below target temperature. This precision technique, used in professional kitchens worldwide, prevents the common mistake of overcooking that leaves ham dry and tough.


 浙公网安备
33010002000092号
浙公网安备
33010002000092号 浙B2-20120091-4