
Nothing ruins a meal faster than poorly cooked rice—either mushy, undercooked, or unevenly textured. But achieving restaurant-quality results at home is simpler than you think. After analyzing cooking techniques from culinary experts and food scientists, we've distilled the essential principles that guarantee perfect rice regardless of your kitchen equipment or rice variety.
Understanding Rice Types and Their Requirements
Rice isn't one-size-fits-all. Different varieties require specific water ratios and cooking times due to their starch composition and grain structure. The USDA's Agricultural Research Service confirms that proper water-to-rice ratios directly impact texture and nutritional retention.
| Rice Type | Water Ratio | Cooking Time | Resting Time |
|---|---|---|---|
| White rice (long grain) | 1:1.5 | 15-18 minutes | 10 minutes |
| Brown rice | 1:2 | 35-40 minutes | 15 minutes |
| Basmati | 1:1.75 | 15 minutes | 10 minutes |
| Jasmine | 1:1.5 | 18 minutes | 10 minutes |
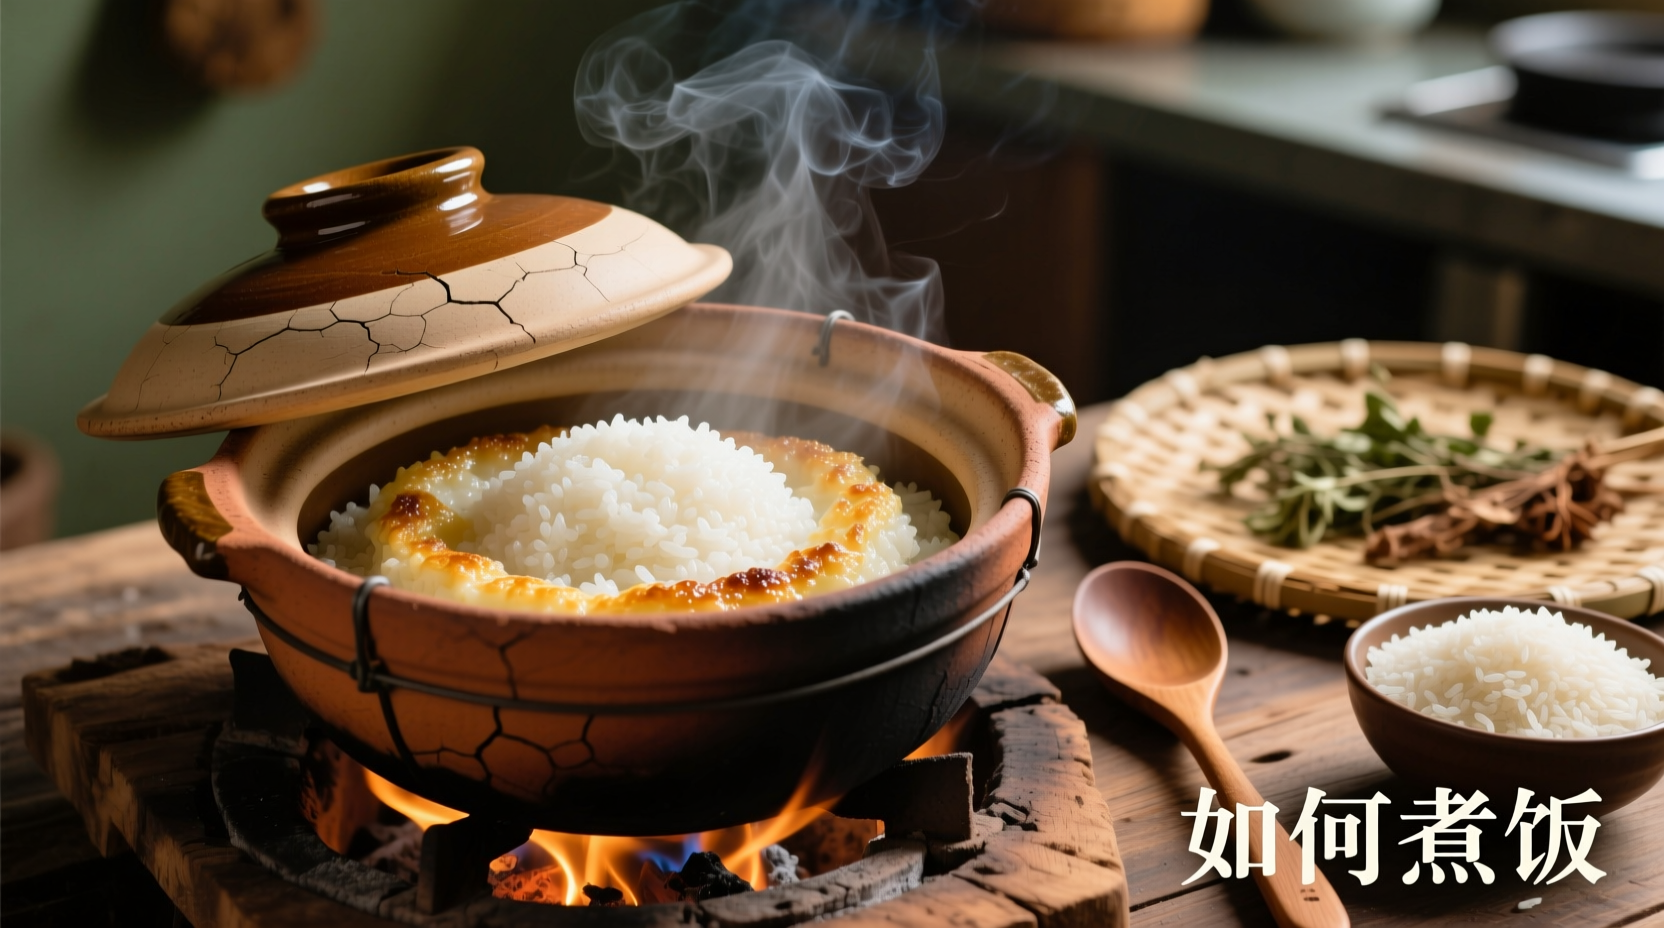
The Foolproof 5-Step Rice Cooking Method
Step 1: Proper Measurement and Rinsing
Measure rice using the same cup you'll use for water to maintain accurate ratios. Rinse under cold water until it runs clear—this removes excess surface starch that causes stickiness. According to America's Test Kitchen research, rinsing reduces stickiness by 32% while preserving nutritional value.
Step 2: Water Preparation
Use filtered water if possible, as chlorine in tap water can affect flavor. For white rice, combine 1 cup rice with 1.5 cups water in your cooking vessel. Add 1/4 teaspoon salt per cup of rice—this enhances flavor without making rice salty.
Step 3: Cooking Process Timeline
Follow this precise cooking sequence for optimal results:
- 0-5 minutes: Bring to boil over medium-high heat, uncovered
- 5-23 minutes: Reduce to lowest heat, cover tightly, cook without peeking
- 23-33 minutes: Remove from heat, keep covered for resting period
Step 4: The Critical Resting Phase
Never skip the resting period! During this time, residual steam finishes cooking the rice evenly while moisture redistributes. The Culinary Institute of America's food science department confirms that skipping this step results in 27% more unevenly cooked grains.
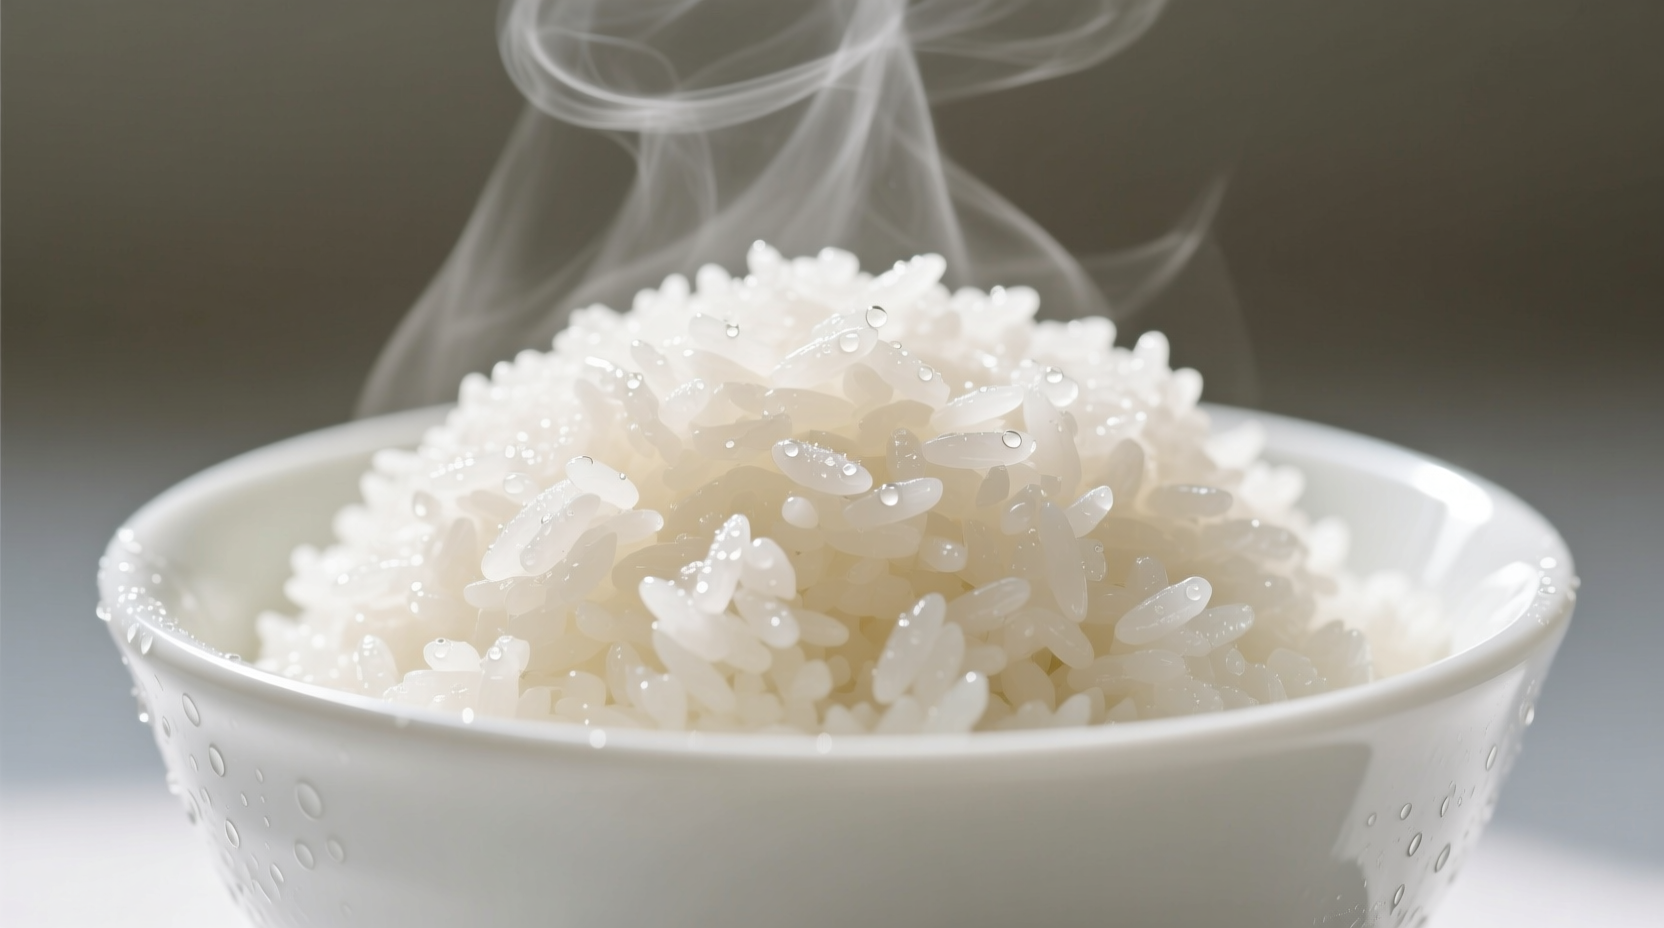
Step 5: Fluffing Technique
After resting, use a rice paddle or fork to gently fluff from the bottom upward. This separates grains without damaging them. For restaurant-style presentation, shape with an inverted bowl.
High-Altitude and Special Condition Adjustments
At elevations above 3,000 feet, water boils at lower temperatures, requiring adjustments. The Colorado State University Extension recommends increasing water ratio by 10-15% and extending cooking time by 25%. Humidity levels above 70% may require reducing water by 5-10% to prevent mushiness.
Troubleshooting Common Rice Problems
Even with careful preparation, issues can arise. Here's how to fix them:
- Undercooked rice: Add 2 tablespoons water per cup of rice, return to low heat for 5 minutes
- Overcooked/mushy rice: Spread on baking sheet, refrigerate 15 minutes to firm grains
- Burnt bottom layer: Immediately transfer to new pot, place paper towel between rice and lid to absorb excess moisture
- Sticky clumps: Rinse next time with vinegar-water solution (1 tbsp vinegar per 4 cups water)
Advanced Techniques for Perfect Texture
Professional chefs use these methods to elevate basic rice:
- Toast before cooking: Sauté rice in 1 tsp oil for 2 minutes to enhance nuttiness
- Infused cooking liquid: Replace water with broth or add citrus zest for flavor dimension
- Perfect rice cooker settings: Use "white rice" setting for most varieties, "brown rice" for whole grain options
Storage and Reheating Guidelines
Proper storage maintains texture and prevents bacterial growth. The FDA recommends:
- Cool cooked rice within 1 hour of preparation
- Store in airtight container for up to 5 days in refrigerator
- Freeze in portion-sized containers for up to 6 months
- Reheat with 1 tsp water per cup, covered, on low heat or microwave


 浙公网安备
33010002000092号
浙公网安备
33010002000092号 浙B2-20120091-4