
Perfectly cooked London broil shouldn't be tough and chewy—it should be tender, flavorful, and cooked precisely to your desired doneness. This guide delivers the exact timing, temperature control, and preparation techniques professional chefs use to transform this traditionally tough cut into a restaurant-quality meal using just your oven at 400°F.
Understanding London Broil: More Than Just a Cut
Despite common misconception, "London broil" isn't a specific beef cut but rather a cooking method originally applied to flank steak. Today, butchers often label top round, sirloin tip, or flank steak as "London broil." This distinction matters because different cuts respond uniquely to high-heat oven cooking. Top round benefits from shorter cooking times, while flank steak requires careful monitoring due to its thinner profile.
| Cut Type | Thickness Recommendation | 400°F Cooking Time | Special Considerations |
|---|---|---|---|
| Top Round | 1.5-2 inches | 18-22 minutes | More marbling, slightly more forgiving |
| Flank Steak | 0.75-1.25 inches | 12-16 minutes | Thinner cut requires closer monitoring |
| Sirloin Tip | 1.25-1.75 inches | 15-19 minutes | Leaner, benefits from acidic marinades |
Pre-Cooking Preparation: Setting Up for Success
Your London broil's tenderness begins long before it hits the oven. Professional chefs emphasize these critical preparation steps:
Selection and Trimming
Choose a cut with visible marbling but minimal external fat. The USDA Meat and Poultry Hotline recommends trimming excess fat to prevent uneven cooking, but leaving some marbling enhances flavor development during the high-heat process. Aim for a 1.5-inch thickness—thinner cuts risk overcooking at 400°F, while thicker pieces may develop an overdone exterior before the center reaches proper temperature.
Marinating Strategy
While optional, marinating significantly improves tenderness. Research from Texas A&M University's Meat Science program confirms that acidic marinades (containing vinegar, wine, or citrus) break down muscle fibers. For best results:
- Marinate 4-12 hours (longer isn't better—acid can make meat mushy)
- Pat meat completely dry before seasoning (moisture prevents proper searing)
- Bring to room temperature for 45-60 minutes before cooking
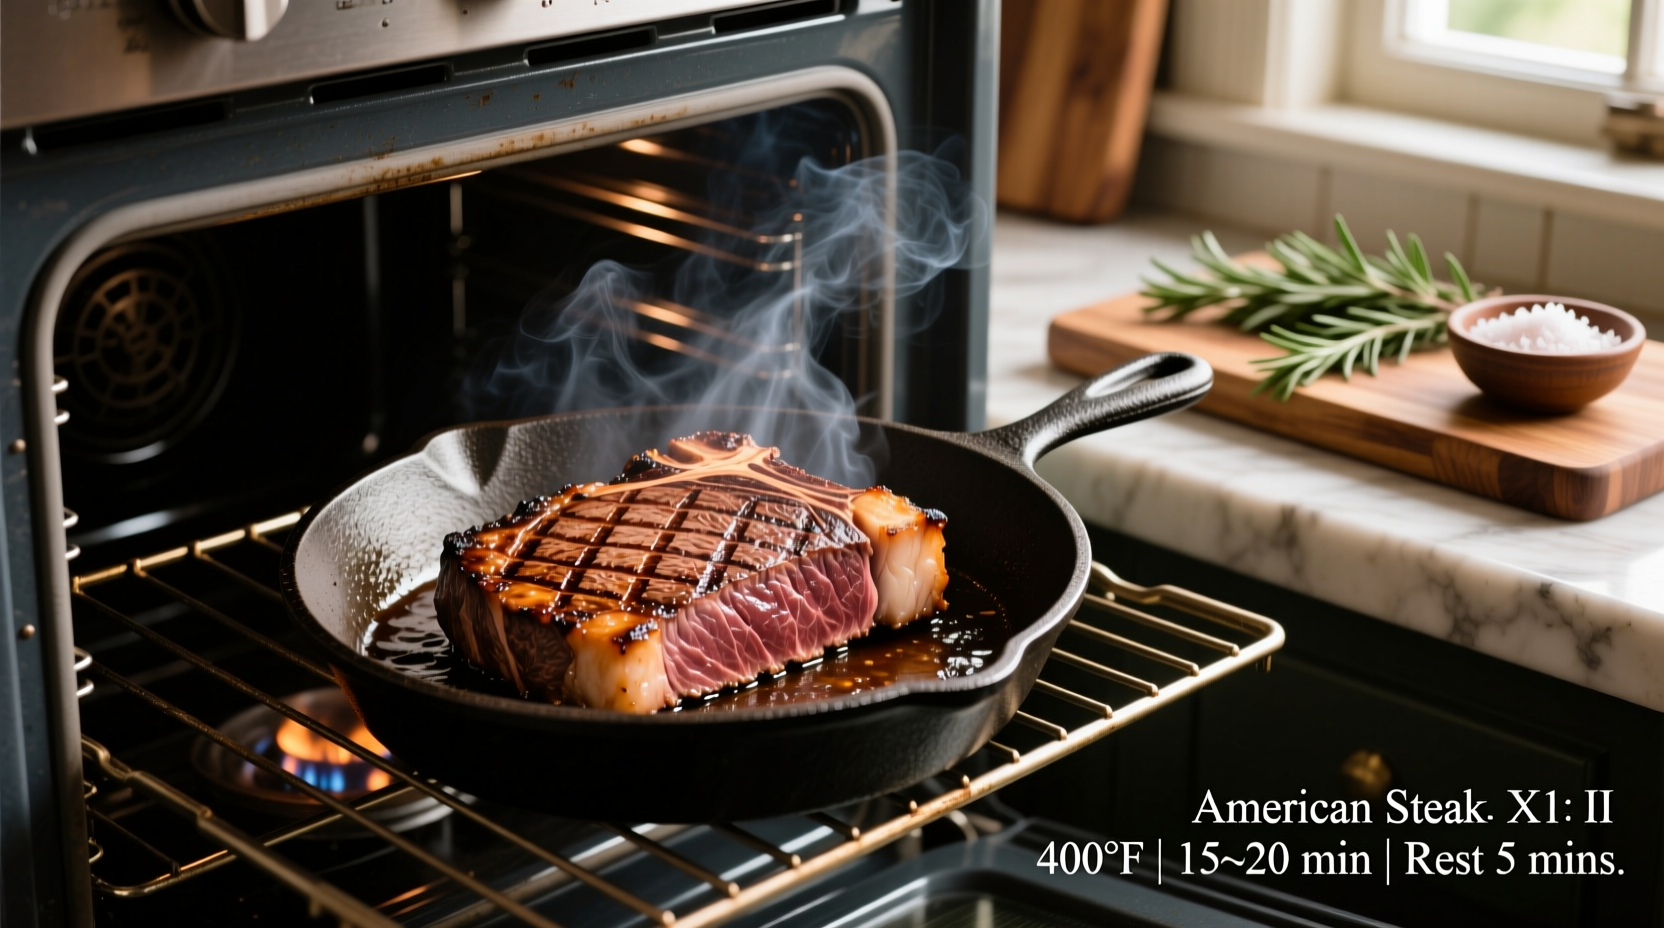
The 400°F Oven Cooking Process: Precision Timing
This high-heat method creates a flavorful crust while maintaining a properly cooked interior. Here's the professional approach:
Oven Setup and Placement
Preheat your oven to exactly 400°F with the rack positioned in the center. Use a heavy-duty rimmed baking sheet with a wire rack—this elevates the meat for even air circulation. Never place London broil directly on a pan; this steams the bottom surface, preventing proper browning. The American Institute for Cancer Research notes that proper air circulation reduces heterocyclic amine formation compared to lower-temperature, longer cooking methods.
Timing Guidelines with Temperature Checkpoints
Set a timer for 10 minutes, then begin checking internal temperature. Insert your thermometer horizontally into the thickest part, avoiding fat or bone. Here's the critical temperature timeline:
- 10 minutes: 100-110°F (begin checking)
- 15 minutes: 120-125°F (rare)
- 18 minutes: 130-135°F (medium-rare, recommended)
- 22 minutes: 140-145°F (medium)
- 25+ minutes: Over 150°F (well-done, not recommended)
Troubleshooting Common Cooking Issues
Even with precise instructions, challenges arise. Here's how to handle them:
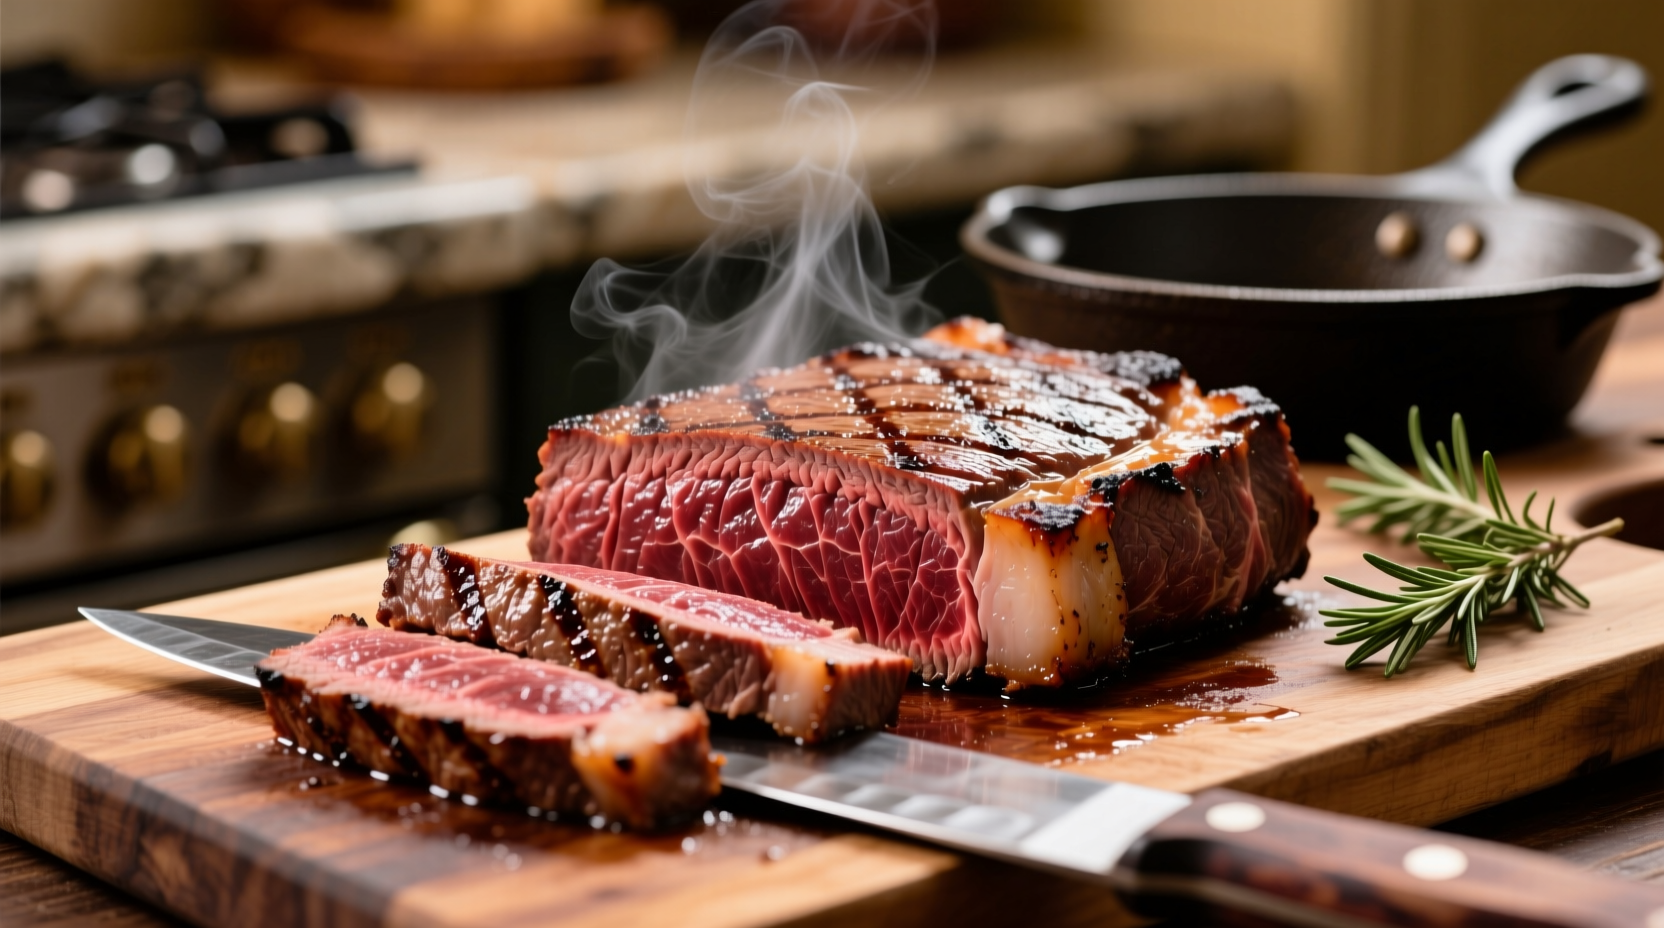
Preventing Toughness
London broil's reputation for toughness comes from improper slicing. Always slice against the grain at a 45-degree angle in 1/4-inch thick slices. This shortens the muscle fibers, making each bite more tender. If your meat turned out tough despite proper cooking, you likely sliced with the grain rather than against it.
Handling Uneven Thickness
Many London broil cuts have varying thickness. Professional chefs use the "tenting" technique: fold thinner sections under and secure with kitchen twine to create more uniform thickness. This ensures even cooking at 400°F without overcooking thinner portions.
Serving and Storage Recommendations
The final critical step happens after the oven. Resting allows juices to redistribute—skip this and you'll lose precious moisture. Tent loosely with foil and rest for 10 minutes minimum (15 for thicker cuts). For serving, pair with roasted vegetables or a fresh arugula salad with lemon vinaigrette to complement the rich beef flavor.
Store leftovers in an airtight container for up to 4 days. The USDA Food Safety and Inspection Service recommends reheating to 165°F internal temperature. For best results when reheating, slice cold and place in a covered dish with a splash of broth before warming in a 300°F oven.
Frequently Asked Questions
Can I cook frozen London broil at 400°F?
No, cooking frozen London broil at 400°F creates uneven results. The exterior overcooks while the interior remains undercooked. Thaw completely in the refrigerator for 24 hours before cooking for best results and food safety.
Why does my London broil always turn out tough?
Toughness typically results from either overcooking (beyond 145°F internal temperature) or improper slicing. Always cook to medium-rare (130-135°F), rest 10 minutes, and slice against the grain at a 45-degree angle in thin slices.
Should I sear London broil before oven cooking at 400°F?
Searing before oven cooking creates superior flavor through the Maillard reaction. Heat 1 tablespoon oil in an oven-safe skillet over high heat, sear 2-3 minutes per side until deeply browned, then transfer skillet directly to the preheated 400°F oven for remaining cooking time.
How do I know when London broil is done without a thermometer?
While a thermometer is essential for precision, you can use the touch test: medium-rare feels like the fleshy part of your palm below the thumb when touching thumb to middle finger. However, this method is unreliable for beginners—invest in an instant-read thermometer for consistent results.


 浙公网安备
33010002000092号
浙公网安备
33010002000092号 浙B2-20120091-4