
Getting the cooking time right for a whole chicken isn't just about flavor—it's critical for food safety and texture. Undercooked chicken risks salmonella exposure, while overcooked chicken becomes dry and tough. This guide provides precise timing based on USDA food safety standards, professional chef techniques, and practical adjustments for different cooking scenarios. You'll learn exactly how long to cook your 4 lb chicken, how to verify doneness properly, and techniques to ensure juicy results every time.
The Science Behind Chicken Cooking Times
Understanding why cooking time varies helps you adapt to different situations. A 4 lb chicken follows the general rule of 15-20 minutes per pound at 375°F, but several factors influence the actual time needed:
| Factor | Impact on Cooking Time | Practical Adjustment |
|---|---|---|
| Oven temperature accuracy | ±15°F variation can change time by 10-15 minutes | Use independent oven thermometer |
| Starting temperature | Cold from fridge adds 15-20 minutes | Bring to room temp for 30-60 minutes |
| Stuffing presence | Increases time by 20-30 minutes | Cook stuffing separately for food safety |
| Convection setting | Reduces time by 20-25% | Lower temp by 25°F or reduce time |
According to the USDA Food Safety and Inspection Service, poultry must reach 165°F internally to eliminate harmful bacteria. This temperature measurement is far more reliable than timing alone, as oven variances and chicken density affect actual cooking progress.
Step-by-Step Cooking Process
Preparation Phase (15 minutes)
Proper preparation sets the stage for even cooking:
- Remove chicken from refrigerator 30-60 minutes before cooking to reduce temperature gradient
- Dry the skin thoroughly with paper towels—moisture creates steam, preventing crisp skin
- Truss the legs with kitchen twine to maintain shape and promote even cooking
- Season generously under the skin and on the surface for maximum flavor penetration
Cooking Phase (80-100 minutes)
Follow these precise steps for optimal results:
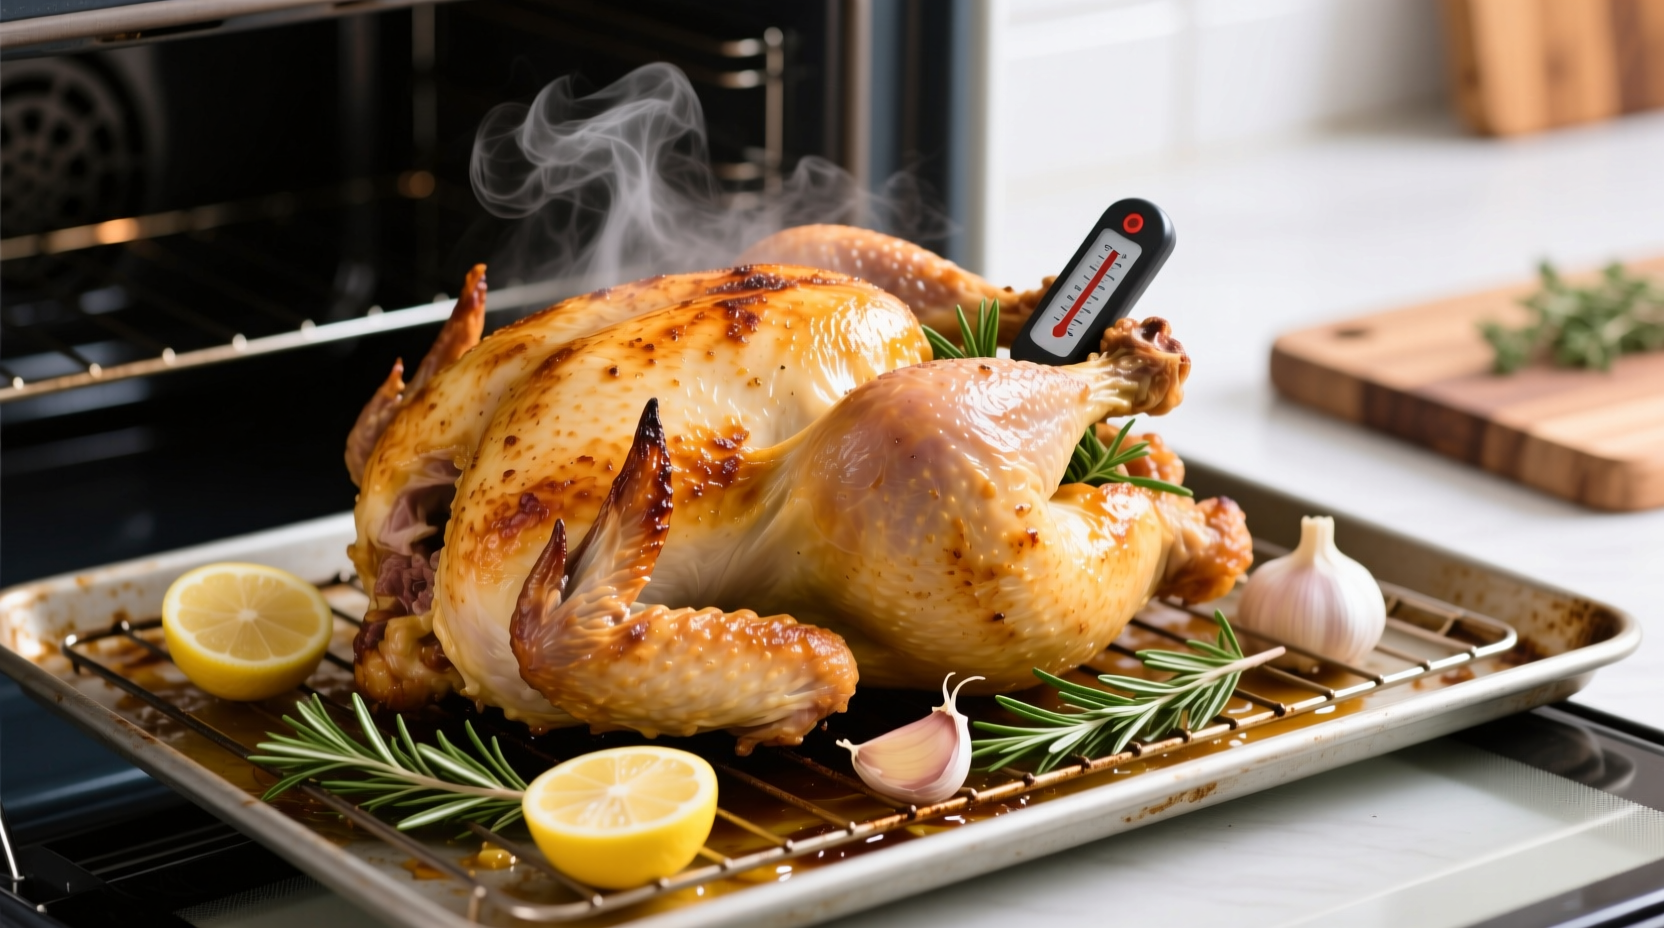
- Preheat oven to 375°F (190°C) with rack in the center position
- Place chicken breast-side up on a rack in a roasting pan
- Insert meat thermometer into thickest part of thigh, avoiding bone
- Roast undisturbed for first 45 minutes to allow proper browning
- Check temperature at 60 minutes—target 150°F for carryover cooking
- Continue roasting until thermometer reads 160°F (will reach 165°F during resting)
Professional chefs often use the high-heat finish technique: increase temperature to 425°F for the final 10-15 minutes to achieve perfectly crisp skin without overcooking the meat.
Verifying Proper Doneness
Timing provides a guideline, but temperature verification is essential. The Centers for Disease Control and Prevention emphasizes that visual cues alone aren't sufficient for determining poultry safety.
Use an instant-read thermometer to check multiple points:
- Thickest part of thigh (165°F minimum)
- Innermost part of wing (165°F minimum)
- Meatiest part of breast (165°F minimum)
Additional verification methods include:
- Clear juices when pierced (not pink)
- Legs move freely in their sockets
- Meat separates easily from bone
Troubleshooting Common Issues
Even with careful timing, challenges arise. Understanding context boundaries helps you adapt:
When Chicken Cooks Too Fast
If your 4 lb chicken reaches 165°F significantly before 80 minutes:
- Oven runs hotter than indicated—verify with independent thermometer
- Chicken was smaller than labeled—check actual weight
- Solution: Lower oven temperature by 25°F and tent with foil
When Chicken Cooks Too Slow
If temperature isn't progressing as expected:
- Oven door opened frequently—minimize checking
- Cold chicken placed directly in oven—always bring to room temperature first
- Solution: Increase temperature by 25°F for final 20 minutes
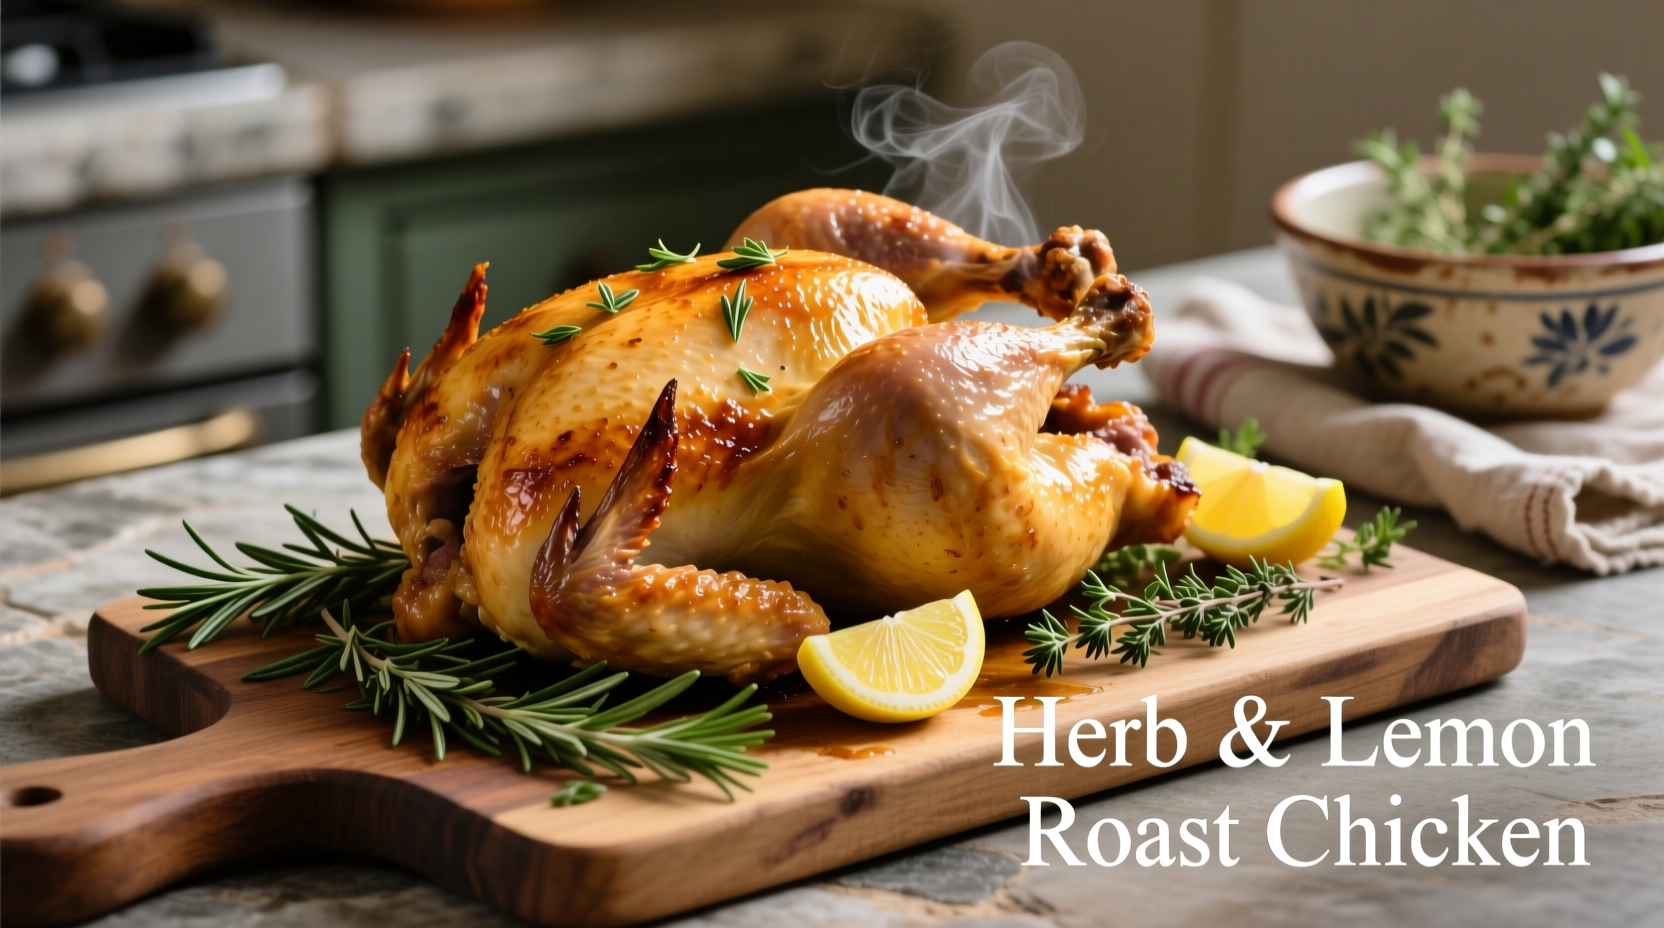
Resting and Serving
Resting is not optional—it's critical for juicy results. When you remove the chicken from the oven:
- Tent loosely with foil to retain heat without steaming the skin
- Rest for 15-20 minutes (carryover cooking will raise temperature 5-10°F)
- During resting, juices redistribute throughout the meat
- Serving too soon causes juices to run out, leaving dry meat
For best results, carve against the grain and serve immediately after resting. The resting period also allows you to prepare gravy from pan drippings without rushing the critical temperature stabilization phase.
Adapting for Different Cooking Methods
While conventional oven roasting is standard, these variations affect timing:
Convection Oven Cooking
Convection ovens circulate hot air, cooking food 20-25% faster:
- Reduce temperature by 25°F (cook at 350°F instead of 375°F)
- Expect cooking time of 1 hour to 1 hour 20 minutes
- Check temperature 15 minutes earlier than conventional method
High-Heat Roasting Method
For crispier skin with shorter overall time:
- Start at 425°F for 30 minutes
- Reduce to 350°F for remaining time
- Total time approximately 1 hour 10 minutes
- Requires closer monitoring to prevent over-browning
Frequently Asked Questions
How do I know when a 4 lb chicken is fully cooked without a thermometer?
While a thermometer is strongly recommended for food safety, you can check by piercing the thickest part of the thigh—juices should run completely clear with no pink tint. The leg should also move freely in its socket, and meat should separate easily from the bone. However, these visual methods are less reliable than temperature verification per USDA guidelines.
Should I stuff a 4 lb chicken, and how does it affect cooking time?
Food safety experts recommend cooking stuffing separately. When stuffed, a 4 lb chicken requires an additional 20-30 minutes of cooking time, and the stuffing must also reach 165°F internally. Stuffing slows heat transfer to the chicken's center, increasing the risk of undercooked poultry while the outer meat overcooks.
Why does my roasted chicken turn out dry even when I follow cooking times?
Dry chicken typically results from overcooking or skipping the resting period. Even 5-10 minutes past optimal temperature causes significant moisture loss. Always remove chicken at 160°F (it will reach 165°F during resting), and allow 15-20 minutes resting time before carving. Brining beforehand also helps retain moisture during cooking.
Can I cook a frozen 4 lb chicken, and how does it affect timing?
Yes, but it requires significant time adjustment. A frozen 4 lb chicken needs approximately 50% more cooking time than thawed—about 2 hours 10 minutes to 2 hours 30 minutes at 375°F. Always verify final temperature reaches 165°F in multiple spots, as frozen centers may not cook evenly. Thawing in the refrigerator is preferred for food safety and better results.


 浙公网安备
33010002000092号
浙公网安备
33010002000092号 浙B2-20120091-4