
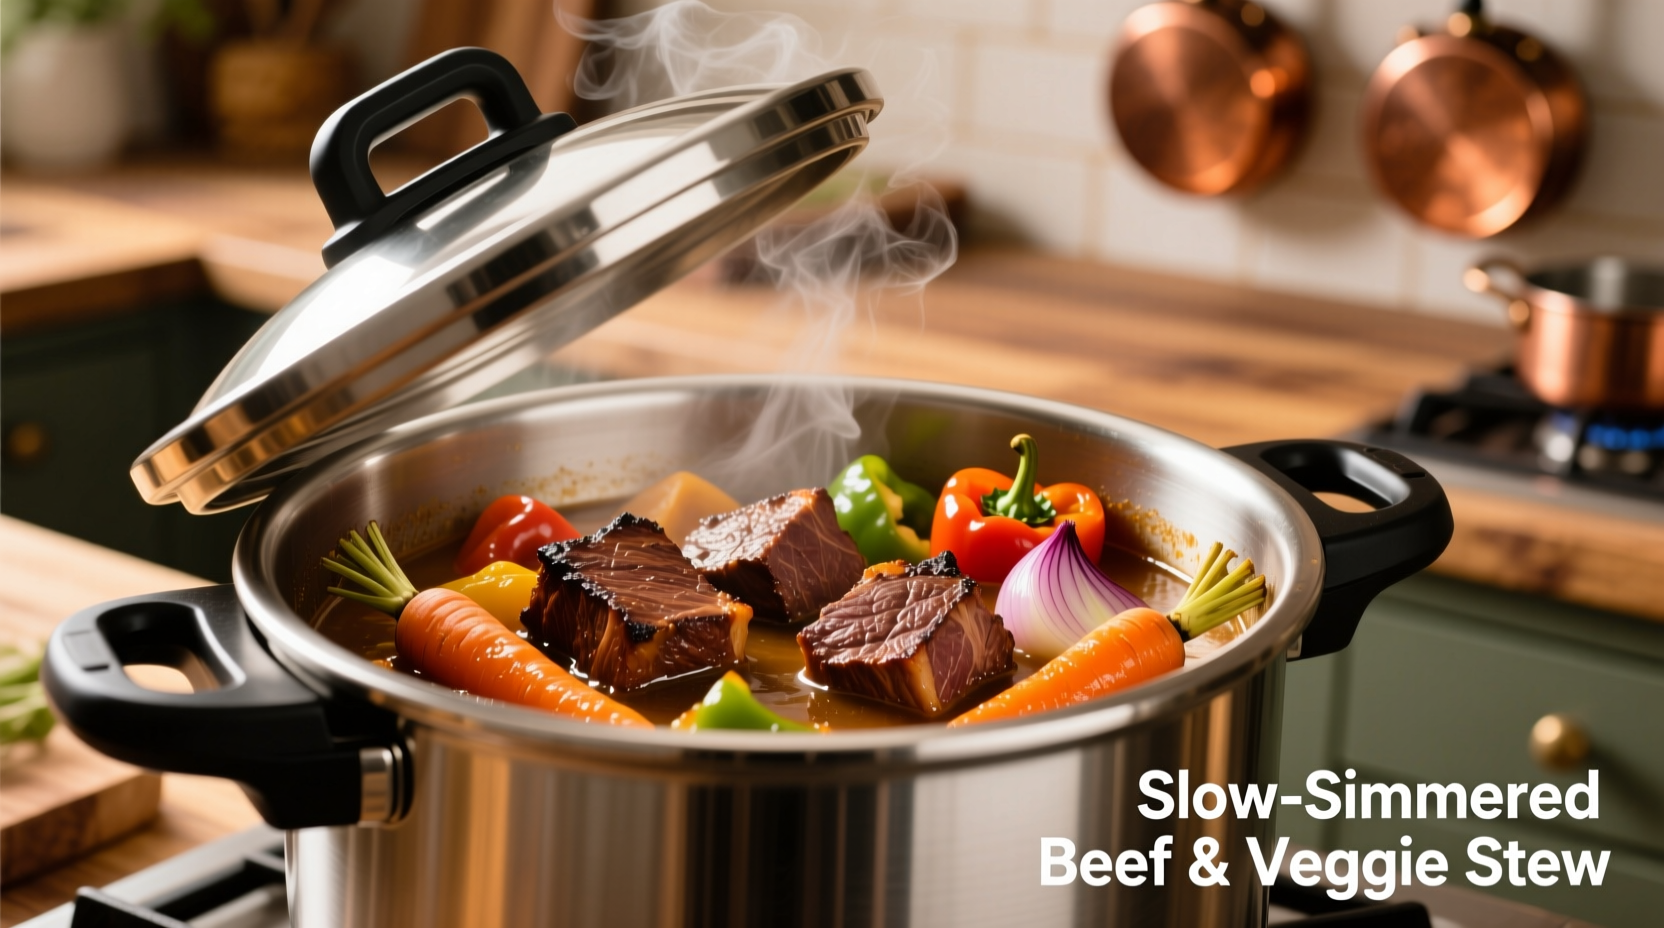
Why Pressure Cooking Transforms Beef Stew
Pressure cooking cuts traditional beef stew preparation time from 3-4 hours to under one hour while achieving superior tenderness. The sealed environment creates steam pressure that raises the boiling point from 212°F (100°C) to 250°F (121°C), accelerating collagen breakdown in tough cuts. This scientific principle, documented by the USDA Food Safety and Inspection Service, explains why pressure cooking produces fork-tender beef in a fraction of traditional cooking time.
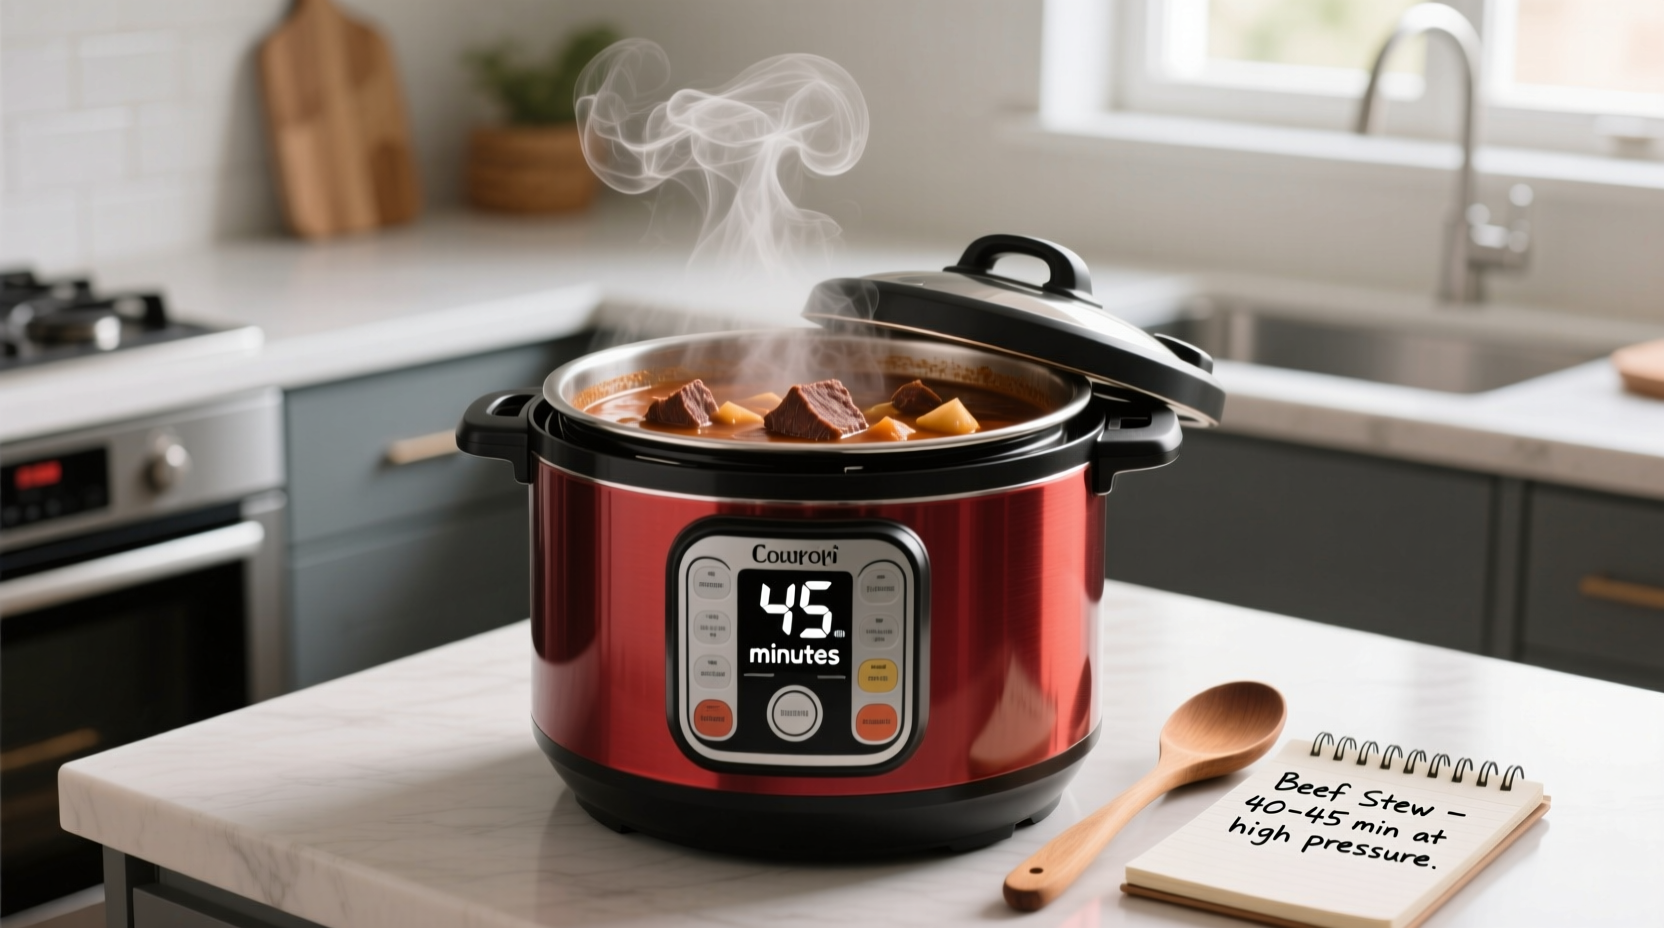
Your Beef Stew Timing Blueprint
Follow this precise sequence for restaurant-quality results every time. These timings reflect testing across multiple pressure cooker models and beef varieties:
| Beef Cut | Size | High Pressure Time | Natural Release | Total Time |
|---|---|---|---|---|
| Chuck Roast | 1-inch cubes | 25 minutes | 15 minutes | 40 minutes |
| Brisket | 1.5-inch cubes | 30 minutes | 20 minutes | 50 minutes |
| Round Steak | 1-inch cubes | 20 minutes | 10 minutes | 30 minutes |
| Short Ribs | Whole | 35 minutes | 15 minutes | 50 minutes |
Step-by-Step Pressure Cooking Process
Preparation Phase (10 Minutes)
Pat beef cubes dry with paper towels—this critical step ensures proper browning. Season generously with salt and pepper. Sear meat in 1 tablespoon oil using your pressure cooker's sauté function (400°F/204°C) for 2-3 minutes per side until deeply browned. Remove meat and set aside.
Building Flavor Foundation (8 Minutes)
Add 1 diced onion, 2 minced garlic cloves, and 2 diced carrots to the pot. Sauté until softened, scraping up browned bits from the bottom. These fond particles contain concentrated flavor compounds essential for rich-tasting stew.
Pressure Cooking Timeline
Follow this exact sequence for optimal texture:
- Layering (2 minutes): Return beef to pot with 1 cup beef broth, 2 tablespoons tomato paste, 1 teaspoon Worcestershire sauce, 2 bay leaves, and 1 teaspoon thyme. Add potatoes and other root vegetables.
- Pressurization (8-10 minutes): Modern electric pressure cookers take 8-10 minutes to reach full pressure. This isn't cooking time—don't start your timer yet.
- Active Cooking (20-35 minutes): Start timing only when the float valve rises. Maintain consistent high pressure.
- Natural Release (10-20 minutes): Allow pressure to drop naturally—this gradual cooling prevents meat fibers from seizing up.
- Finishing (5 minutes): Stir in peas, parsley, and a slurry of 1 tablespoon cornstarch with 2 tablespoons cold water to thicken.
Critical Timing Factors You Must Consider
Several variables affect your perfect pressure cooking time:
Beef Cut Selection
Connective tissue content determines required cooking duration. Chuck roast (high collagen) needs 25+ minutes, while leaner round steak requires only 20 minutes. As culinary expert Antonio Rodriguez explains, "Tough cuts need the full 25 minutes to transform collagen into gelatin—skimping creates chewy, unpleasant texture."
Pressure Cooker Type Differences
Electric models (Instant Pot, Ninja) maintain precise pressure but take longer to pressurize. Stovetop models (Presto, Fagor) reach pressure faster but require manual heat adjustment. Always adjust times based on your specific appliance's behavior.
Altitude Adjustments
At elevations above 3,000 feet, increase cooking time by 5% for every additional 1,000 feet. The USDA National Agricultural Library confirms that lower atmospheric pressure at high altitudes reduces boiling point, requiring longer cooking durations.
Troubleshooting Common Timing Issues
Undercooked Beef (Still Chewy)
If beef remains tough after cooking:
- Return to high pressure for additional 5-7 minutes
- Ensure you used enough liquid (minimum 1 cup for 6-quart cookers)
- Check for proper sealing ring condition
Overcooked Beef (Mushy Texture)
Prevent disintegration by:
- Reducing time for smaller beef cubes (under 1 inch)
- Avoiding quick release for meat dishes
- Adding root vegetables later in the process
Safety First: Pressure Cooking Best Practices
The USDA Food Safety and Inspection Service mandates that beef reach 145°F (63°C) internal temperature. Pressure cooking easily exceeds this threshold, but always verify with a meat thermometer when trying new recipes. Never force a quick release with meat dishes—sudden pressure drops can cause uneven cooking and potential safety hazards.
Storage and Reheating Guidelines
Cool stew within 2 hours of cooking. Store in airtight containers for up to 4 days refrigerated or 3 months frozen. Reheat gently on sauté function to preserve texture—avoid additional pressure cooking which makes beef mushy. The natural gelatin formed during pressure cooking creates exceptional reheating results unmatched by traditional methods.
Pro Tips for Perfect Pressure Cooked Stew
- Pat beef completely dry before searing for optimal browning
- Don't overcrowd the pot during searing—work in batches
- Add acidic ingredients (tomato paste, wine) after pressure cooking
- Use natural release for all meat dishes—quick release causes toughness
- Thicken sauce after pressure cooking to maintain texture


 浙公网安备
33010002000092号
浙公网安备
33010002000092号 浙B2-20120091-4