
The Science Behind Perfect Short Rib Cooking
Understanding why timing matters transforms your cooking results. Short ribs contain abundant collagen, a tough connective tissue that requires slow transformation into gelatin for that signature melt-in-your-mouth texture. According to food science research from the USDA National Agricultural Library, this conversion begins at 160°F (71°C) but reaches optimal tenderness between 200-205°F (93-96°C).
Unlike leaner cuts, short ribs demand patience—rushing the process with high heat creates tough, dry meat. The ideal cooking window balances temperature and time to fully break down collagen while retaining moisture. This explains why "low and slow" methods consistently deliver superior results compared to faster high-heat approaches.
Your Step-by-Step Cooking Journey
Follow this proven sequence for restaurant-quality short ribs every time. These steps align with professional kitchen practices documented by the Culinary Institute of America.
Preparation Phase
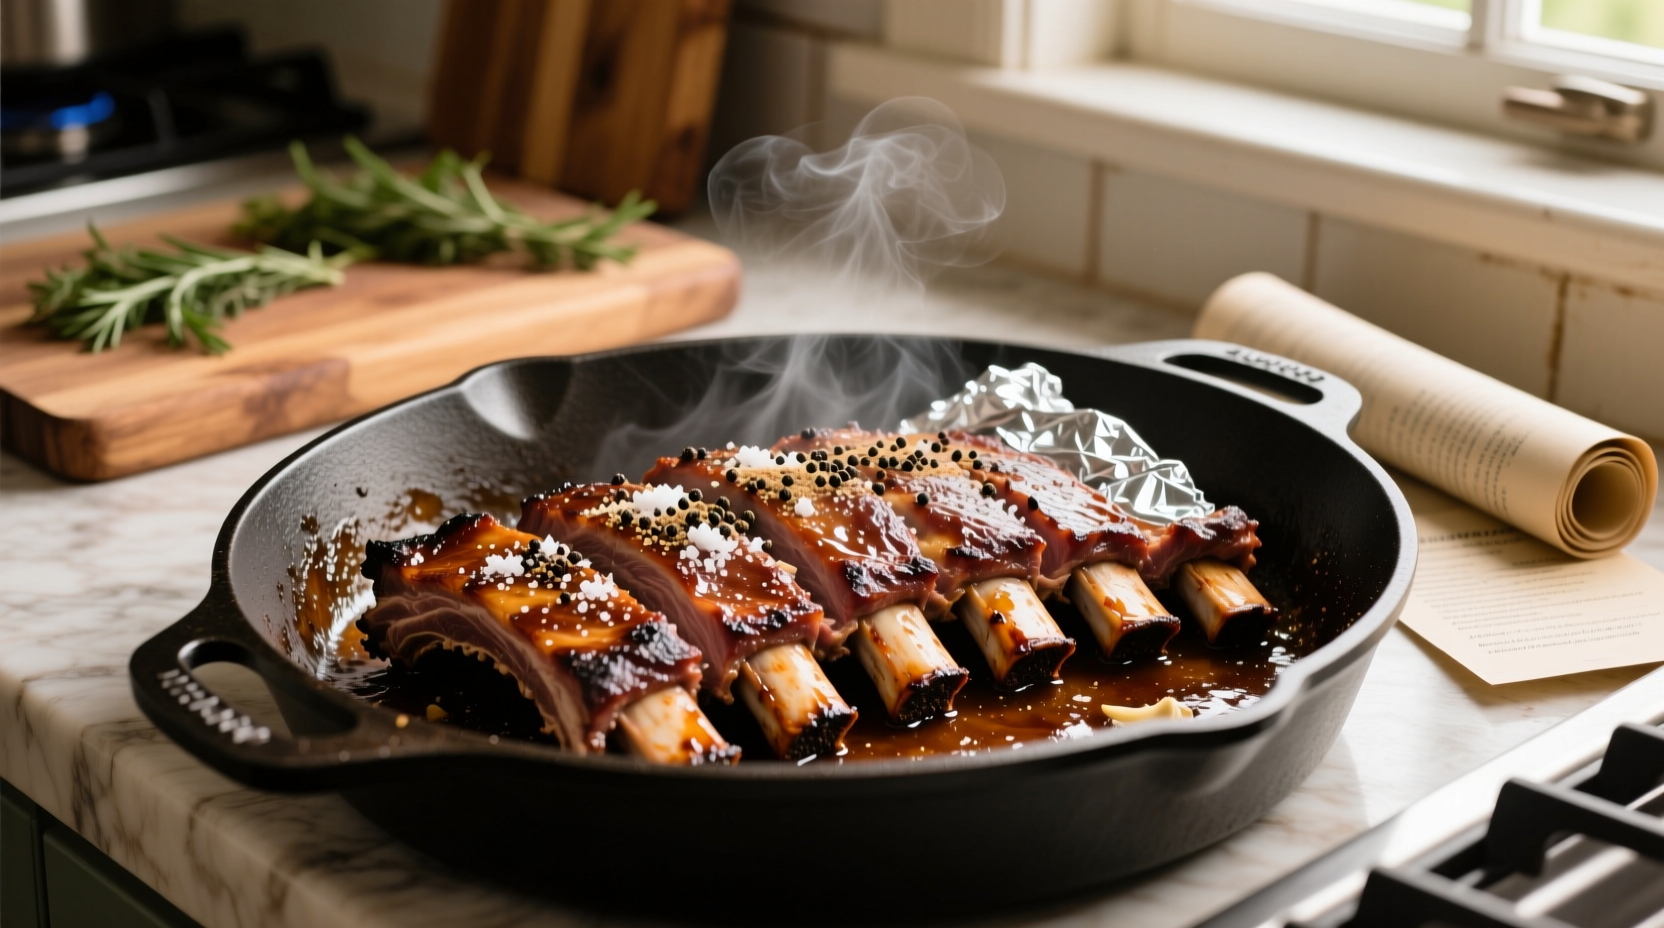
Start with properly trimmed ribs—remove excess fat caps but preserve intramuscular marbling. Pat dry thoroughly; moisture prevents proper searing. Season generously with kosher salt 1-2 hours before cooking to enhance flavor penetration. This crucial resting period allows salt to migrate into the meat, improving both taste and texture.
Searing for Maximum Flavor
Heat heavy-bottomed Dutch oven over medium-high heat until shimmering. Sear ribs in batches for 3-4 minutes per side until deep brown crust forms. Don't rush this step—proper searing creates hundreds of flavor compounds through the Maillard reaction. As noted in Harold McGee's On Food and Cooking, these compounds form the foundation of your dish's flavor profile.
| Oven Temperature | Approximate Cooking Time | Texture Result |
|---|---|---|
| 275°F (135°C) | 3.5-4 hours | Extremely tender, falling apart |
| 300°F (149°C) | 3-3.5 hours | Ideal balance of structure and tenderness |
| 325°F (163°C) | 2.5-3 hours | Firm but tender, holds shape well |
| 350°F (177°C) | 2-2.5 hours | Less tender, risk of drying out |
Monitoring Progress Without Guesswork
Resist the urge to constantly check your ribs—each oven opening drops temperature significantly. Instead, use these reliable doneness indicators:
- Internal temperature: Insert instant-read thermometer into thickest part. Target 200-205°F (93-96°C) for perfect tenderness.
- The twist test: Gently twist a bone with tongs. If it rotates freely with slight resistance, they're ready.
- Probe tenderness: A skewer should slide through meat with almost no resistance.
Remember that short ribs continue cooking during the essential 15-20 minute resting period. This allows juices to redistribute and final collagen breakdown to complete. Skipping this step causes valuable moisture loss when cutting.
Troubleshooting Common Short Rib Challenges
Even experienced cooks encounter issues. Here's how to fix them:
Ribs Still Tough After Recommended Time
This indicates insufficient collagen breakdown. Return to oven and check every 20 minutes. As documented in Modernist Cuisine, connective tissue conversion varies based on animal age and diet. Grass-fed beef often requires additional time compared to grain-finished.
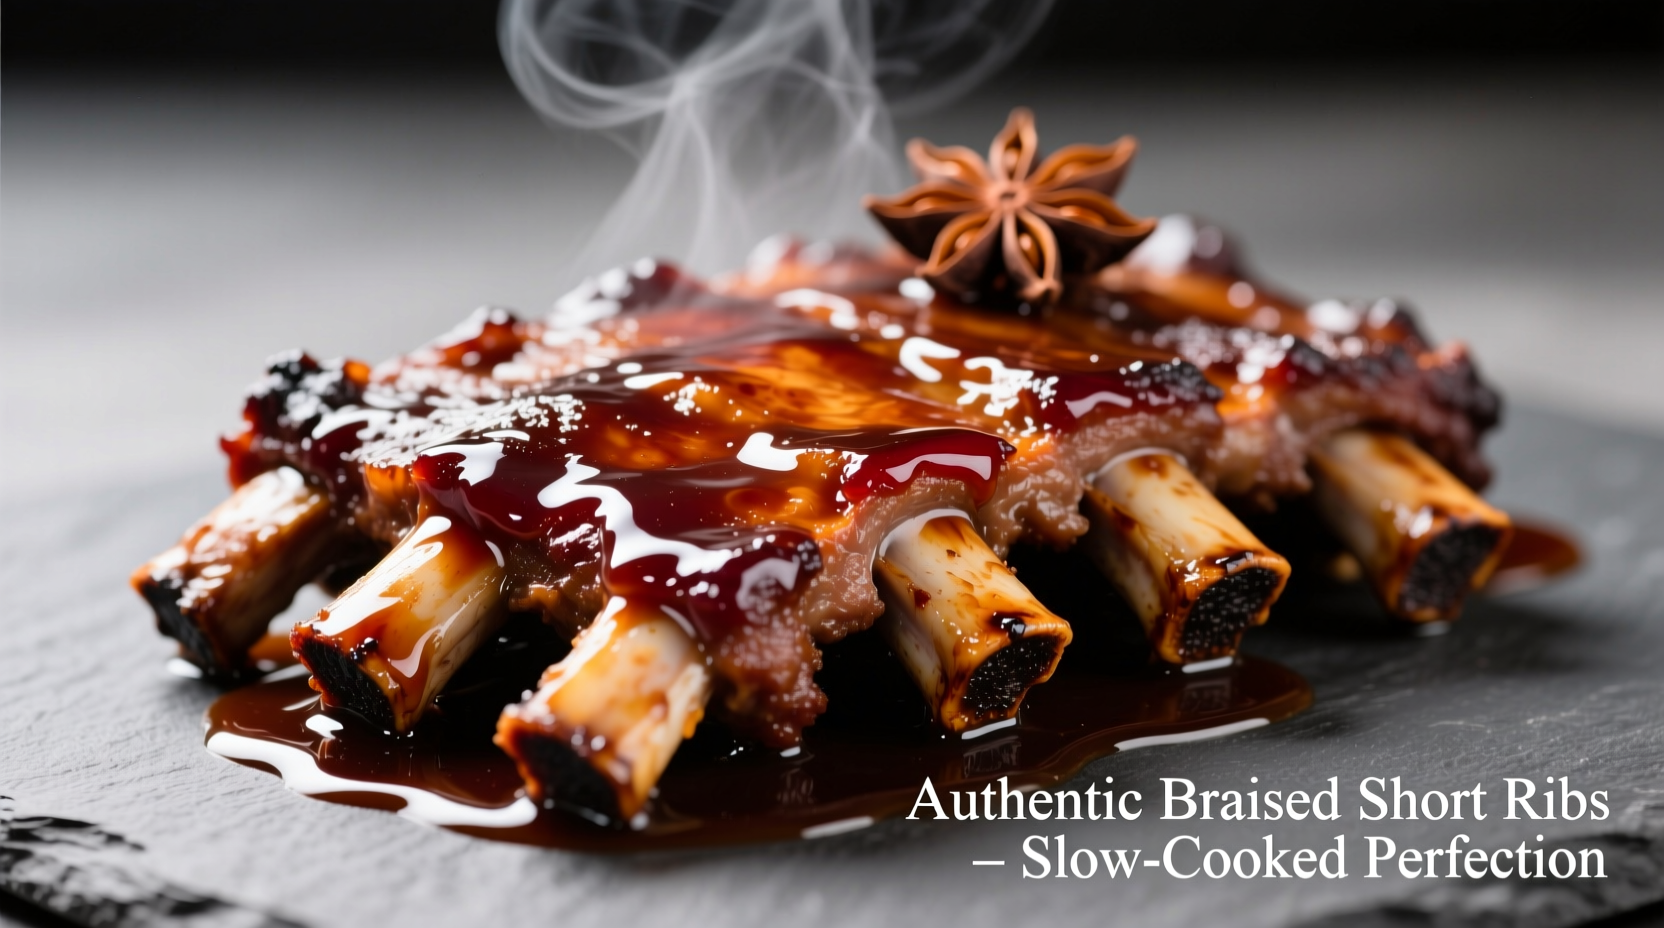
Meat Falling Completely Off the Bone
While some prefer this texture, traditional short rib preparation maintains slight structure. Next time, reduce cooking time by 30-60 minutes or lower oven temperature by 25°F. The ideal texture should hold shape when lifted but separate easily with fork pressure.
Dry or Stringy Results
This usually stems from inadequate braising liquid coverage or oven temperature fluctuations. Ensure liquid reaches halfway up the ribs and use an oven thermometer to verify actual temperature. The USDA Food Safety and Inspection Service confirms consistent oven temperature is critical for proper moisture retention in braised dishes.
Pro Techniques for Next-Level Results
Elevate your short ribs with these professional methods:
- Acid balance: Add 2 tablespoons red wine vinegar during final 30 minutes to brighten rich flavors
- Sauce refinement: Skim excess fat after cooking, then reduce braising liquid by half for glossy, concentrated sauce
- Flavor layering: Sauté aromatics (onions, carrots, celery) before searing ribs to build complex flavor foundation
- Make-ahead advantage: Short ribs taste better the next day as flavors fully meld—reheat gently in sauce
For time-pressed cooks, consider the hybrid method: sear ribs, braise covered for 2 hours, then finish uncovered for 30 minutes to develop richer surface texture. This approach delivers excellent results in about half the traditional time while maintaining proper collagen breakdown.
Frequently Asked Questions
Can I cook short ribs at 350°F to save time?
While possible, higher temperatures risk drying out the meat before collagen fully converts. For best results, maintain 300-325°F. If pressed for time, try the hybrid method (covered then uncovered) rather than increasing temperature.
How do I know when short ribs are overcooked?
Overcooked short ribs lose structural integrity completely—they'll fall apart with minimal touch and lack the satisfying chew that defines properly cooked short ribs. The meat should separate easily from the bone but maintain cohesive strands.
Do I need to cover short ribs while cooking?
Yes, covering creates a steam environment that maintains moisture during the long cooking process. Use tight-fitting lid or heavy-duty aluminum foil. Uncovering during the final 30 minutes can help develop richer surface texture if desired.


 浙公网安备
33010002000092号
浙公网安备
33010002000092号 浙B2-20120091-4