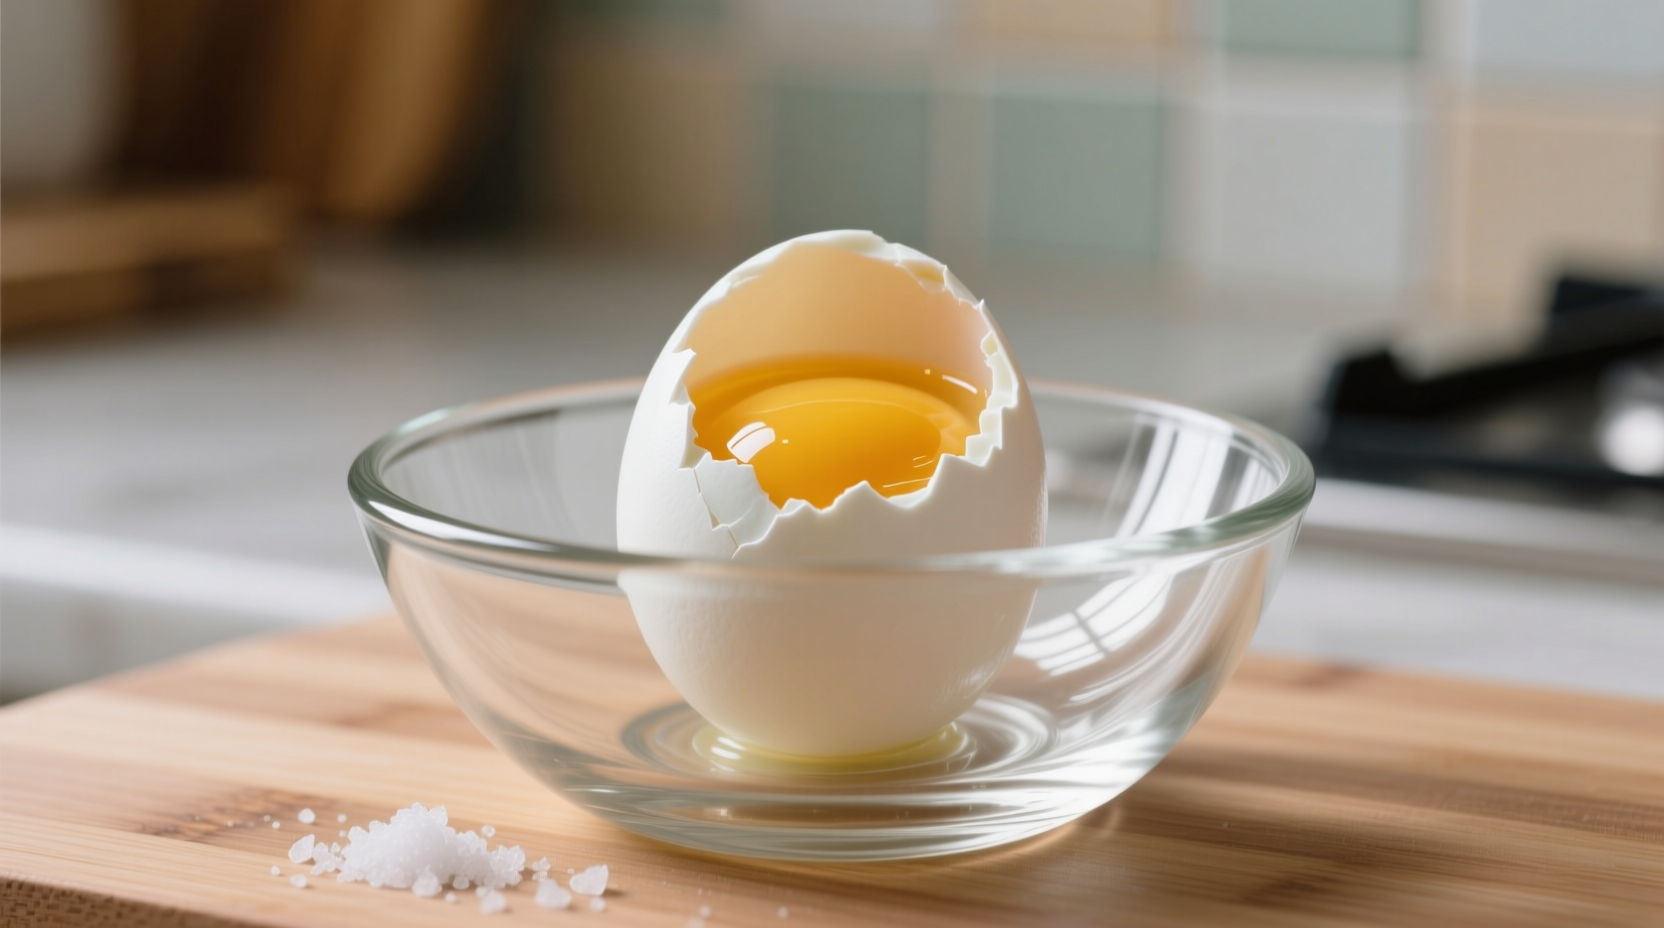
Getting perfectly cooked hard boiled eggs with tender whites and creamy yellow centers shouldn't be a kitchen mystery. Many home cooks struggle with rubbery whites, green-ringed yolks, or eggs that won't peel cleanly. The secret lies in understanding the precise timing and technique that transforms simple eggs into a versatile kitchen staple.
The Science Behind Perfect Hard Boiled Eggs
Egg proteins begin to coagulate at specific temperatures, creating the texture we expect in hard boiled eggs. According to food science research from the USDA Food Safety and Inspection Service, egg whites start setting around 140°F (60°C) while yolks begin to firm up at 158°F (70°C). Overcooking causes sulfur compounds in the egg white to react with iron in the yolk, creating that unappetizing green ring.

Your Step-by-Step Cooking Process
Follow this professional chef-tested method for consistent results every time:
Preparation Phase: Setting Up for Success
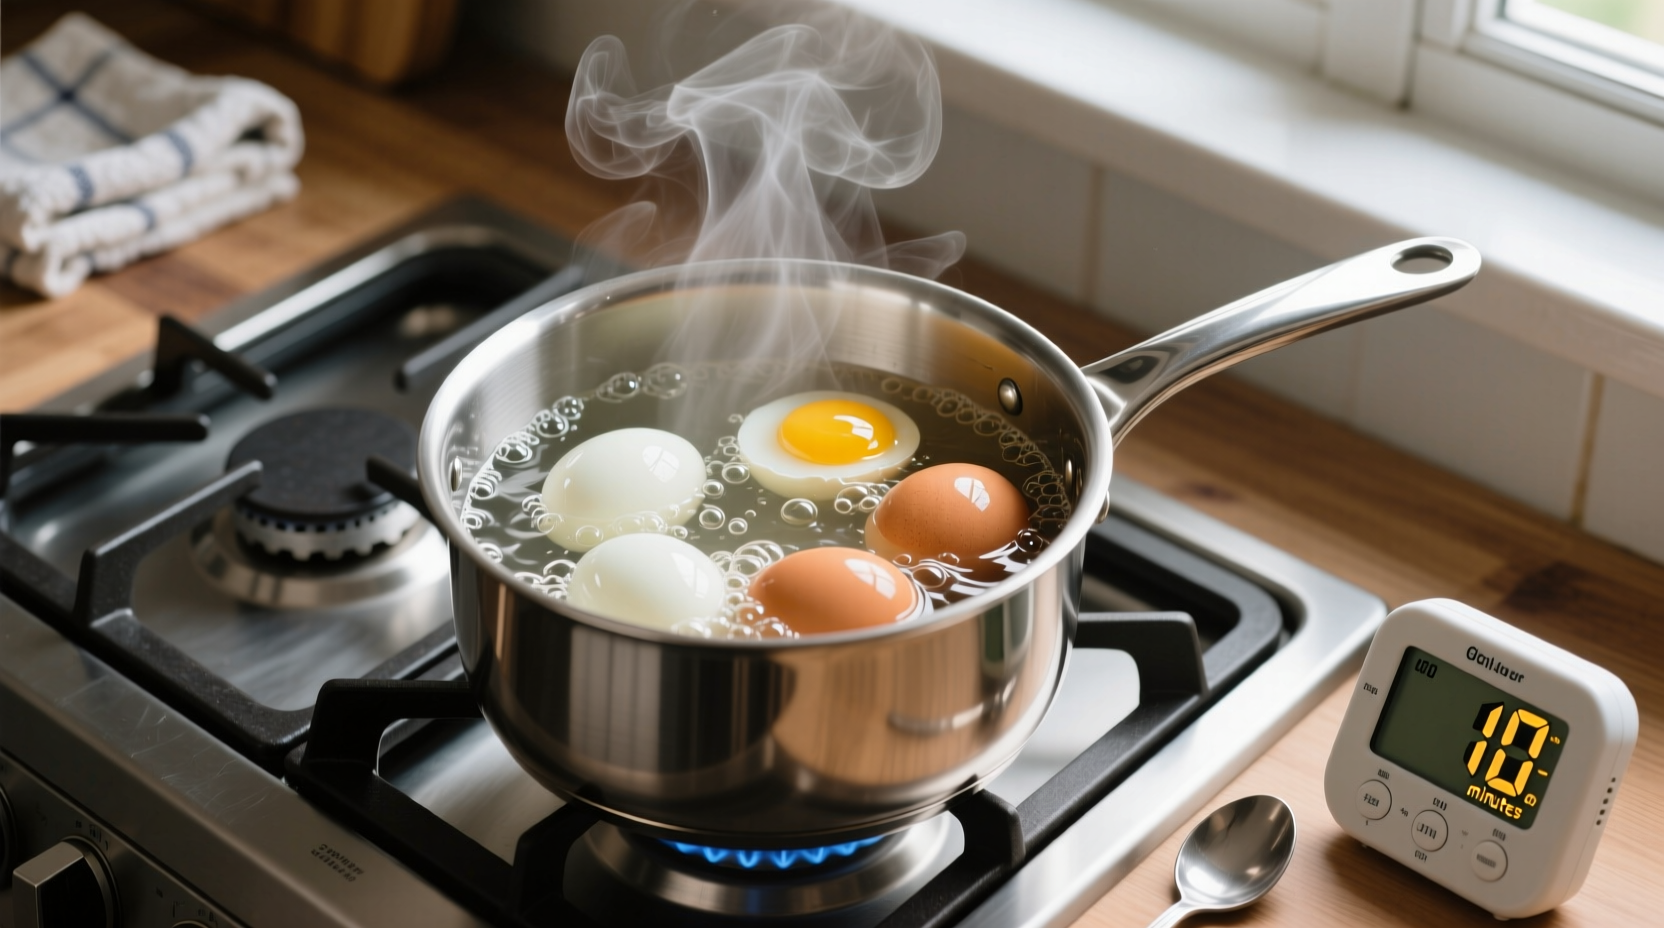
Begin with eggs at room temperature (take them out of the refrigerator 30 minutes before cooking). This prevents thermal shock that can cause cracking. Place eggs in a single layer at the bottom of a saucepan—never stack them. Cover with cold water by exactly 1 inch (2.5 cm) for even heating.
Cooking Phase: Precision Timing Matters
Place the saucepan over medium-high heat. Once the water reaches a full rolling boil (large bubbles breaking the surface consistently), set your timer based on your desired outcome:
| Egg Size | Soft Yolk | Creamy Yolk | Firm Yolk |
|---|---|---|---|
| Medium | 6-7 minutes | 8-9 minutes | 10-11 minutes |
| Large | 7-8 minutes | 9-10 minutes | 11-12 minutes |
| Extra Large | 8-9 minutes | 10-11 minutes | 12-13 minutes |
Important: After the water boils, reduce heat to maintain a gentle simmer—vigorous boiling can cause eggs to bump and crack.
Factors That Affect Your Cooking Time
Several variables influence the perfect hard boiled egg timing. Understanding these will help you adjust for consistent results:
Altitude Adjustments for High Elevation Cooking
At higher elevations, water boils at lower temperatures, requiring longer cooking times. The Colorado State University Extension recommends adding 1-2 minutes to your cooking time for every 5,000 feet above sea level. For example, in Denver (5,280 feet), add 1-2 minutes to the standard timing.
Egg Freshness and Peeling Success
Fresher eggs have lower pH levels, causing the membrane to adhere more tightly to the shell. The American Egg Board recommends using eggs that are 7-10 days old for easiest peeling. Very fresh eggs (less than 3 days old) will be more difficult to peel cleanly.
Troubleshooting Common Hard Boiled Egg Problems
Preventing the Green Yolk Ring
That unsightly green-gray ring forms when iron in the yolk reacts with sulfur in the white due to overcooking or improper cooling. To prevent this:
- Never cook eggs for more than 13 minutes, even for extra-large eggs
- Immediately transfer cooked eggs to an ice water bath
- Cool for at least 15 minutes before peeling
Easy Peeling Techniques That Actually Work
For flawless peeling every time:
- After cooking, gently tap the egg on a hard surface at both ends and around the equator
- Roll the egg between your hands to create multiple crack points
- Peel under cool running water—the water helps separate membrane from shell
- Start peeling from the wider end where the air pocket is located
Storage and Usage Tips for Perfect Results
Properly stored hard boiled eggs maintain quality and safety:
- Store unpeeled eggs in a covered container in the refrigerator
- Consume within 7 days for best quality (USDA food safety guidelines)
- Never store peeled eggs in water—it promotes bacterial growth
- For meal prep, keep eggs in their shells until ready to eat
Advanced Techniques for Culinary Success
Professional chefs use these additional methods to elevate their hard boiled eggs:
- Add 1 teaspoon of baking soda to the cooking water to increase pH and improve peeling
- Use a pin to pierce the wider end of the egg before cooking to prevent cracking
- For deviled eggs, slice boiled eggs lengthwise with dental floss for clean cuts
- Store eggs pointy-end down in the refrigerator before cooking to center the yolk
Frequently Asked Questions
Can I cook hard boiled eggs in the microwave?
While possible, microwave cooking often leads to uneven results and potential explosions. The stovetop method provides more consistent, reliable results for perfect hard boiled eggs every time.
Why do my hard boiled eggs have dark spots?
Small dark spots are usually harmless blood spots that occur naturally in some eggs. They're safe to eat but can be removed with the tip of a knife if desired for presentation purposes.
How can I tell if a hard boiled egg has gone bad?
Spoiled hard boiled eggs develop a distinctive sulfur smell, slimy shell texture, or pinkish-green discoloration. When in doubt, discard the egg—never risk foodborne illness.


 浙公网安备
33010002000092号
 浙B2-20120091-4