
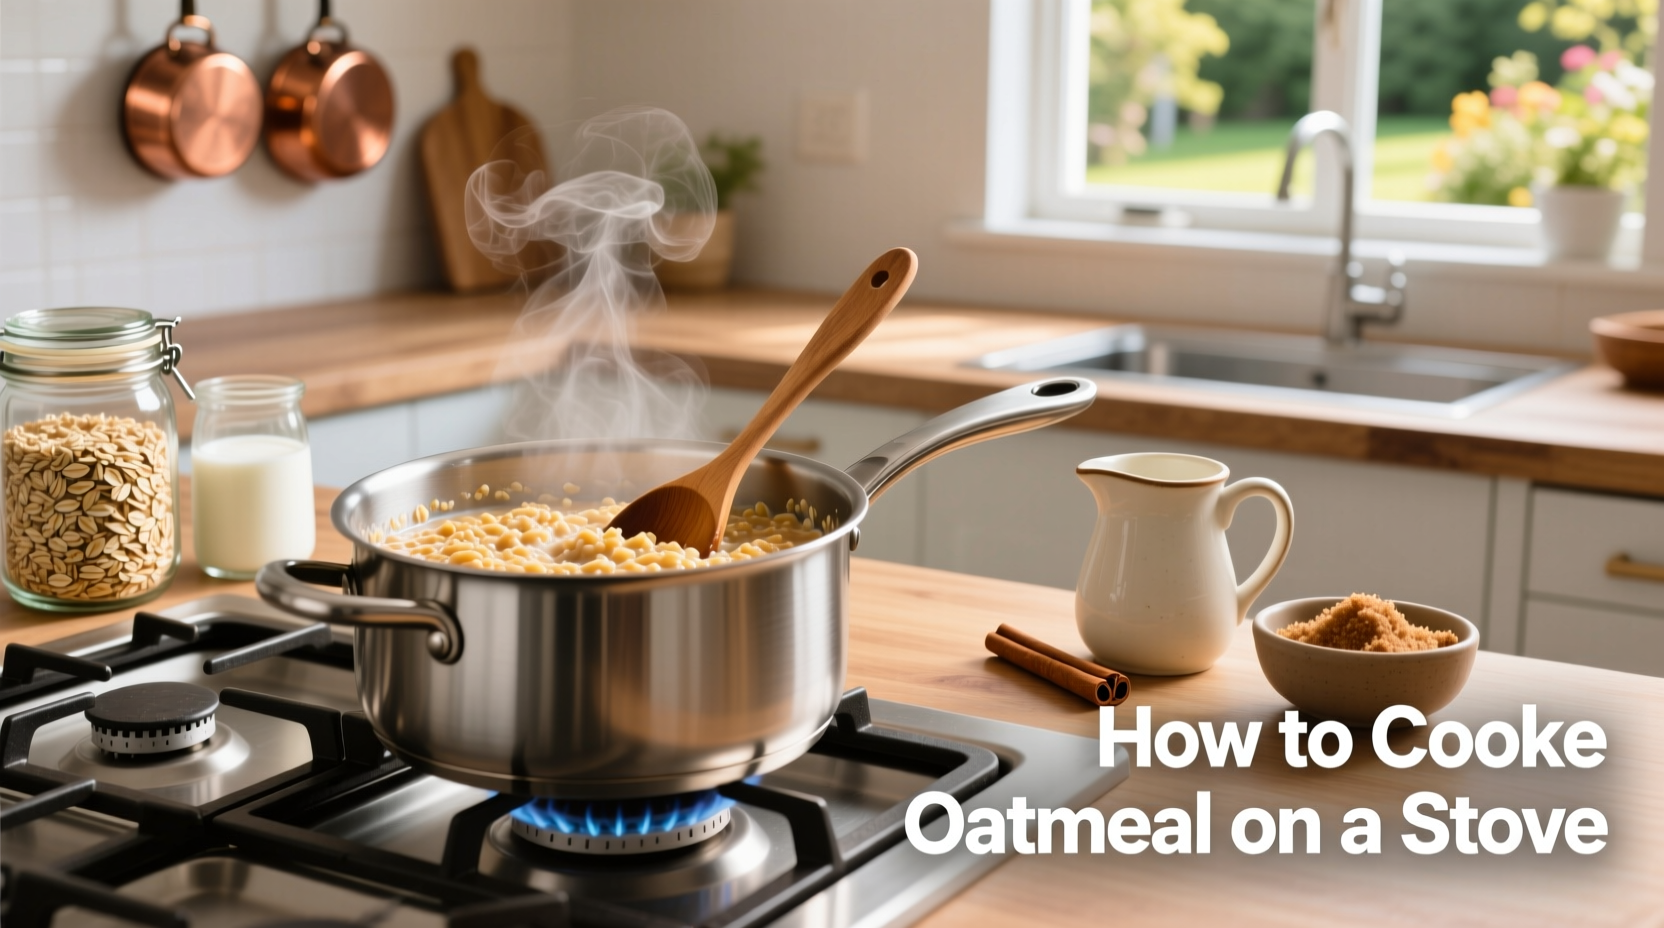
Looking for the ultimate guide to making flawless oatmeal on your stovetop? You've come to the right place. Forget the bland, gluey results from instant packets—this comprehensive guide delivers restaurant-quality oatmeal with the perfect creamy-to-chewy ratio, whether you're a first-time cook or looking to refine your technique. We'll cover everything from selecting the right oats to avoiding common pitfalls that lead to burnt pots and overflowed stovetops.
Why Stovetop Oatmeal Beats Instant Every Time
While instant oatmeal offers convenience, stovetop preparation gives you complete control over texture and flavor. According to the USDA FoodData Central, properly cooked rolled oats retain more of their natural fiber structure compared to instant varieties, which undergo additional processing that breaks down the oat's cellular structure. This translates to better blood sugar regulation and longer-lasting satiety—critical factors for a nutritious breakfast.
Your Oatmeal Preparation Checklist
Before you start cooking, gather these essentials to ensure success:
- Oats selection: Rolled oats (old-fashioned) for creamy texture, steel-cut for chewier results, or quick oats for faster cooking
- Liquid ratio: 2:1 liquid to oats for rolled oats (adjust for other varieties)
- Essential tools: Medium saucepan with heavy bottom, wooden spoon, measuring cups
- Flavor foundation: Pinch of salt (non-negotiable for balanced flavor)
| Oat Type | Liquid Ratio | Cooking Time | Texture Result |
|---|---|---|---|
| Rolled (old-fashioned) | 2:1 | 5-10 minutes | Creamy with some chew |
| Steel-cut | 3:1 | 20-30 minutes | Firm, chewy texture |
| Quick oats | 1.5:1 | 1-3 minutes | Very soft, smooth |
Step-by-Step Stovetop Oatmeal Method
Phase 1: Liquid Preparation (The Critical Foundation)
Contrary to popular belief, starting with cold liquid prevents scorching. Combine your liquid (water, milk, or a blend) and a pinch of salt in your saucepan. The FDA recommends bringing liquids to a boil before adding grains to ensure food safety and proper gelatinization of starches. For creamier results, substitute 1/4 of the water with milk added at the end of cooking.
Phase 2: The Perfect Cooking Process
Once your liquid reaches a rolling boil:
- Gradually whisk in oats to prevent clumping
- Reduce heat to the lowest setting where you see gentle bubbles
- Set timer for 5 minutes for rolled oats (adjust for other varieties)
- Stir every 60-90 seconds—this activates the oats' natural starches for creaminess
- At 3 minutes, check consistency and adjust liquid as needed
The science behind this timing comes from cereal chemistry research: oats undergo gelatinization between 140-160°F (60-71°C), where starch granules absorb water and swell. Cooking beyond 10 minutes for rolled oats breaks down too much structure, creating unappetizing glue.
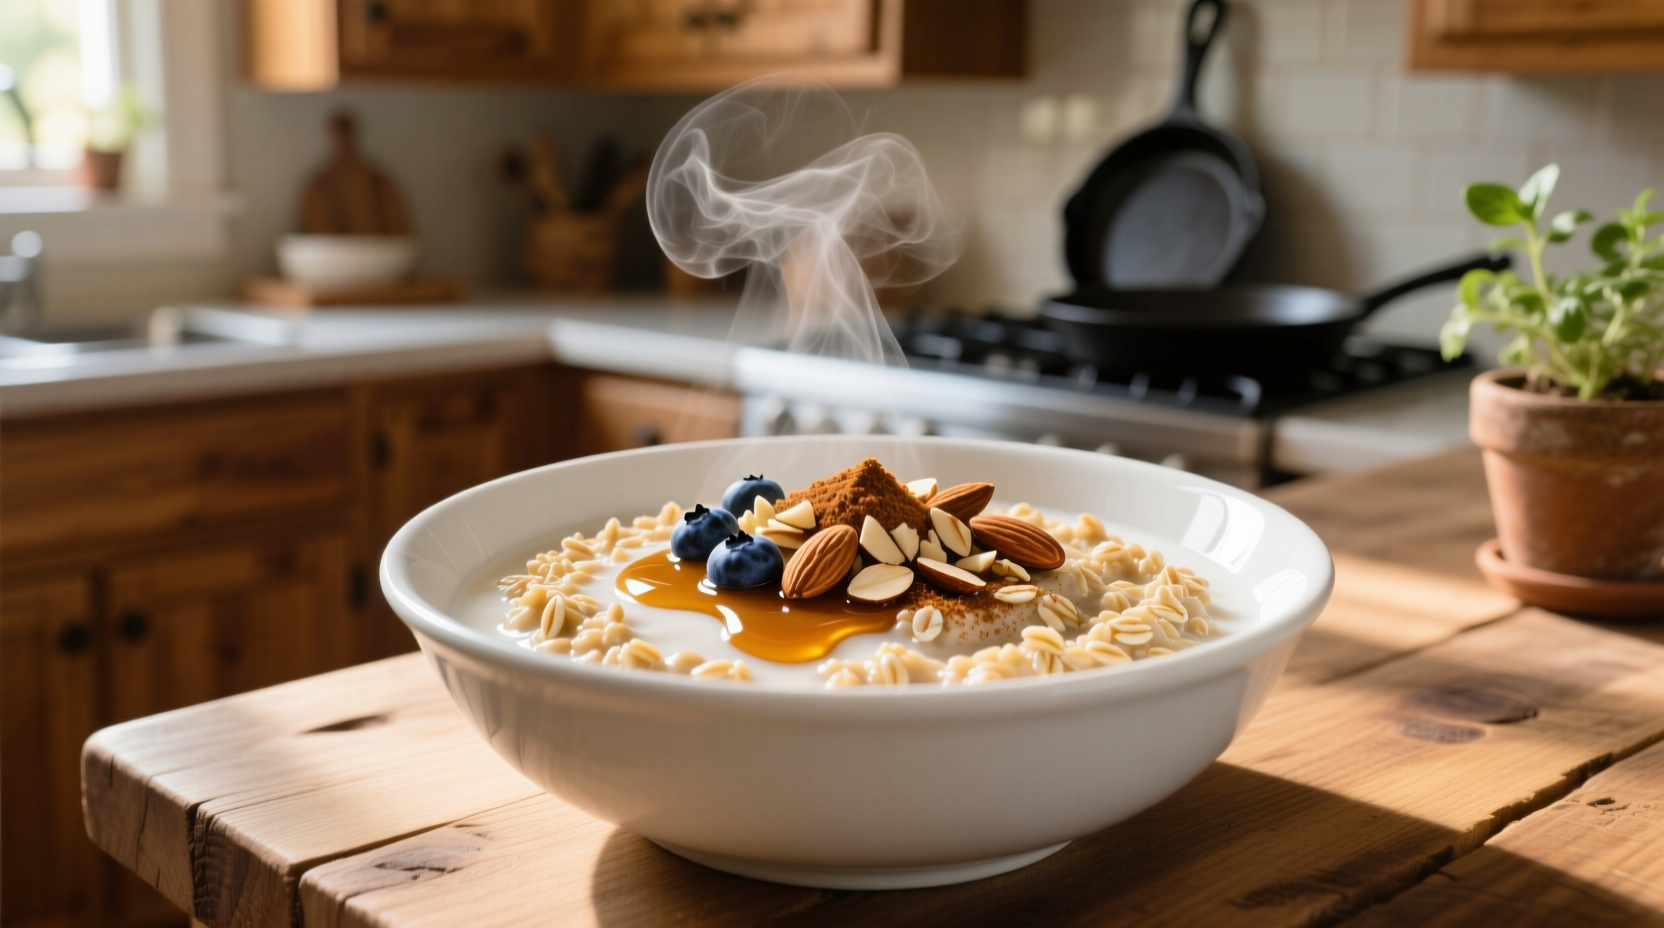
Phase 3: Finishing for Maximum Flavor
Remove from heat just before your desired consistency—oats continue cooking off-heat. This professional chef technique prevents overcooking. Let rest covered for 2 minutes, during which the oats will absorb residual liquid and reach perfect texture.
Avoid These 3 Common Oatmeal Mistakes
Mistake #1: Incorrect Heat Level
Many home cooks use medium-high heat throughout, causing rapid evaporation and scorching. Maintain the lowest possible simmer after the initial boil. As noted in food science publications, oat starch begins to break down excessively above 185°F (85°C), leading to inconsistent texture.
Mistake #2: Skipping the Salt
That pinch of salt isn't for咸味—it enhances the oats' natural nuttiness. Omitting salt creates flat, one-dimensional flavor regardless of toppings added later.
Mistake #3: Adding Toppings Too Early
Fruit, nuts, and sweeteners should go on after cooking. Adding them during cooking alters texture and can prevent proper thickening. For optimal flavor integration, stir in nut butters during the last minute of cooking.
Customization Options for Every Preference
Once you've mastered the base recipe, experiment with these professional variations:
- Creamy vanilla oatmeal: Add 1/2 tsp vanilla extract and 1 tbsp butter during the last minute
- Protein boost: Stir in 1 scoop unflavored protein powder after cooking
- Overnight stovetop method: Combine oats and cold liquid, refrigerate overnight, then cook for just 3 minutes in the morning
- International twist: Japanese-style with black sesame and red bean, or Mexican-inspired with cinnamon and cacao nibs
Storage and Reheating Guidelines
Properly stored oatmeal maintains quality for 5 days in the refrigerator. When reheating:
- Add 1-2 tbsp liquid per cup of stored oatmeal
- Reheat gently over low heat, stirring frequently
- Microwave method: 30-second intervals with stirring between
Freezing works well for batch cooking—portion into silicone molds, freeze solid, then transfer to airtight containers. Thaw overnight in the refrigerator before reheating with additional liquid.
Troubleshooting Your Oatmeal Results
| Problem | Most Likely Cause | Solution |
|---|---|---|
| Burnt bottom | Heat too high, insufficient stirring | Use lower heat, switch to heavy-bottomed pot |
| Too watery | Excess liquid, undercooked | Cook 1-2 minutes longer or reduce liquid next time |
| Gluey texture | Overcooked, wrong oat variety | Reduce cooking time, try steel-cut oats |
| Boiling over | Pot too small, heat too high | Use larger pot, lower heat, add oil to liquid |


 浙公网安备
33010002000092号
浙公网安备
33010002000092号 浙B2-20120091-4