
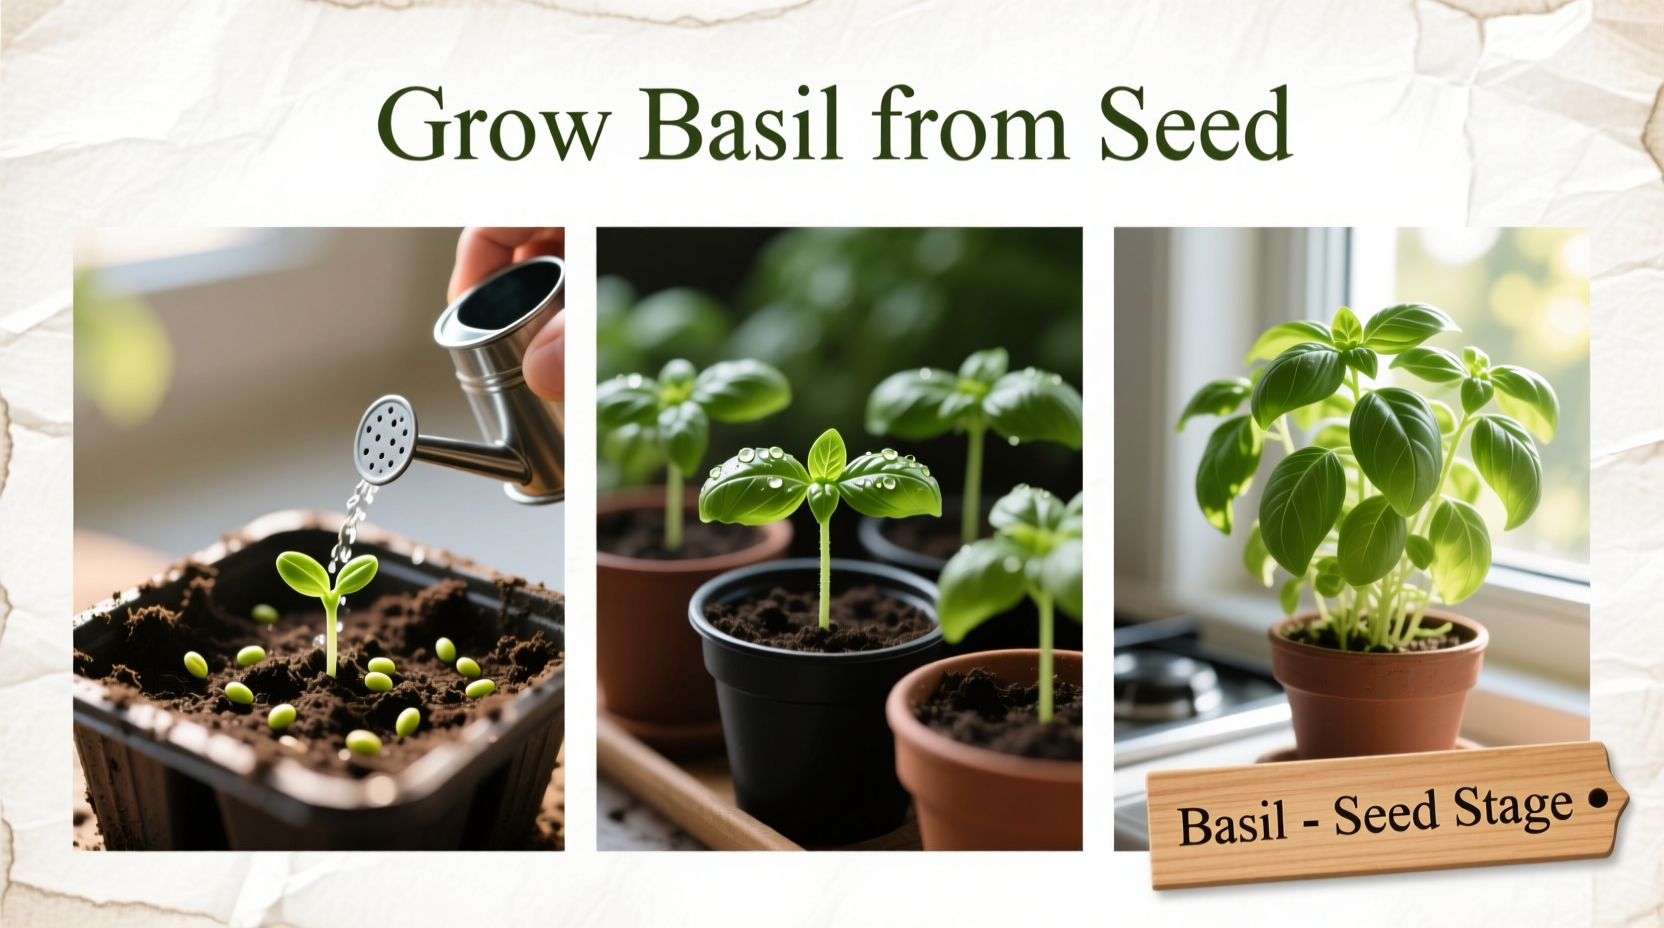
Nothing beats the flavor of homegrown basil in your summer dishes. Growing basil from seed is surprisingly simple and costs less than buying seedlings. This complete guide gives you everything needed to transform tiny seeds into a thriving herb garden that provides fresh basil all season long.
Why Growing Basil From Seed Beats Buying Plants
Starting basil from seed gives you access to dozens of unique varieties unavailable at garden centers. You'll save 50-70% compared to purchasing established plants while gaining complete control over growing conditions from day one. Most importantly, seed-grown basil develops stronger root systems that withstand transplanting better than nursery-bought plants.
Your Basil Growing Timeline: From Seed to Harvest
Understanding the growth stages helps you provide proper care at each phase. This evidence-based timeline comes from University of Minnesota Extension research on herb cultivation:
| Stage | Timeline | Critical Actions |
|---|---|---|
| Germination | Days 1-10 | Maintain consistent moisture and 70-85°F temperature |
| Seedling Establishment | Weeks 2-4 | Provide 6+ hours direct light, thin crowded plants |
| Transplant Preparation | Weeks 5-6 | Begin hardening off process, fertilize lightly |
| Outdoor Establishment | Weeks 7-8 | Plant in warm soil, water deeply 2-3x weekly |
| First Harvest | Week 8+ | Pinch tops above leaf nodes to encourage bushiness |
Getting Started: Essential Supplies Checklist
Before planting, gather these basic supplies. You likely already have most items:
- Containers: 3-4 inch pots with drainage holes (recycled yogurt cups work)
- Soil: Light, well-draining potting mix (avoid garden soil)
- Seeds: Genovese, Sweet Thai, or Purple Opal varieties for beginners
- Light Source: South-facing window or LED grow lights (14-16 hours daily)
- Thermometer: To monitor soil temperature (critical for germination)
Step-by-Step Planting Instructions
1. Timing Your Planting Correctly
Plant seeds indoors 6-8 weeks before your last expected spring frost date. Check USDA Plant Hardiness Zone Map for your specific zone's average last frost date. Basil seedlings cannot tolerate temperatures below 50°F (10°C), so patience prevents cold damage.
2. Preparing Containers and Soil
Fill containers with moistened potting mix, leaving ½ inch space at the top. Gently firm the soil without compacting. Basil requires excellent drainage—add 20% perlite to standard potting mix if needed. The Penn State Extension confirms this prevents damping-off disease in seedlings.
3. Sowing Seeds Properly
Place 2-3 seeds ¼ inch deep per container. Cover lightly with soil and mist with water. Maintain consistent moisture—never let soil dry out completely during germination. Cover containers with plastic wrap to retain humidity until seeds sprout.
4. Providing Optimal Germination Conditions
Place containers in a warm location (70-85°F / 21-29°C). A seedling heat mat works best, but the top of your refrigerator often provides sufficient warmth. Check daily for sprouts. Basil germinates fastest at 80°F (27°C) according to University of Florida Horticulture Department research.
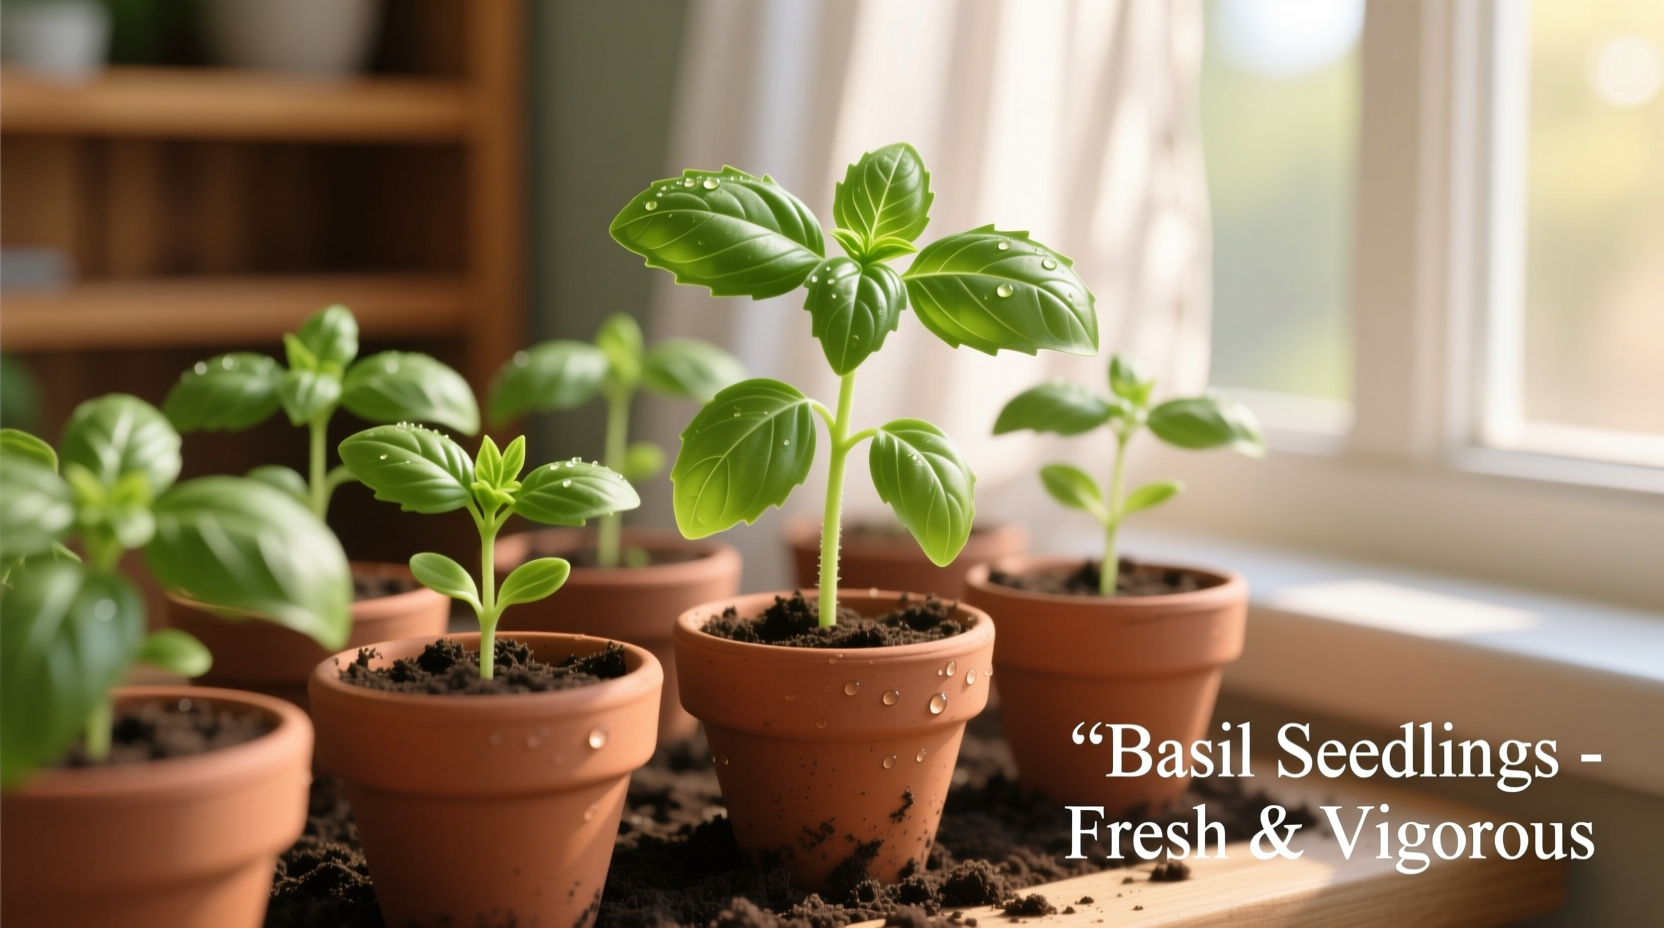
5. Caring for Emerging Seedlings
Once sprouted, remove plastic covering and move to bright light. Thin to one strong plant per container by snipping weaker seedlings at soil level. Water when top inch of soil feels dry—overwatering causes root rot. Begin fertilizing with half-strength liquid fertilizer when plants have 2 sets of true leaves.
Transplanting Outdoors Successfully
Transplant only after all danger of frost has passed and nighttime temperatures stay above 50°F (10°C). Follow these steps for successful outdoor transition:
- Hardening off: Gradually expose seedlings to outdoor conditions over 7-10 days
- Soil preparation: Amend garden soil with compost (aim for pH 6.0-7.5)
- Planting depth: Bury stem up to first set of leaves to encourage root growth
- Spacing: Plant 12-18 inches apart in rows 18-24 inches apart
- Watering: Water deeply immediately after transplanting
Avoiding Common Basil Growing Mistakes
These context-specific solutions address frequent problems based on Royal Horticultural Society guidelines:
- Leggy, weak plants: Caused by insufficient light. Provide 6-8 hours direct sun or 14+ hours under grow lights
- Yellowing leaves: Usually overwatering. Allow top inch of soil to dry between waterings
- Poor germination: Seeds planted too deep or soil too cold. Maintain 70-85°F temperature
- Black spots on leaves: Fungal disease from overhead watering. Water at soil level instead
Maximizing Your Basil Harvest
Proper harvesting encourages bushier growth and extends your harvest season:
- Begin harvesting when plants reach 6-8 inches tall
- Pinch stems just above leaf nodes using clean scissors
- Remove flower buds as soon as they appear to prolong leaf production
- Harvest in the morning when essential oils are most concentrated
- Never remove more than ⅓ of the plant at one time
Basil Variety Comparison Guide
Choose varieties based on your culinary needs. This comparison comes from Seeds of Change growing trials:
| Variety | Flavor Profile | Best For | Days to Harvest |
|---|---|---|---|
| Genovese | Sweet, classic basil flavor | Pesto, Italian dishes | 65-75 |
| Sweet Thai | Anise notes, spicier | Asian cuisine, stir-fries | 70-80 |
| Purple Opal | Milder, slightly spicy | Garnishes, salads | 75-85 |
| Lemon Basil | Citrusy, bright flavor | Desserts, teas, fish | 70-80 |
Extending Your Growing Season
Continue harvesting basil well into fall with these techniques:
- Apply 2-inch mulch layer to maintain consistent soil temperature
- Pinch off flower buds to redirect energy to leaf production
- Start new indoor plants in late summer for winter harvest
- Cut back plants by ⅓ in midsummer to encourage new growth
- Protect plants from first light frosts with row covers
Troubleshooting Guide: Quick Problem Solver
Problem: Seeds Not Germinating
Solution: Check soil temperature with a thermometer. Basil requires 70-85°F (21-29°C) for reliable germination. Seeds planted too deep (more than ¼ inch) often fail. Try fresh seeds—basil viability drops significantly after 2 years.
Problem: Yellowing Lower Leaves
Solution: This indicates overwatering. Allow top inch of soil to dry between waterings. Ensure containers have proper drainage. Yellowing can also signal nitrogen deficiency—apply balanced liquid fertilizer at half strength.
Problem: White Powdery Substance on Leaves
Solution: This powdery mildew appears in humid conditions. Water at soil level to keep foliage dry. Space plants for better air circulation. Treat with milk spray (1 part milk to 9 parts water) which contains natural antifungal properties.


 浙公网安备
33010002000092号
浙公网安备
33010002000092号 浙B2-20120091-4