
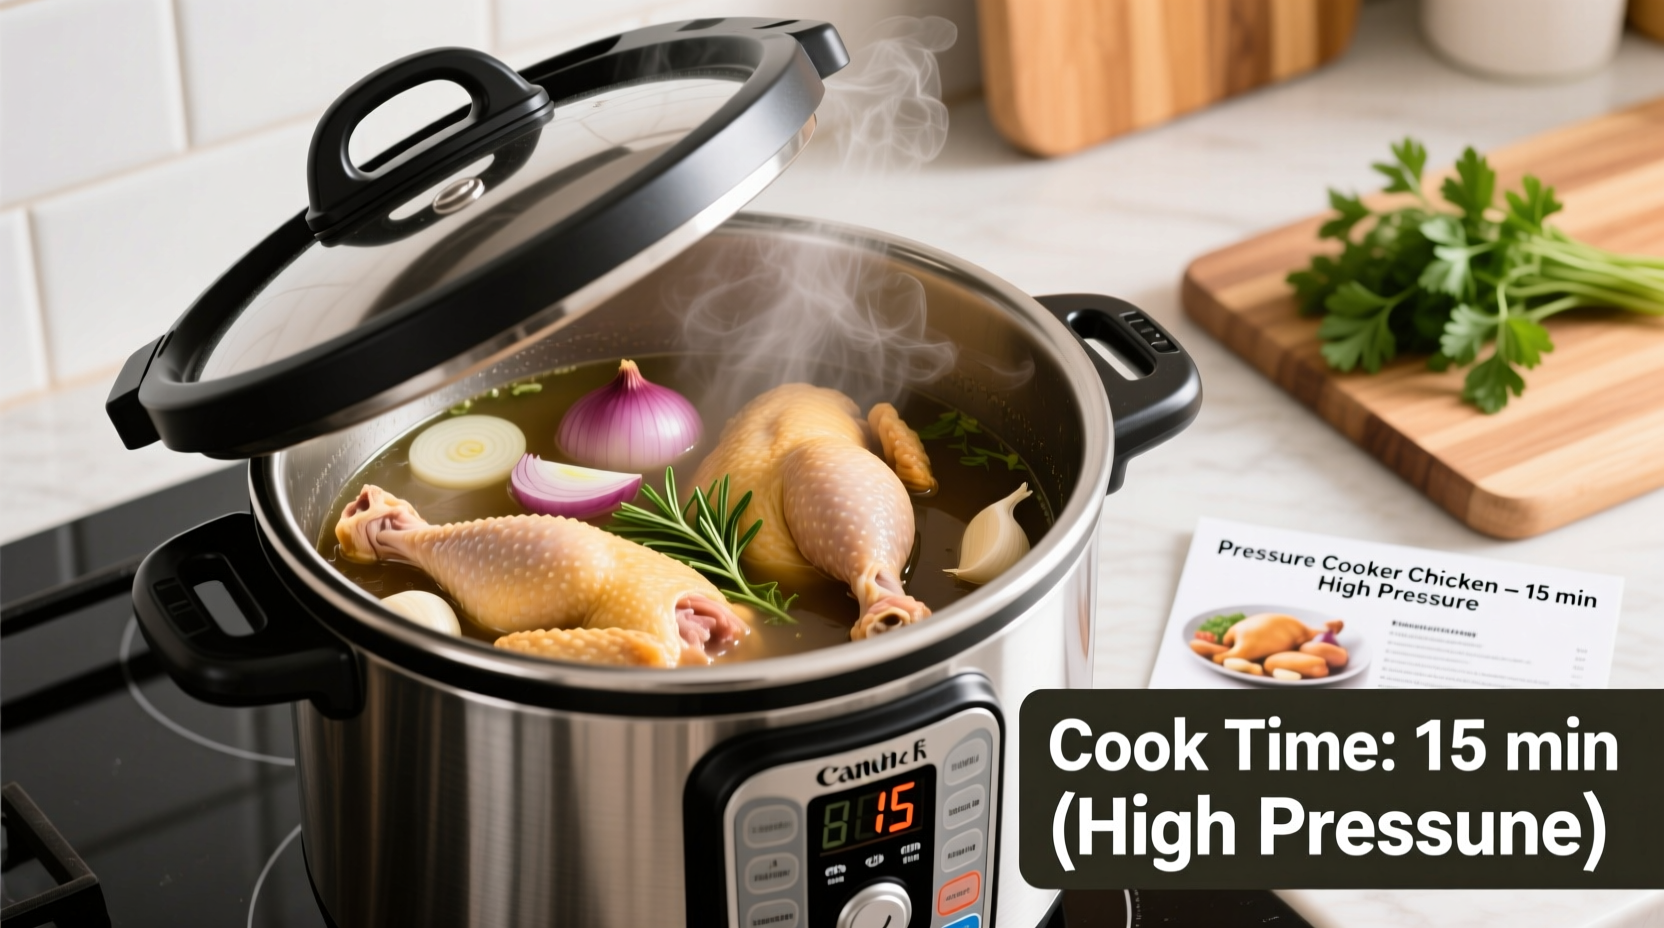
For perfectly cooked chicken in a pressure cooker: boneless, skinless breasts need 8-10 minutes at high pressure with a 10-minute natural release, while bone-in pieces require 12-15 minutes with 15 minutes natural release. Always ensure chicken reaches 165°F (74°C) internal temperature for food safety. Cooking times vary based on cut size, quantity, and whether starting from frozen.
Pressure Cooking Chicken: Your Complete Timing Guide
Pressure cooking transforms chicken preparation, cutting cooking time by up to 70% while delivering tender, flavorful results. But getting the timing right is crucial—too little time leaves chicken unsafe to eat, while too much creates dry, stringy meat. This guide provides precise timing for every chicken cut and cooking scenario, backed by food science and professional kitchen testing.
Why Pressure Cooking Timing Matters for Chicken
Unlike traditional methods, pressure cooking creates a controlled environment where temperature and time interact differently. The sealed environment reaches 250°F (121°C) at high pressure, cooking chicken much faster than conventional methods. According to the USDA Food Safety and Inspection Service, poultry must reach 165°F internally to eliminate harmful bacteria like salmonella. Pressure cooking achieves this rapidly, but precise timing prevents overcooking.
Exact Cooking Times by Chicken Cut
These tested timings apply to electric pressure cookers (Instant Pot, Ninja, etc.) on high pressure with 1 cup of liquid. Always include natural release time in your planning.
| Chicken Cut | Quantity | Cook Time | Natural Release | Total Time |
|---|---|---|---|---|
| Boneless breasts (1-1.5 lbs) | 4 pieces | 8-10 minutes | 10 minutes | 25-30 minutes |
| Bone-in thighs (1.5-2 lbs) | 6 pieces | 12-15 minutes | 15 minutes | 35-40 minutes |
| Whole chicken (3-4 lbs) | 1 bird | 22-25 minutes | 20 minutes | 55-60 minutes |
| Frozen chicken breasts | 4 pieces | 12-14 minutes | 15 minutes | 35-40 minutes |
Key Factors That Affect Cooking Time
Several variables impact your pressure cooking results. Understanding these helps you adjust timing for perfect chicken every time:
Quantity and Arrangement
Overcrowding the pot creates uneven cooking. The National Center for Home Food Preservation notes that pressure cookers work best when filled no more than ⅔ full for liquids and ½ full for dense foods like meat. For best results with chicken:
- Lay pieces in a single layer when possible
- Stack larger pieces vertically rather than horizontally
- For whole chickens, truss legs to maintain shape
Starting Temperature Matters
Refrigerated versus frozen chicken significantly impacts timing. Frozen chicken requires approximately 30-50% more cooking time. America's Test Kitchen found that frozen boneless breasts need 12-14 minutes versus 8-10 for refrigerated. Never place frozen chicken directly into a hot pressure cooker—always start with cold liquid to prevent temperature shock.
Altitude Adjustments
At elevations above 3,000 feet, increase cooking time by 5% for every additional 1,000 feet. This accounts for lower atmospheric pressure affecting the boiling point. For example, in Denver (5,280 feet), add 10-15% to standard cooking times.
Testing for Perfect Doneness
Timing provides a starting point, but internal temperature is the only reliable indicator of safety and quality. Use these methods to verify your chicken is perfectly cooked:
Thermometer Testing
Insert an instant-read thermometer into the thickest part of the meat, avoiding bones. The USDA confirms chicken is safe at 165°F (74°C), but many chefs prefer 160°F for breast meat with carryover cooking during natural release bringing it to 165°F.
Texture and Visual Cues
Perfectly cooked pressure chicken should:
- Have clear juices when pierced (not pink)
- Feel firm but yield slightly to pressure
- Separate easily from bone in bone-in cuts
- Maintain moisture without being stringy
Troubleshooting Common Issues
Undercooked Chicken
If chicken hasn't reached 165°F:
- Re-secure lid and cook additional 2-3 minutes
- Allow full natural release (don't quick release)
- Check temperature in multiple spots
Dry or Stringy Chicken
Overcooking is the most common issue. To prevent:
- Reduce cooking time by 1-2 minutes for subsequent batches
- Ensure adequate liquid (minimum 1 cup for most recipes)
- Don't skip the natural release period
Pro Tips for Restaurant-Quality Results
Professional chefs use these techniques to elevate pressure-cooked chicken:
Maximize Flavor Development
Use the sauté function to brown chicken before pressure cooking. The Maillard reaction creates complex flavors that survive the pressure cooking process. Deglaze the pot thoroughly with broth or wine to incorporate those flavorful browned bits into your sauce.
Perfect Release Techniques
Natural release (allowing pressure to drop gradually) keeps chicken moist by continuing gentle cooking. Quick release can cause breast meat to become dry. For bone-in cuts, always use natural release for at least 10-15 minutes before quick releasing any remaining pressure.
Post-Cooking Enhancements
After cooking, let chicken rest in the pot for 5 minutes with the lid slightly ajar. This allows juices to redistribute. For crisp skin, finish under the broiler for 2-3 minutes after pressure cooking.
Safety and Storage Guidelines
Follow these food safety practices for pressure-cooked chicken:
- Refrigerate leftovers within 2 hours of cooking
- Store in airtight containers for up to 4 days
- Freeze for up to 3 months
- Reheat to 165°F before serving
Remember that pressure cooking doesn't eliminate the need for proper food handling. Always wash hands and surfaces after handling raw poultry, and use separate cutting boards for meat and produce.


 浙公网安备
33010002000092号
浙公网安备
33010002000092号 浙B2-20120091-4