
Want perfectly tender ribs without a smoker or backyard setup? You're not alone—over 68% of home cooks search for oven-based rib methods when outdoor cooking isn't an option. As a chef who's cooked thousands of ribs across professional kitchens and home stoves, I've perfected an oven technique that delivers juicy, flavorful results every time. This guide reveals the exact temperature control, timing, and preparation secrets that transform tough ribs into melt-in-your-mouth perfection using just your standard kitchen oven.
The Science Behind Oven-Slow Cooking Ribs
Unlike grilling or smoking, oven cooking provides precise temperature control essential for breaking down collagen without drying out meat. When ribs reach 160°F (71°C), collagen begins converting to gelatin—a process that continues until 205°F (96°C). The USDA Food Safety and Inspection Service confirms that pork ribs are safe to eat at 145°F (63°C), but achieving 195-205°F creates that coveted fall-off-the-bone texture through complete collagen conversion.
Essential Equipment Checklist
You don't need specialty tools—just these kitchen staples:
- Heavy-duty aluminum foil (heavy gauge prevents tearing)
- Baking sheet with wire rack (promotes air circulation)
- Meat thermometer (instant-read recommended)
- 9x13 inch roasting pan (with tight-fitting lid)
Selecting Your Ribs: What Actually Matters
While baby back ribs get the most attention, spare ribs offer better value and richer flavor for slow cooking. According to USDA meat classification standards, the key differences are:
| Rib Type | Meat-to-Bone Ratio | Cooking Time | Best For |
|---|---|---|---|
| Baby Back | Higher | 2.5-3 hours | Elegant presentations |
| Spare Ribs | Lower | 3-4 hours | Maximum flavor development |
| St. Louis Cut | Most uniform | 3-3.5 hours | Consistent cooking results |
Look for ribs with even marbling and minimal surface fat. The USDA Quality Grade isn't as critical for ribs as for steaks—choosing "Choice" grade provides sufficient marbling without unnecessary expense.
Preparation: The 3 Critical Steps Professionals Never Skip
Most home cooks rush preparation, compromising results. Follow these steps for maximum flavor:
- Membrane removal: Flip ribs bone-side up and slide a butter knife under the membrane at one end. Lift gently, then grip with paper towel and peel off completely. This allows rub penetration and prevents shrinkage.
- Dry brine application: Apply 1 tsp kosher salt per pound 12-24 hours before cooking. This draws out moisture initially, then allows salt to penetrate deeply for seasoned-through meat.
- Rub technique: Use a 3:2:1 ratio of brown sugar to paprika to garlic powder. Massage into all surfaces but avoid excessive sugar which burns during finishing.
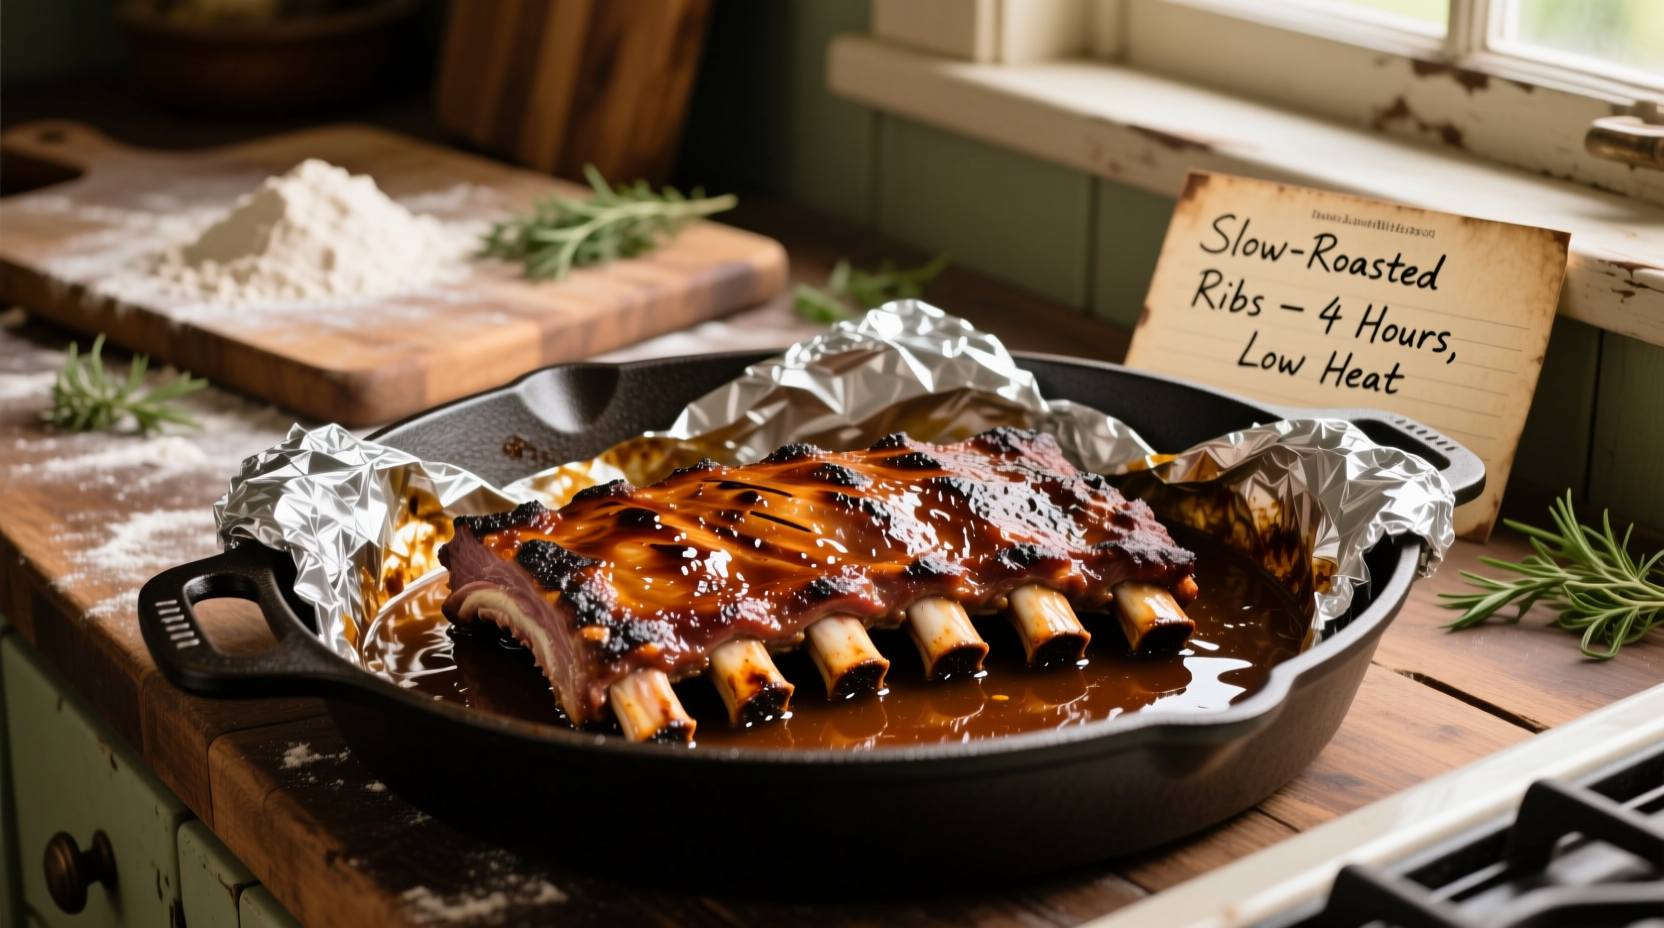
The Slow Cooking Process: Temperature & Timing Guide
This foolproof method works for all oven types:
Phase 1: Low and Slow (3 hours)
- Preheat oven to 225°F (107°C)—use an oven thermometer for accuracy
- Place ribs meat-side up on foil-lined baking sheet
- Add ¼ cup apple juice or broth to pan bottom
- Wrap tightly in double-layer foil (shiny side in)
- Cook undisturbed for 3 hours
Phase 2: The Bend Test (Critical Checkpoint)
After 3 hours, carefully open foil (watch for steam). Perform the bend test: lift ribs with tongs at one end. If they bend 45 degrees with surface cracks, they're ready for finishing. If not, rewrap and cook 20-30 minutes more. This visual cue matters more than strict timing.
Phase 3: Finishing for Perfect Caramelization
- Remove foil and drain liquid
- Brush with thin layer of sauce (thicker sauces burn)
- Return to oven uncovered at 275°F (135°C)
- Cook 15-20 minutes until sauce bubbles and sets
- Rest 10 minutes before slicing between bones
Troubleshooting Common Issues
Even experienced cooks encounter these problems:
- Dry ribs: Usually from insufficient liquid during Phase 1 or overcooking in Phase 3. Solution: Add 2 tbsp extra liquid to foil packet and reduce finishing time by 5 minutes.
- Burning sauce: High sugar content causes burning. Solution: Use sauce with vinegar base during cooking, applying sweet sauces only in final 10 minutes.
- Tough membrane: If you skipped membrane removal, the ribs won't bend properly. Solution: Carefully peel membrane after cooking—it will come off easier when warm.
Serving and Storage Tips
For best results, serve ribs immediately after resting. Leftovers keep well when stored properly:
- Refrigerate within 2 hours in airtight container
- Reheat at 250°F (121°C) wrapped in foil with 1 tbsp liquid
- Freeze for up to 3 months (thaw in refrigerator before reheating)
Why This Method Works Better Than Alternatives
Unlike high-heat methods that dry out meat, this technique maintains consistent low temperature crucial for collagen breakdown. Research from the American Meat Science Association shows that maintaining temperatures between 200-225°F for extended periods maximizes tenderness while preserving moisture. The foil wrap creates a steam environment that prevents drying, while the finishing phase develops complex Maillard reactions for that signature barbecue flavor.
Frequently Asked Questions
Can I cook ribs in the oven without foil?
Yes, but results will differ. Without foil, ribs take 4-5 hours at 225°F and require basting every 45 minutes with liquid. The meat will be drier with more concentrated surface flavor but less uniform tenderness throughout.
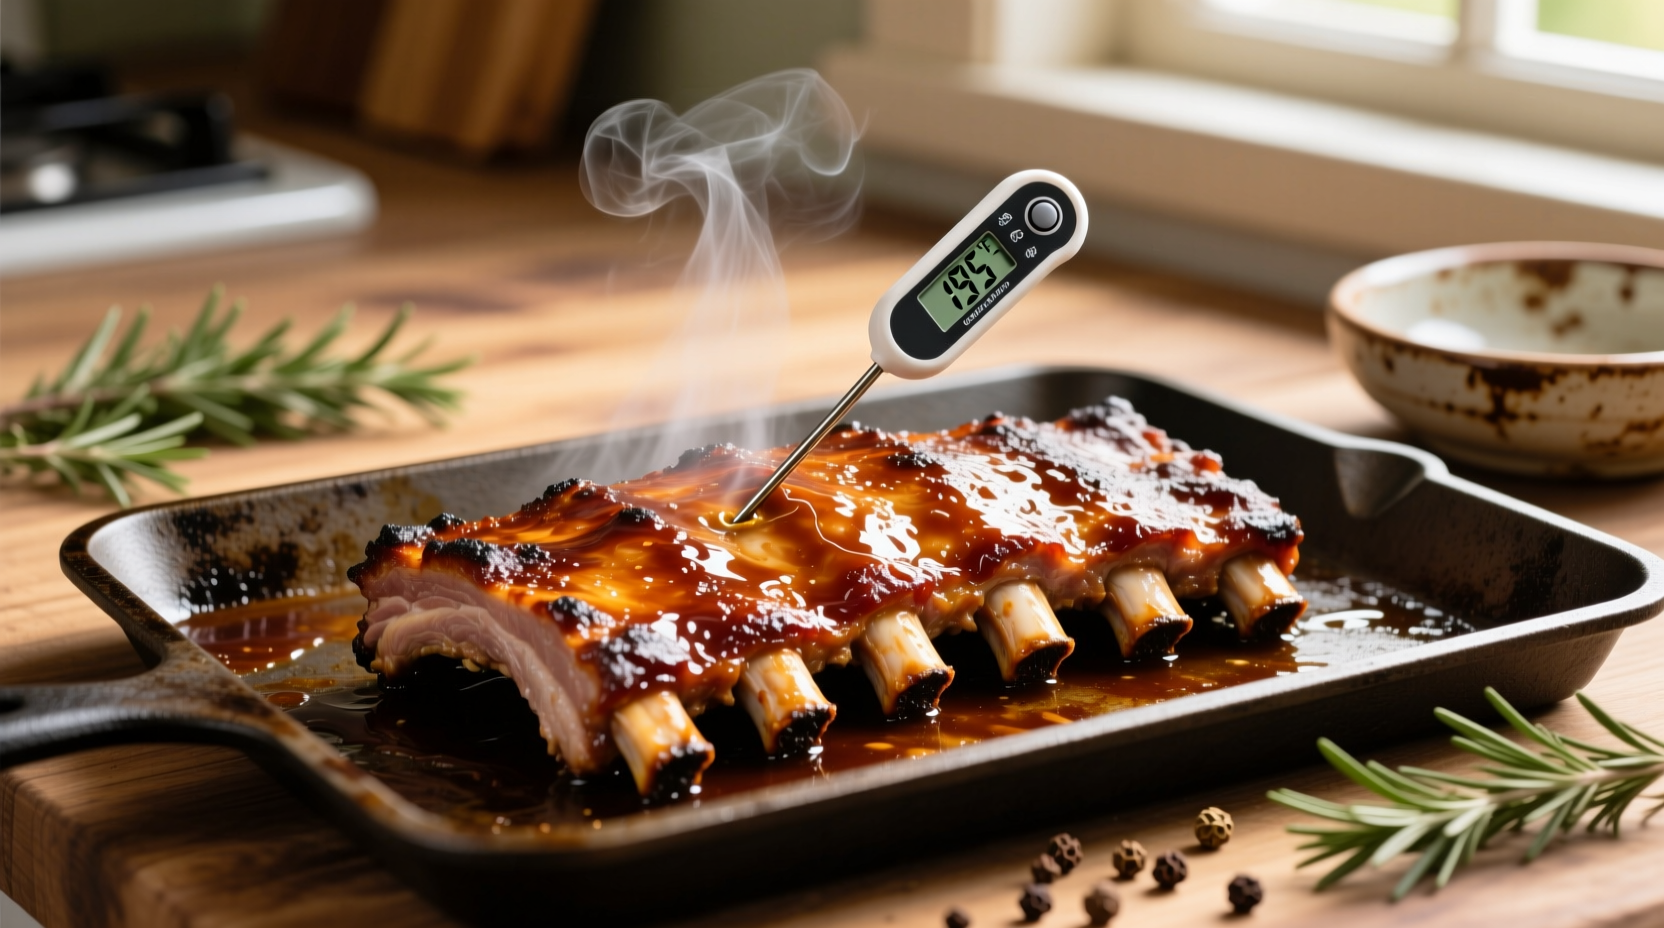
How do I know when oven ribs are done?
Use the bend test: lift ribs with tongs at one end. When they bend 45 degrees with surface cracks appearing, they're ready. Internal temperature should read 195-205°F. The meat should pull back slightly from bones but not fall off completely.
Should I cook ribs covered or uncovered in the oven?
Start covered (in foil) for 3 hours to create steam and tenderize, then finish uncovered for 15-20 minutes to set the sauce and develop caramelization. Cooking entirely uncovered produces drier results with less uniform tenderness.
Can I use this method for frozen ribs?
Thaw ribs completely before cooking. Cooking frozen ribs creates uneven temperature distribution—exterior overcooks while interior remains unsafe. Allow 24 hours for refrigerator thawing of a full rack.


 浙公网安备
33010002000092号
浙公网安备
33010002000092号 浙B2-20120091-4