
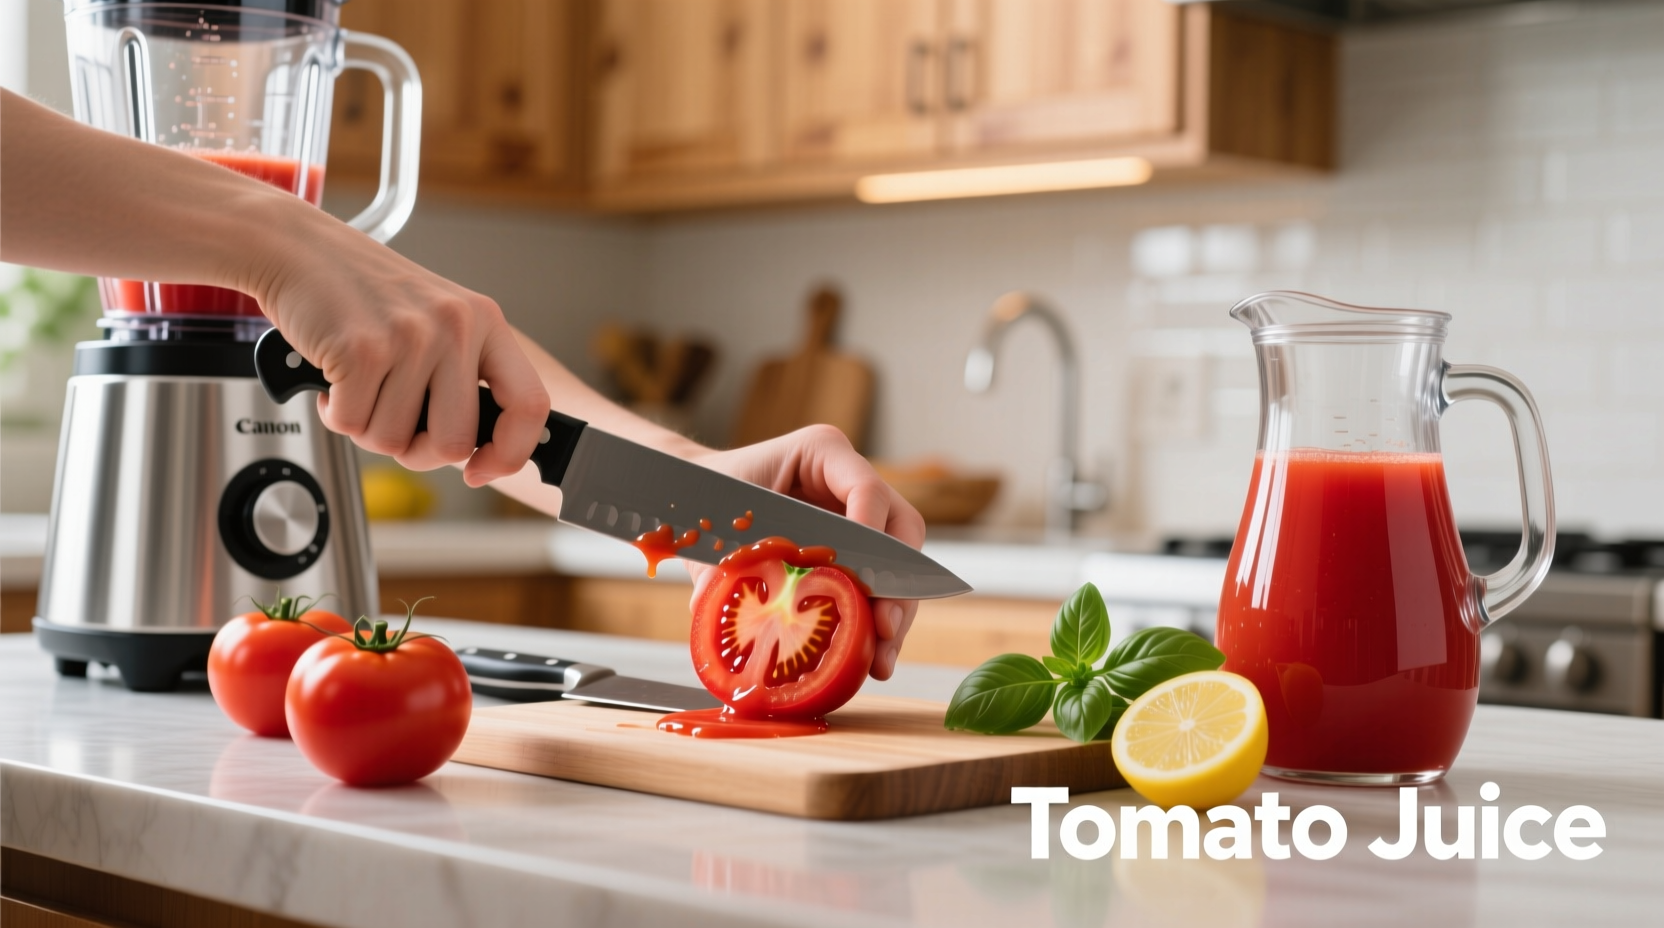
Why Fresh Tomato Juice Beats Store-Bought Every Time
Creating tomato juice at home gives you complete control over ingredients and flavor. Unlike commercial versions loaded with preservatives and sodium, your homemade batch contains only what you add—typically just tomatoes and a pinch of salt. According to the USDA's FoodData Central, fresh tomato juice retains significantly higher levels of vitamin C and lycopene compared to processed alternatives.
Your Tomato Juice Toolkit: Essential Equipment
Before starting, gather these kitchen staples:
- Blender or food processor (minimum 600 watts)
- Fine-mesh sieve or cheesecloth
- Large mixing bowl
- Wooden spoon for pressing
- Glass jars for storage
Step-by-Step: Crafting Perfect Tomato Juice in 5 Simple Stages
Stage 1: Selecting the Right Tomatoes
Not all tomatoes work equally well for juicing. While grocery store varieties are convenient, heirloom types deliver superior flavor complexity. Here's how common varieties compare:
| Tomato Variety | Flavor Profile | Juice Yield per Pound | Best For |
|---|---|---|---|
| Roma | Earthy, concentrated | 12 oz | Classic tomato juice |
| Beefsteak | Sweet, mild | 10 oz | Beginner-friendly batches |
| Cherokee Purple | Smoky, complex | 14 oz | Gourmet applications |
| Yellow Pear | Honey-like sweetness | 9 oz | Blending with other varieties |
Stage 2: Preparation Without the Peel Hassle
Professional kitchens often skip the time-consuming blanching process. Instead:
- Wash tomatoes thoroughly under cold water
- Cut into quarters (no need to remove cores)
- Place directly in blender—skin and seeds contribute flavor complexity
Stage 3: Blending for Maximum Extraction
Process tomatoes in batches using short pulses to avoid overheating. The FDA's food safety guidelines recommend keeping produce below 40°F until preparation. Blend until completely smooth (about 45 seconds per batch).
Stage 4: Straining Like a Pro
Line a large sieve with damp cheesecloth over a bowl. Pour blended mixture into the cloth and:
- Never press aggressively—this forces bitter compounds from seeds into your juice
- Allow gravity to do 80% of the work (15-20 minute wait)
- Gently twist cloth to extract final portions
Stage 5: Flavor Balancing and Storage
Season to taste with:
- Sea salt (1/4 tsp per quart)
- Freshly ground black pepper
- Optional: 1 tbsp lemon juice per quart for brightness
Store in airtight containers:
- Refrigerator: Up to 3 days
- Freezer: 8 months (leave 1-inch headspace)
- Canning: Follow USDA National Center for Home Food Preservation guidelines
Avoid These 3 Common Tomato Juice Mistakes
Even experienced home cooks stumble with these pitfalls:
Mistake #1: Using Underripe Tomatoes
Green tomatoes contain solanine, which creates bitter flavors. The University of California's Agricultural Department confirms fully vine-ripened tomatoes yield 37% more juice with better nutrient density.
Mistake #2: Over-Processing the Pulp
Excessive straining pressure extracts pectin and seed compounds that cause cloudiness and bitterness. Let gravity work—your patience rewards you with clearer, smoother juice.
Mistake #3: Ignoring Acidity Balance
Tomato juice naturally ranges from pH 4.3-4.9. Adding lemon juice not only enhances flavor but ensures safe acidity levels for preservation, meeting FDA canning requirements.
When Homemade Makes the Most Sense
Consider your context before starting:
- Choose homemade when: You have garden surplus, want preservative-free options, or need customizable flavor profiles
- Consider store-bought when: You need shelf-stable emergency supplies or require certified low-sodium options for medical diets
Flavor Variations Worth Trying
Once you've mastered the basic technique, experiment with these professional chef-approved additions:
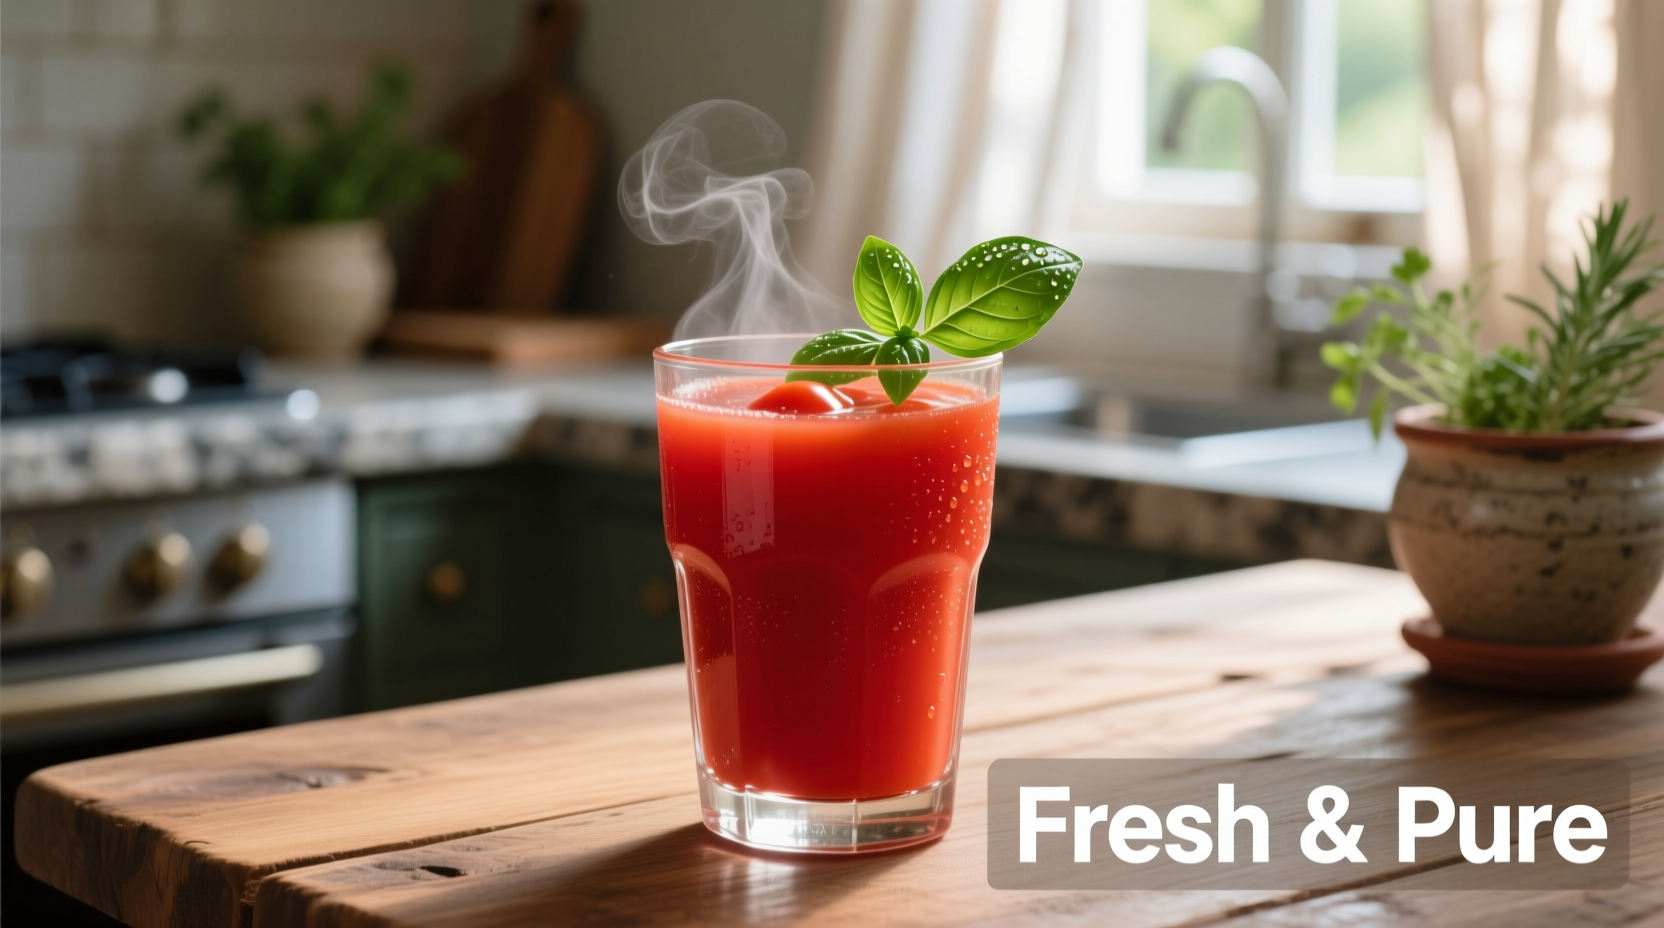
- Herb-Infused: Add 3 sprigs fresh basil during blending
- Spicy Michelada Style: Blend in 1/2 tsp smoked paprika and 1 minced jalapeño
- Sun-Dried Tomato Concentrate: Soak 2 tbsp chopped sun-dried tomatoes in warm water before blending


 浙公网安备
33010002000092号
浙公网安备
33010002000092号 浙B2-20120091-4