
For a successful potato patch, plant certified seed potatoes in well-drained, slightly acidic soil (pH 5.0-6.0) with consistent moisture. Space tubers 12 inches apart in rows 30-36 inches wide, hilling soil around plants when they reach 6-8 inches tall. Harvest new potatoes 7-8 weeks after planting or wait for full maturity when foliage yellows and dies back.
Imagine harvesting your own homegrown potatoes—earthy, flavorful, and bursting with freshness no grocery store can match. Whether you're working with a backyard garden or a small raised bed, creating a thriving potato patch is simpler than you think. This guide reveals the exact techniques professional growers use to maximize yield and quality, transforming your gardening experience from uncertain to abundant.
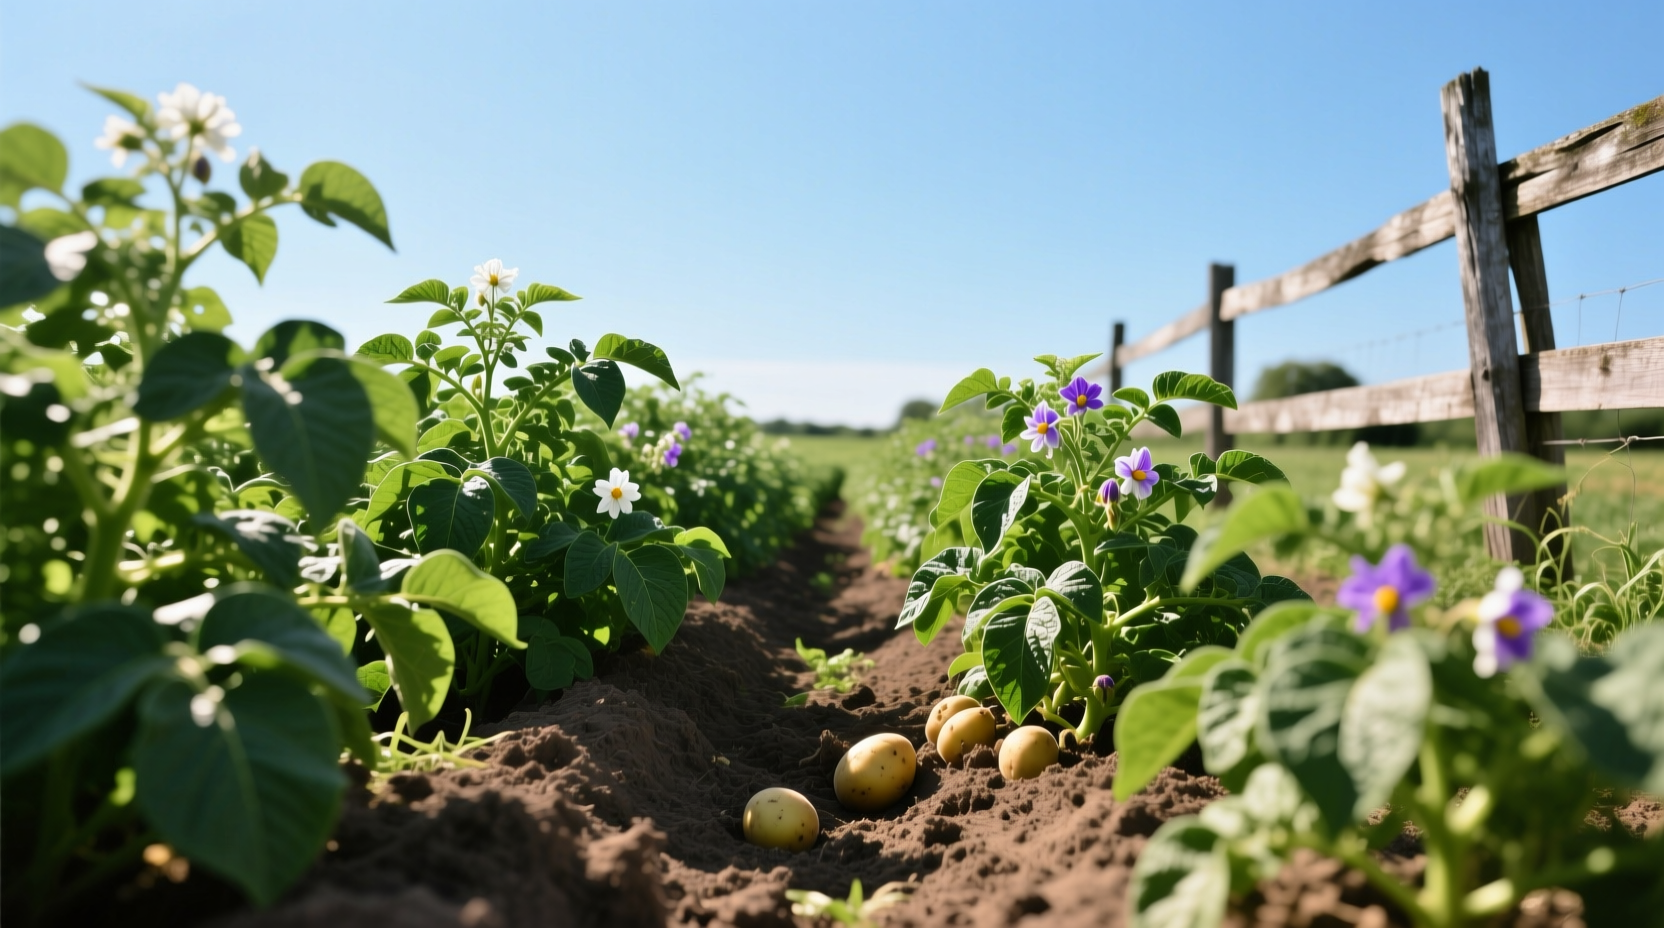
Planning Your Potato Patch Layout
Successful potato growing begins with thoughtful planning. Potatoes require consistent moisture but hate waterlogged conditions, making proper site selection critical. Choose a location with at least 6-8 hours of direct sunlight daily and excellent drainage. Avoid low-lying areas where water pools after rain.
Consider your climate zone when planning your potato patch. According to the USDA Plant Hardiness Zone Map, potatoes grow best in zones 3-10, with planting times varying significantly:
| Climate Zone | Planting Time | First Harvest Window |
|---|---|---|
| Northern (Zones 3-5) | 2-3 weeks before last frost | Mid-July to August |
| Moderate (Zones 6-8) | Early to mid-spring | June to July |
| Southern (Zones 9-10) | Late fall to early winter | February to March |
Space requirements depend on your chosen variety and growing method. Traditional row planting needs 30-36 inches between rows with 12 inches between plants. For container growing or small spaces, consider the "straw method" which requires less space but needs consistent moisture management.
Soil Preparation: The Foundation of Success
Potatoes thrive in loose, well-drained soil rich in organic matter. The ideal pH range is slightly acidic at 5.0-6.0, which helps prevent common diseases like scab. Before planting, conduct a soil test through your local agricultural extension office to determine your soil's current condition.
Based on University of California Agriculture and Natural Resources guidelines, amend your soil with these proportions:
- 3 inches of well-rotted compost worked into the top 8-10 inches of soil
- 2-3 pounds of balanced organic fertilizer (10-10-10) per 100 square feet
- Additional sulfur if your pH is above 6.0 to achieve proper acidity
Avoid using fresh manure, which can cause scab disease and misshapen tubers. Instead, opt for composted materials that have fully broken down. Raised beds 8-12 inches high improve drainage in heavy clay soils and warm up faster in spring.
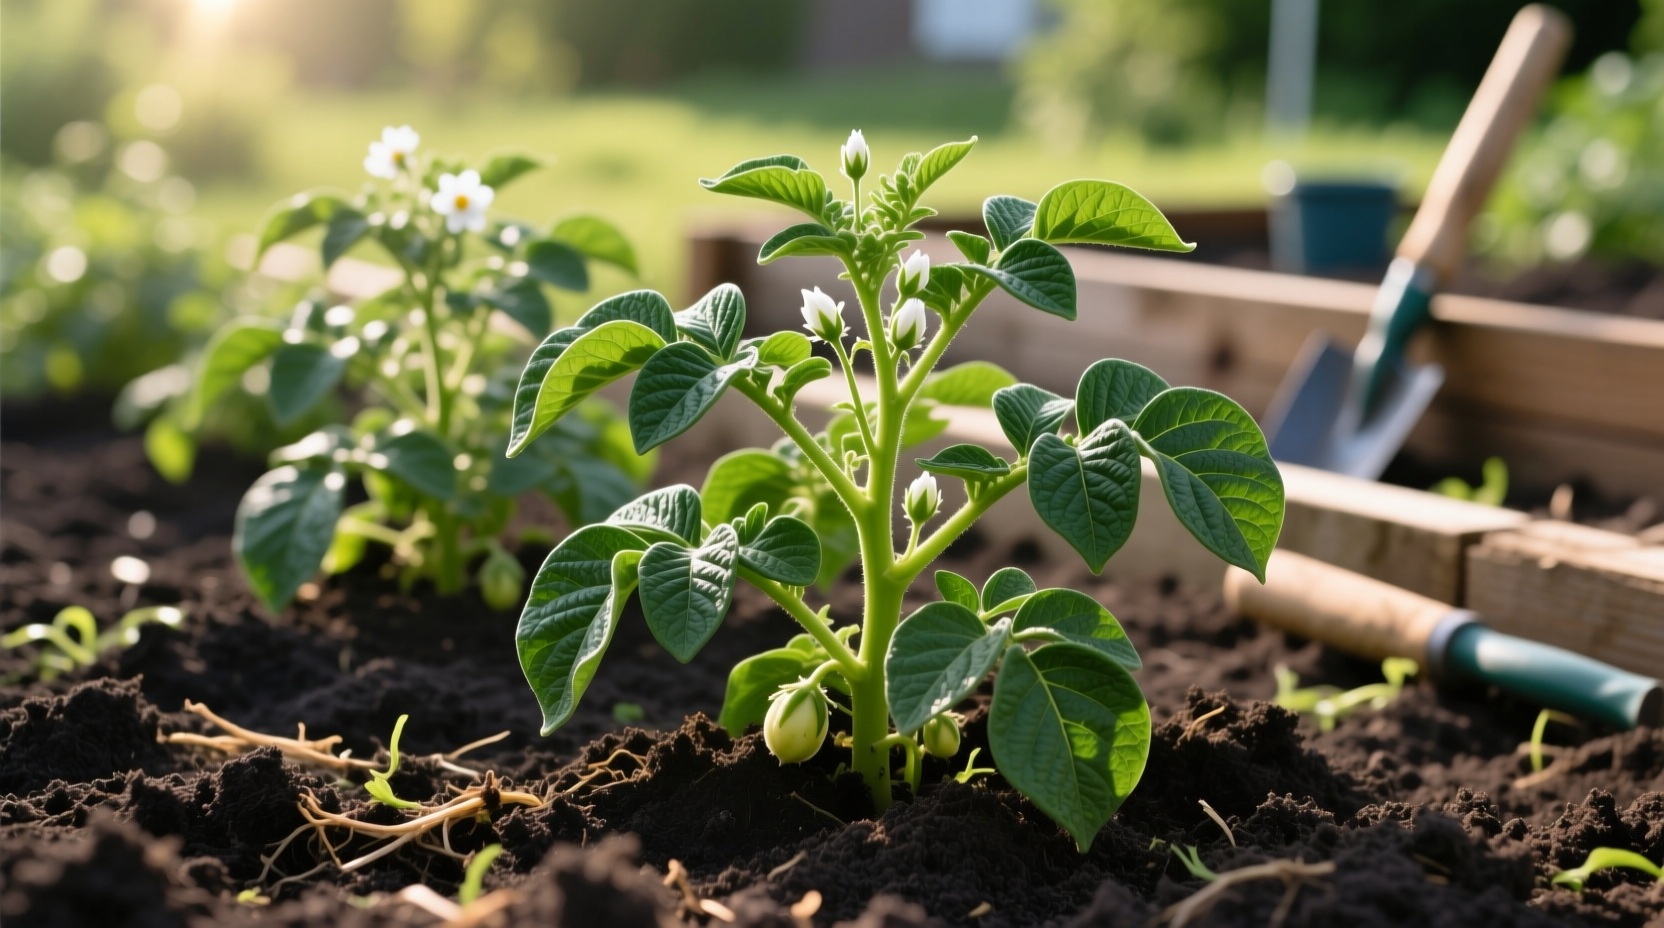
Planting Techniques for Maximum Yield
Start with certified disease-free seed potatoes—never use grocery store potatoes, which may carry diseases or have been treated to prevent sprouting. Cut larger seed potatoes into 1.5-2 inch pieces with at least one "eye" per piece 2-3 days before planting to allow the cut surfaces to callous over.
Plant seed pieces 3-4 inches deep with eyes facing up, spacing them 12 inches apart in rows 30-36 inches apart. In cooler climates, plant shallower (2-3 inches); in warmer regions, plant deeper (4-6 inches) to keep tubers cool.
The critical hilling technique makes or breaks your potato patch. When plants reach 6-8 inches tall, mound soil around the base, leaving only the top leaves exposed. Repeat this process every 2-3 weeks as plants grow, creating ridges 6-8 inches high. This prevents tubers from turning green from sun exposure and encourages additional root formation.
Season-Long Care for Healthy Plants
Consistent moisture is crucial for potato development. Water deeply 1-2 times per week to maintain even soil moisture at 1-1.5 inches per week. Reduce watering 2-3 weeks before harvest to allow skins to harden for better storage.
Fertilize strategically: Apply a balanced fertilizer when plants are 4-6 inches tall, then switch to a low-nitrogen, high-potassium formula when flowering begins. Excess nitrogen promotes leafy growth at the expense of tuber development.
Monitor for common pests like Colorado potato beetles and aphids. Hand-pick beetles early in the season or use floating row covers for prevention. For disease prevention, practice crop rotation—never plant potatoes in the same spot more than once every 3-4 years.
Harvesting and Storage Best Practices
Timing your harvest correctly determines storage potential. For new potatoes, harvest 7-8 weeks after planting when flowers appear. For main crop potatoes, wait until foliage yellows and dies back completely—typically 90-120 days after planting depending on variety.
Harvest on a dry day using a garden fork to gently loosen soil 8-10 inches from the plant base. Lift carefully to avoid piercing tubers. After harvesting, cure potatoes in a cool (50-60°F), dark, humid location for 10-14 days to thicken skins before long-term storage.
Store cured potatoes at 38-40°F with 90-95% humidity in a dark location. Properly stored potatoes can last 6-8 months. Check monthly for any rotting tubers and remove them immediately to prevent spread.
Troubleshooting Common Potato Patch Problems
Even experienced gardeners encounter challenges. Here's how to address frequent issues:
- Green tubers: Caused by sun exposure. Ensure proper hilling and avoid shallow planting.
- Small tubers: Often from overcrowding, inconsistent watering, or premature harvesting.
- Cracked potatoes: Result from irregular watering patterns—maintain consistent moisture.
- Scab lesions: Caused by high pH or alkaline soil. Amend with sulfur to lower pH.
Remember that different potato varieties have unique characteristics and requirements. Russets generally store longer than fingerlings, while red varieties often have thinner skins better suited for immediate use.


 浙公网安备
33010002000092号
浙公网安备
33010002000092号 浙B2-20120091-4