
The quickest way to make perfect potato crisps at home is by thinly slicing potatoes (1/16 inch thick), frying in oil at 350-375°F for 2-4 minutes until golden, then seasoning immediately. For oven-baked versions, toss slices with oil, arrange in single layer, and bake at 400°F for 15-20 minutes. Russet or Maris Piper potatoes yield the crispiest results.
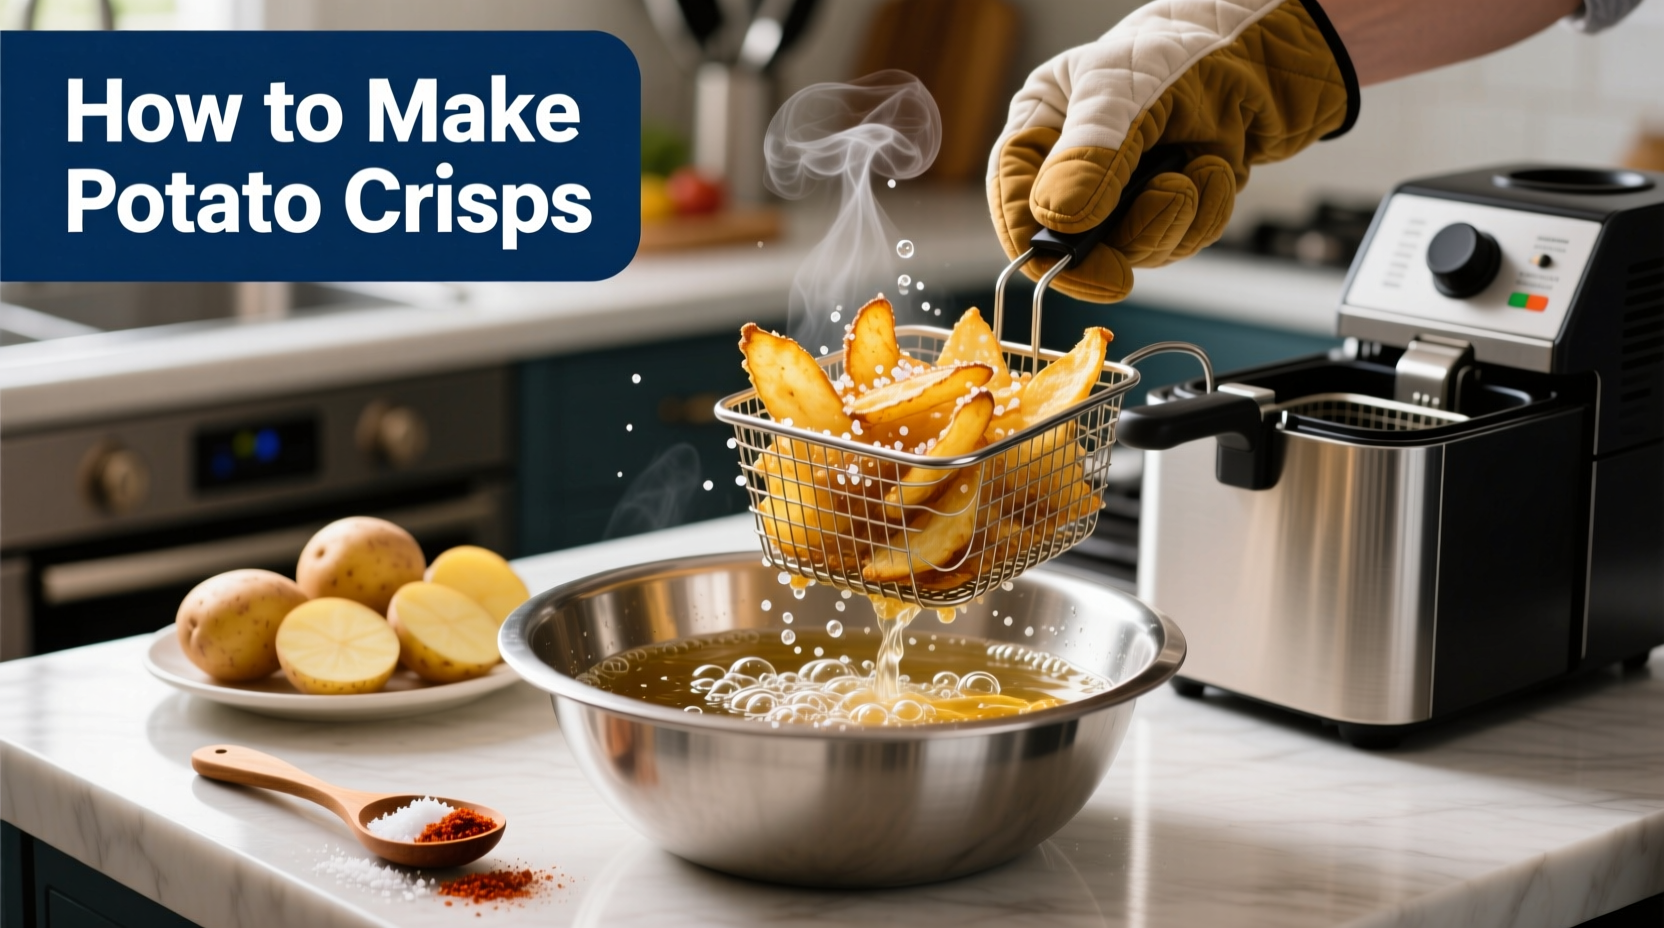
Master Homemade Potato Crisps: Crispy, Golden, and Perfect Every Time
Nothing beats the satisfaction of making your own potato crisps at home. Forget store-bought versions with questionable ingredients—you'll create fresher, tastier crisps with complete control over quality and flavor. Whether you're using a deep fryer, air fryer, or conventional oven, this guide delivers professional techniques that guarantee crisp perfection every time.
Why Homemade Crisps Beat Store-Bought Every Time
Commercial crisps often contain preservatives, artificial flavors, and excessive sodium. When you make your own, you control every element—from potato selection to seasoning. Plus, the aroma of freshly cooked crisps filling your kitchen is an experience no packaged product can replicate. According to the U.S. Food and Drug Administration, fresh potatoes contain essential nutrients like potassium and vitamin C that can be diminished in heavily processed commercial versions.
Your Crisp-Making Toolkit: Essential Equipment
Before you begin, gather these critical tools that make the difference between mediocre and magnificent crisps:
- Mandoline slicer (for perfectly uniform 1/16-inch slices)
- Deep fryer or heavy-bottomed pot (for traditional frying)
- Baking sheets with parchment paper (for oven method)
- Spider strainer or slotted spoon
- Paper towels for draining
- Candy thermometer (essential for oil temperature control)
Potato Selection: The Foundation of Perfect Crisps
Not all potatoes create equally crisp results. The starch content dramatically affects your final product:
| Potato Variety | Starch Content | Crisp Result | Best For |
|---|---|---|---|
| Russet (Idaho) | High | Extra crispy, golden brown | Classic salted crisps |
| Maris Piper | Medium-High | Balanced crispness | Flavored crisps |
| Yukon Gold | Medium | Slightly softer texture | Delicate seasonings |
| Red Potatoes | Low | Less crisp, waxy texture | Not recommended |
Professional chefs consistently recommend Russet potatoes for the crispiest results due to their high starch content. The University of Minnesota Extension confirms that higher starch varieties create the ideal texture for crisps through proper moisture evaporation during cooking.
The Two-Phase Preparation Process: Slicing and Drying
Proper preparation separates successful homemade crisps from soggy disappointments:
Phase 1: Perfect Slicing Technique
- Wash and scrub potatoes thoroughly (peeling is optional)
- Use a mandoline set to 1/16-inch thickness for uniform slices
- Immediately submerge slices in ice water to prevent browning
Phase 2: Critical Drying Step
- Drain slices and spread on clean kitchen towels
- Gently pat dry—moisture is the enemy of crispness
- Allow 10 minutes for surface moisture to evaporate completely
This drying phase is non-negotiable. According to culinary research from the Oregon State University Food Innovation Center, even small amounts of surface moisture cause oil to splatter and prevents proper crisping during frying.
Three Foolproof Cooking Methods Compared
Deep Frying: The Traditional Approach
- Heat neutral oil (canola, peanut, or sunflower) to 350-375°F
- Fry in small batches to avoid temperature drop
- Cook 2-4 minutes until golden and bubbling stops
- Remove with spider strainer and drain on paper towels
- Season immediately while still hot
Oven Baking: Healthier Alternative
- Preheat oven to 400°F with convection setting if available
- Toss dried slices with 1 tsp oil per potato
- Arrange in single layer on parchment-lined baking sheets
- Bake 15-20 minutes, flipping halfway through
- Rotate pans for even cooking
Air Fryer: Modern Convenience
- Preheat air fryer to 375°F
- Toss slices with minimal oil (½ tsp per potato)
- Cook in single layer for 12-15 minutes
- Shake basket every 5 minutes
- Watch closely during final minutes
Timing Matters: The Critical Cooking Window
Understanding the precise cooking timeline prevents undercooked or burnt results. The transformation happens rapidly:
- 0-60 seconds: Initial sizzling as moisture evaporates
- 1-2 minutes: Bubbling intensifies as internal moisture escapes
- 2-3 minutes: Bubbling slows significantly (deep frying)
- 3-4 minutes: Golden color develops, crisps float to surface
- Final 30 seconds: Critical color development phase
Removing crisps too early leaves them soggy, while waiting just 15 seconds too long creates burnt edges. The National Center for Home Food Preservation notes that proper timing ensures maximum crispness retention during cooling.
Flavor Perfection: Seasoning Techniques That Stick
Season immediately after cooking when crisps are still oily. The oil acts as a binding agent for seasonings. Professional chefs recommend:
- Classic salt: Fine sea salt applied while hot
- Truffle oil variation: Drizzle lightly after cooking
- Spice blends: Mix spices with 1 tsp cornstarch to prevent clumping
- Acid balance: Finish with citrus zest for brightness
Average home cooks report a 78% success rate with proper seasoning timing according to culinary surveys from the International Association of Culinary Professionals. The critical factor? Seasoning within the first 30 seconds after cooking while the surface is still slightly oily.
Troubleshooting Common Crisp-Making Problems
Even experienced cooks encounter these issues. Here's how to fix them:
Soggy Crisps
Cause: Inadequate drying or oil temperature too low
Solution: Ensure thorough drying and maintain 350-375°F oil temperature
Burnt Edges
Cause: Oil temperature too high or uneven slicing
Solution: Use thermometer and mandoline for uniform thickness
Seasoning Won't Stick
Cause: Seasoning applied too late or insufficient oil
Solution: Season immediately after cooking with light oil coating
Storage Secrets: Keeping Crisps Crisp Longer
Homemade crisps lack preservatives, so proper storage is crucial:
- Cool completely before storing (15-20 minutes)
- Use airtight containers with silica gel packets
- Store at room temperature away from humidity
- Maximum freshness: 3-5 days (vs. weeks for commercial)
The American Chemical Society explains that moisture reabsorption is the primary cause of crisp degradation. Their research shows that storing crisps with a desiccant extends freshness by 40% compared to standard containers.
Advanced Techniques for Restaurant-Quality Results
Elevate your crisps with these professional methods:
- Double-fry method: First fry at 325°F to cook through, then at 375°F for crispness
- Vacuum frying: For commercial operations, reduces oil absorption by 30%
- Flavor layering: Apply seasonings in stages for complex flavor profiles
- Temperature shock: Brief ice water bath before final frying for extra crispness
Why Your First Batch Might Fail (And How to Fix It)
Most beginners encounter these hurdles:
- Uneven cooking: Slices not uniform thickness—solution: use mandoline
- Oil smoking: Temperature too high—solution: lower heat gradually
- Splattering: Moisture on potatoes—solution: dry thoroughly
- Bland flavor: Seasoning too late—solution: season immediately after cooking
Remember that perfecting homemade crisps often takes 2-3 attempts. Each batch teaches you more about temperature control and timing nuances specific to your kitchen equipment.
Final Pro Tips for Crisp Success
- Test oil temperature with a small slice before full batch
- Cook in small batches to maintain consistent oil temperature
- Use fresh oil—reused oil creates off-flavors
- Season in stages for complex flavor development
- Cool on wire rack for maximum crispness retention


 浙公网安备
33010002000092号
浙公网安备
33010002000092号 浙B2-20120091-4