
The fastest way to cook perfect spare ribs: Remove the membrane, apply a balanced dry rub with salt, pepper, and paprika, then cook low and slow at 225°F (107°C) for 4-6 hours until tender. Finish with sauce during the last 30 minutes for caramelized perfection. This method guarantees fall-off-the-bone texture without drying out the meat.
Nothing beats the satisfaction of serving perfectly cooked spare ribs that pull apart with just the right amount of resistance. As a chef who's prepared thousands of racks across professional kitchens and home settings, I've refined a process that works whether you're using an oven, grill, or smoker. The secret lies not in complicated techniques but in understanding three critical elements: proper membrane removal, temperature control, and strategic timing. Skip any of these, and you risk tough, dry ribs that disappoint your guests.
Essential Preparation: Setting Up for Success
Before you even think about heat, proper preparation determines your rib's fate. Start by selecting quality meat—look for racks with even marbling and minimal fat deposits. The USDA recommends choosing pork with the "Inspected and Passed" stamp for safety assurance.
Membrane removal makes the biggest difference in texture. That thin, silvery layer on the bone side prevents seasoning penetration and causes uneven cooking. To remove it:
- Slide a butter knife under the membrane at one end
- Lift gently until you can grab it with a paper towel
- Pull steadily upward at a 45-degree angle
"Most home cooks skip this step and wonder why their ribs never reach restaurant quality," explains Antonio Rodriguez, chef and culinary instructor. "That membrane shrinks during cooking, making ribs curl and toughen. Removing it transforms the entire eating experience."
Dry Rub Application: Flavor Foundation
Your seasoning blend creates the flavor base that penetrates the meat during cooking. A professional-quality rub balances:
- Salt (15% of total blend) for moisture retention
- Sugar (20%) for caramelization
- Paprika (25%) for color and mild sweetness
- Garlic and onion powder (15% each) for depth
- Black pepper (10%) for bite
Apply generously to all surfaces, pressing gently to help adhesion. For maximum flavor development, refrigerate uncovered for 12-24 hours before cooking. This dry-brining process allows salt to penetrate while the surface dries for better bark formation.
| Cooking Method | Temperature | Time Range | Best For |
|---|---|---|---|
| Oven | 225°F (107°C) | 4-5 hours | Consistent results, beginners |
| Smoker | 225°F (107°C) | 5-6 hours | Authentic wood flavor |
| Grill (indirect) | 225°F (107°C) | 4-5 hours | Outdoor cooking enthusiasts |
| Instant Pot | High pressure | 35 minutes | Quick weeknight meals |
Cooking Process: Temperature Control Is Everything
The "low and slow" approach isn't just chef jargon—it's food science. At temperatures below 250°F (121°C), collagen slowly converts to gelatin without squeezing out moisture. Higher temperatures cause rapid moisture loss before connective tissues break down.
Monitor internal temperature using a reliable probe thermometer. The ideal range for perfectly tender spare ribs is 195-205°F (90-96°C). At this point, collagen has fully converted to gelatin, creating that signature pull-apart texture. The USDA's Food Safety and Inspection Service confirms pork is safe to eat at 145°F (63°C), but ribs require higher temperatures for proper texture development.
Finishing Techniques: When and How to Sauce
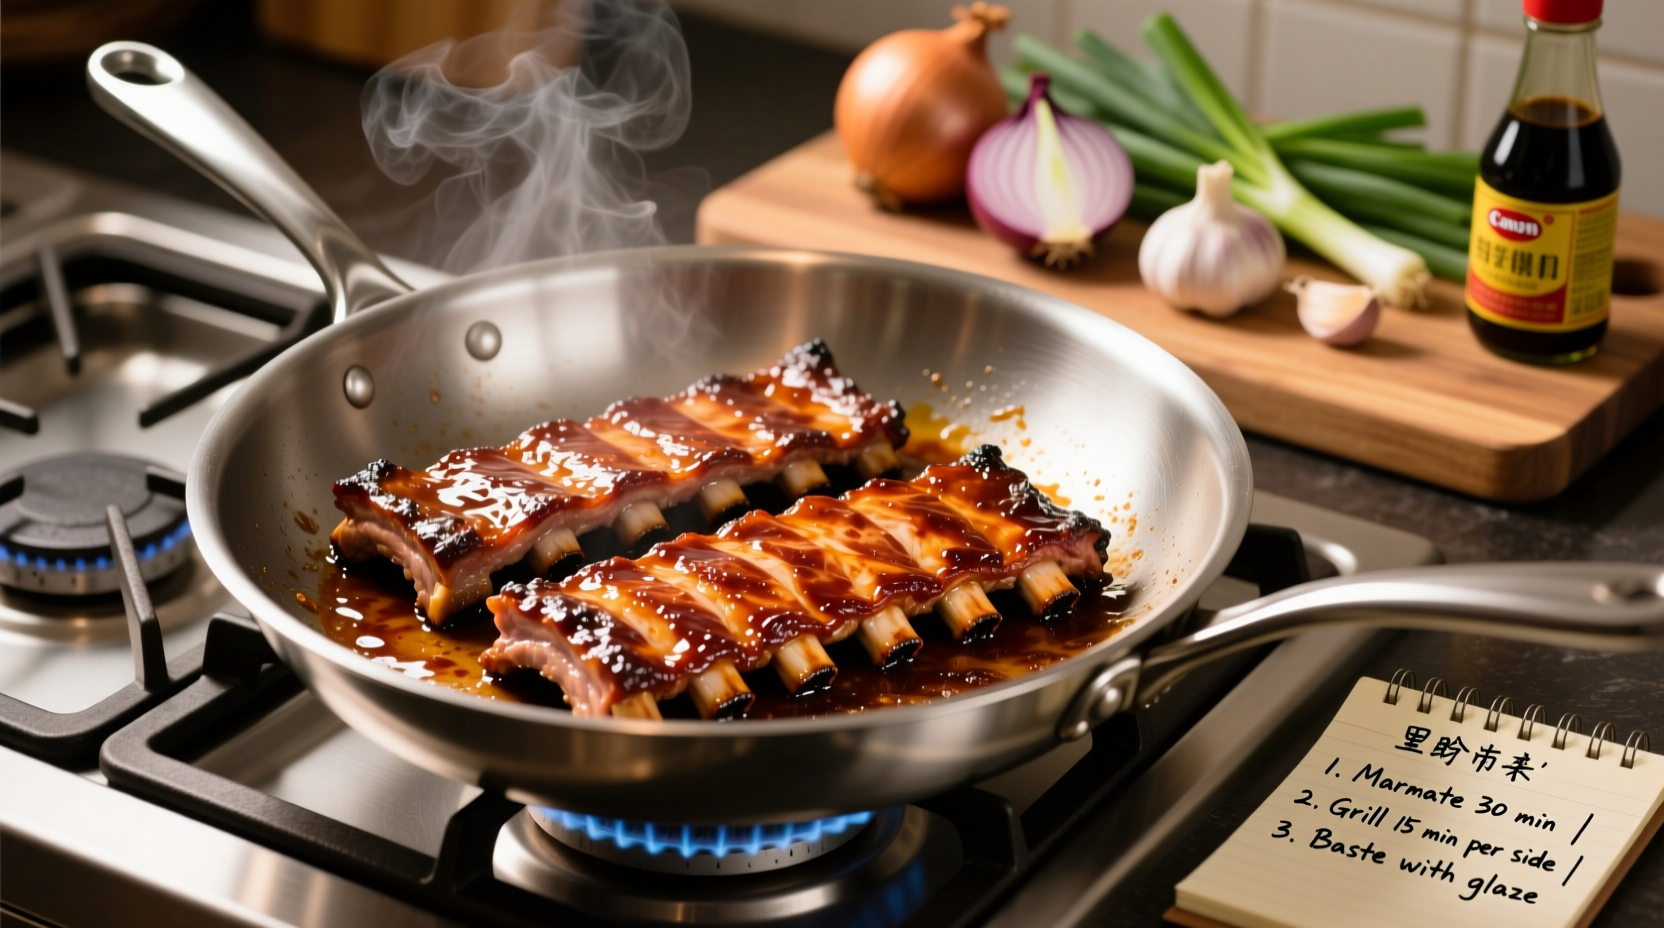
Many beginners make the mistake of applying sauce too early, causing burning and bitter flavors. The optimal timing depends on your cooking method:
- Oven/Smoker: Add sauce during last 30 minutes
- Grill: Apply during final 15-20 minutes
- Instant Pot: Sauce after pressure cooking
"Sauce should enhance, not dominate," advises Rodriguez. "Think of it as a flavor accent, not a cover-up for poor technique. If you've cooked properly, you'll need minimal sauce to elevate already delicious meat."
Resting and Serving: The Critical Final Step
Never skip the resting period. After cooking, wrap ribs in foil and let rest for 20-30 minutes. This allows juices to redistribute throughout the meat. Cutting too soon releases precious moisture onto your cutting board instead of staying in the meat.
For clean presentation, use a sharp knife to slice between bones. Serve with complementary sides that cut through richness—try apple slaw, cornbread, or roasted vegetables. Leftovers (if any!) store well refrigerated for 3-4 days or frozen for up to 3 months.
Troubleshooting Common Issues
Dry ribs: Usually caused by cooking at too high temperature or for too long. Next time, reduce heat by 25°F and check for doneness earlier.
Tough ribs: Indicates insufficient cooking time or temperature too low to break down collagen. Verify your thermometer accuracy and extend cooking time.
Burnt exterior: Sauce applied too early or direct heat exposure. Use indirect heat methods and add sauce later in the process.
Remember that environmental factors affect cooking times. Humidity, altitude, and even the thickness of your particular rack will require slight adjustments. Always cook to temperature rather than strict time guidelines.


 浙公网安备
33010002000092号
浙公网安备
33010002000092号 浙B2-20120091-4