

Discover exactly how to grow potatoes from seed potatoes with this practical, step-by-step guide. You'll learn the proper planting depth, ideal soil conditions, watering schedule, and harvesting techniques that ensure a successful crop. Whether you're gardening in raised beds, containers, or traditional rows, these proven methods work for all climates and space limitations.
Why Seed Potatoes Beat Grocery Store Potatoes
Certified seed potatoes are specifically grown for planting and are disease-free, unlike grocery store potatoes that often contain sprout inhibitors. According to the University of Minnesota Extension, commercially available seed potatoes undergo rigorous testing to prevent transmitting viruses like potato leafroll virus or potato virus Y that commonly affect home-saved tubers.
| Seed Potato Characteristic | Benefit for Gardeners |
|---|---|
| Disease certification | Prevents crop failure from common potato pathogens |
| Genetic stability | Produces consistent yields and quality |
| Pre-sprouted (chitted) | Accelerates growth by 2-3 weeks |
| Variety-specific traits | Choose based on climate, storage needs, and culinary use |
Optimal Planting Timeline for Your Region
Timing your potato planting correctly makes the difference between a thriving crop and complete failure. The Old Farmer's Almanac recommends planting 2-4 weeks before your last expected frost date when soil temperature reaches 45°F (7°C) at planting depth. In warmer climates (zones 7+), plant in late winter for spring harvest or in September for winter harvest.
Here's what most beginner gardeners miss: potatoes develop best when daytime temperatures stay between 60-70°F (15-21°C). When temperatures exceed 80°F (27°C), tuber formation slows dramatically. This explains why southern gardeners achieve better results with fall plantings that mature before summer heat.
Soil Preparation: The Foundation of Healthy Potatoes
Proper soil preparation accounts for 70% of your potato growing success. Potatoes require loose, well-draining soil with pH between 5.0-6.0. The Oregon State University Extension confirms that soil pH above 5.6 increases risk of common scab, while pH below 5.0 can cause manganese toxicity.
Follow these soil preparation steps:
- Test your soil pH 4-6 weeks before planting
- Add elemental sulfur to lower pH or agricultural lime to raise it
- Mix in 3-4 inches of compost or well-rotted manure
- Create raised beds 8-12 inches high for better drainage
- Apply balanced organic fertilizer (5-10-10) at planting time
Planting Technique: Depth, Spacing and Method
How deep to plant seed potatoes? The optimal depth varies by soil type and climate. In heavy soils or cool climates, plant 3-4 inches deep. In light, sandy soils or warmer regions, plant 5-6 inches deep to protect developing tubers from sun exposure.
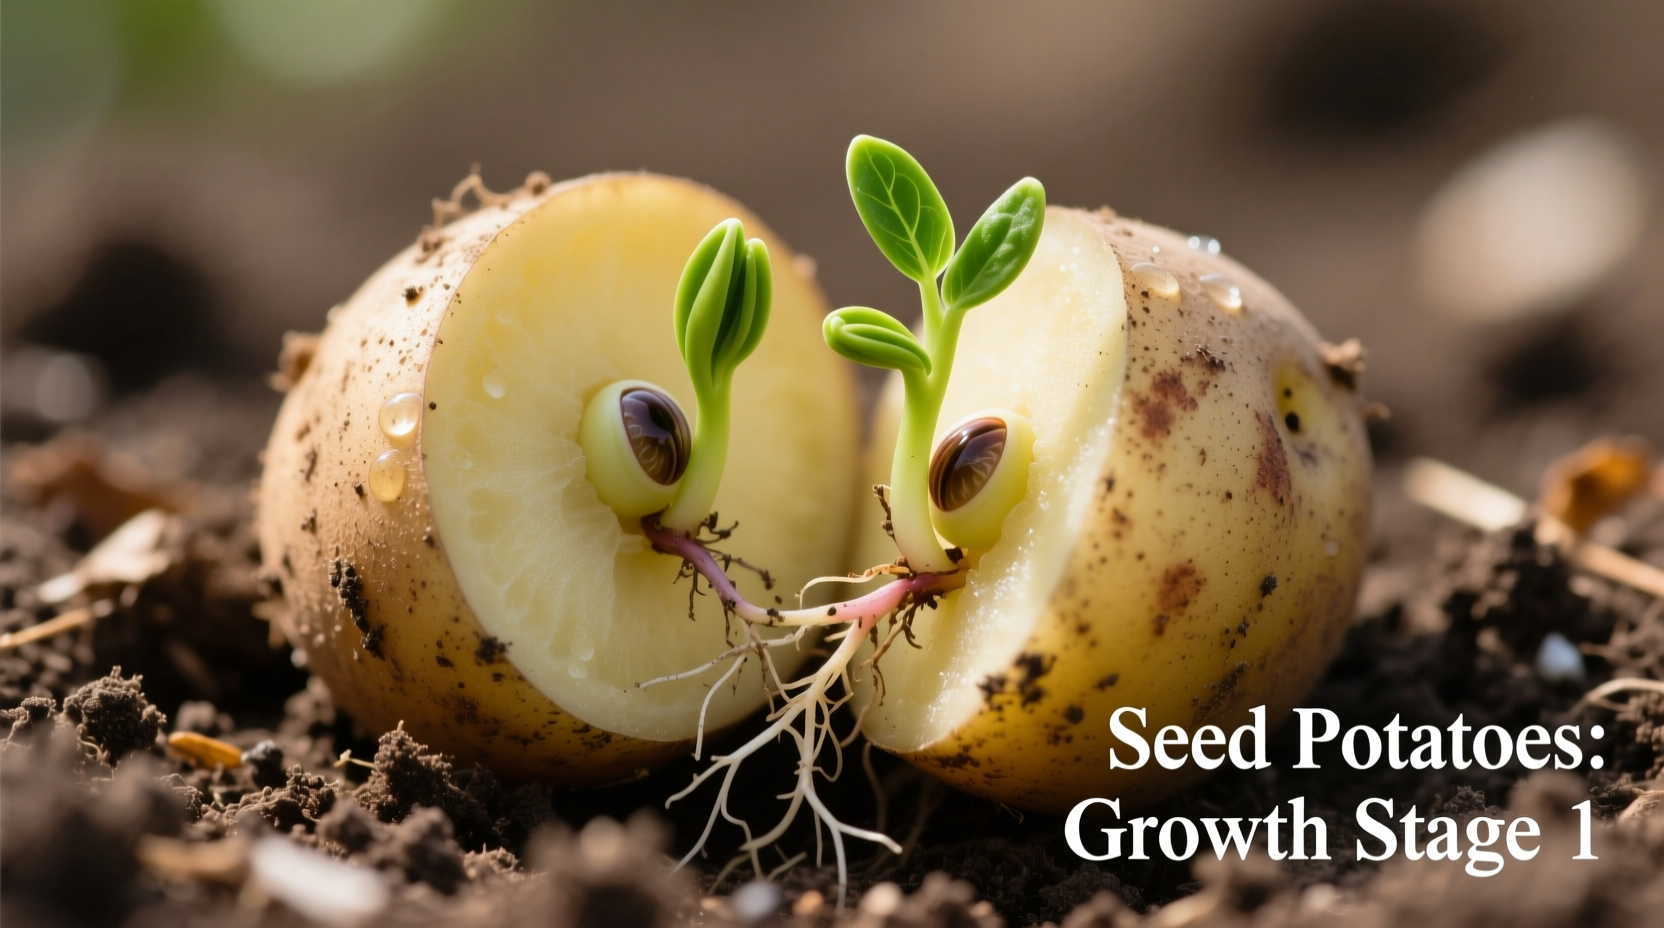
Cut larger seed potatoes into 1.5-2 inch pieces with 2-3 eyes each, allowing cut surfaces to callous for 24-48 hours before planting. Space pieces 12-15 inches apart in rows 24-36 inches apart. For container growing, use 5-gallon buckets with drainage holes, filling halfway with soil mix before planting.
Essential Care Throughout the Growing Season
Successful potato growing requires consistent care at critical growth stages:
Hilling: The Most Critical Step Many Gardeners Skip
When plants reach 6-8 inches tall, mound soil around stems, leaving only the top leaves exposed. Repeat every 2-3 weeks until rows form 8-10 inch high ridges. This prevents tubers from turning green from sun exposure and encourages additional tuber formation along buried stems.
Watering Schedule for Maximum Yield
Water requirements change throughout the growth cycle:
- Establishment phase (0-3 weeks): 1 inch per week
- Tuber initiation (4-6 weeks): 1.5 inches per week
- Tuber bulking (7-10 weeks): 2 inches per week
- Maturity phase (11+ weeks): Gradually reduce watering
Inconsistent watering causes hollow heart or knobby tubers. Use drip irrigation or soaker hoses to maintain even moisture without wetting foliage, which reduces disease risk.
Harvesting: When and How to Gather Your Crop
Knowing when to harvest potatoes determines storage potential. For new potatoes, harvest 7-8 weeks after planting when flowers appear. For main crop storage potatoes, wait until foliage naturally yellows and dies back (typically 120-140 days after planting).
Before harvesting main crop potatoes, stop watering for 2-3 weeks to toughen skins. Wait 10-14 days after foliage dies before digging to allow skins to fully set. Use a digging fork rather than a shovel to minimize tuber damage during harvest.
Common Potato Growing Problems and Solutions
Even experienced gardeners encounter these issues. Here's how to solve them:
Potato Scab
Characterized by rough, corky patches on tuber skin. Prevent by maintaining soil pH below 5.2, using disease-resistant varieties like 'Russet Burbank', and rotating crops every 3-4 years. The University of Minnesota Extension confirms that consistent soil moisture during tuber formation reduces scab incidence by 60%.
Colorado Potato Beetle
Hand-pick adults and larvae early in the season. For larger infestations, use neem oil or spinosad-based organic insecticides. Plant resistant varieties like 'King Harry' or use row covers during beetle emergence.
Hollow Heart
This internal defect appears as cavities in mature tubers. Prevent by maintaining consistent soil moisture (avoiding drought followed by heavy watering) and proper potassium levels. Varieties like 'Yukon Gold' are particularly susceptible.
Proper Storage for Longest Shelf Life
After harvest, cure potatoes at 50-60°F (10-15°C) with 85-90% humidity for 10-14 days. Store in complete darkness at 38-40°F (3-4°C) with 90-95% humidity. Under these conditions, properly cured potatoes can last 5-8 months. Never store potatoes with apples, as ethylene gas from apples promotes sprouting.
Frequently Asked Questions
Can I grow potatoes from grocery store potatoes?
While possible, grocery store potatoes often contain sprout inhibitors and may carry diseases. Certified seed potatoes guarantee disease-free stock and genetic consistency for reliable harvests.
How many potatoes will one seed potato produce?
Under optimal conditions, each seed potato piece typically yields 4-10 mature tubers. Factors like variety, soil quality, and care practices affect final yield.
Why are my potato plants flowering?
Flowering indicates tuber formation has begun. Don't remove flowers, as they signal the plant is entering the critical tuber bulking phase. Focus on consistent watering during this period.
Can I grow potatoes in containers?
Yes, containers work well for potato growing. Use 5-gallon buckets or fabric grow bags, filling halfway with soil mix before planting. Add more soil as plants grow, and ensure adequate drainage to prevent rot.
How do I know when potatoes are ready to harvest?
New potatoes are ready when plants flower. Main crop potatoes are ready when foliage naturally yellows and dies back. Test harvest one plant to check skin set and tuber size before harvesting entire crop.


 浙公网安备
33010002000092号
浙公网安备
33010002000092号 浙B2-20120091-4