
Why Proper Udon Cooking Technique Matters
Getting udon noodles right transforms your Japanese dining experience. Undercooked noodles remain stiff and unpleasant, while overcooked ones turn mushy and lose their distinctive springy "hari-guchi" texture that defines quality udon. The difference between mediocre and exceptional udon often comes down to just 60 seconds of cooking time and proper rinsing technique.
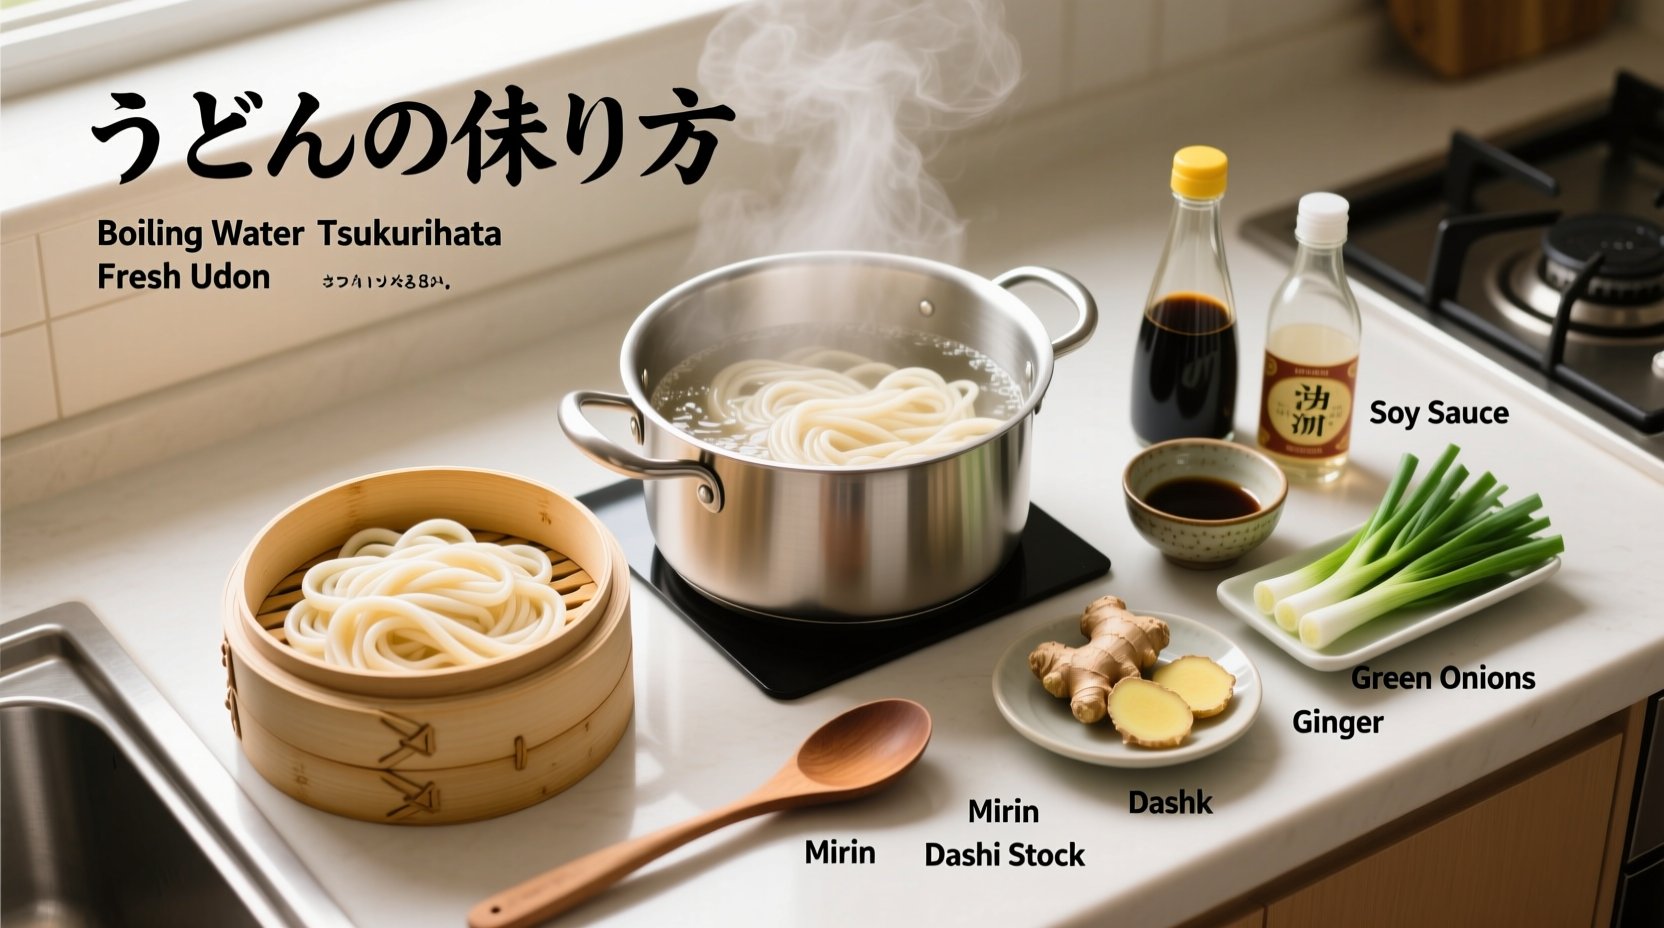
Essential Equipment and Ingredients
Before you begin, gather these kitchen essentials:
- Large pot (at least 6 quarts capacity)
- Slotted spoon or spider strainer
- Bowl of ice water
- Timer (critical for precision)
- 8 cups water per 200g noodles
- 1½ tablespoons salt per gallon of water
- Fresh or dried udon noodles (check package instructions)
Step-by-Step Cooking Process
Follow these precise steps for perfect udon noodles every time:
Step 1: Prepare the Water
Fill your pot with sufficient water—never skimp. For every 200g of noodles, use 8 cups (2 liters) of water. Add 1½ tablespoons of salt per gallon of water. Bring to a rolling boil before adding noodles. The salt concentration should resemble seawater (about 1%), which prevents noodles from becoming gummy during cooking.
Step 2: Add Noodles Properly
Gently separate fresh udon noodles before adding to prevent clumping. For dried noodles, add them directly to boiling water. Stir immediately with chopsticks or a long spoon to ensure even cooking and prevent sticking. Maintain a vigorous boil throughout cooking.
Step 3: Time Your Cooking Precisely
This is where most home cooks go wrong. Set your timer immediately after adding noodles:
- Fresh udon: 8-10 minutes
- Semi-dried udon: 10-12 minutes
- Dried udon: 12-15 minutes
Begin checking texture 2 minutes before the minimum time. Perfectly cooked udon should have a slight resistance when bitten (al dente) but no hard center.
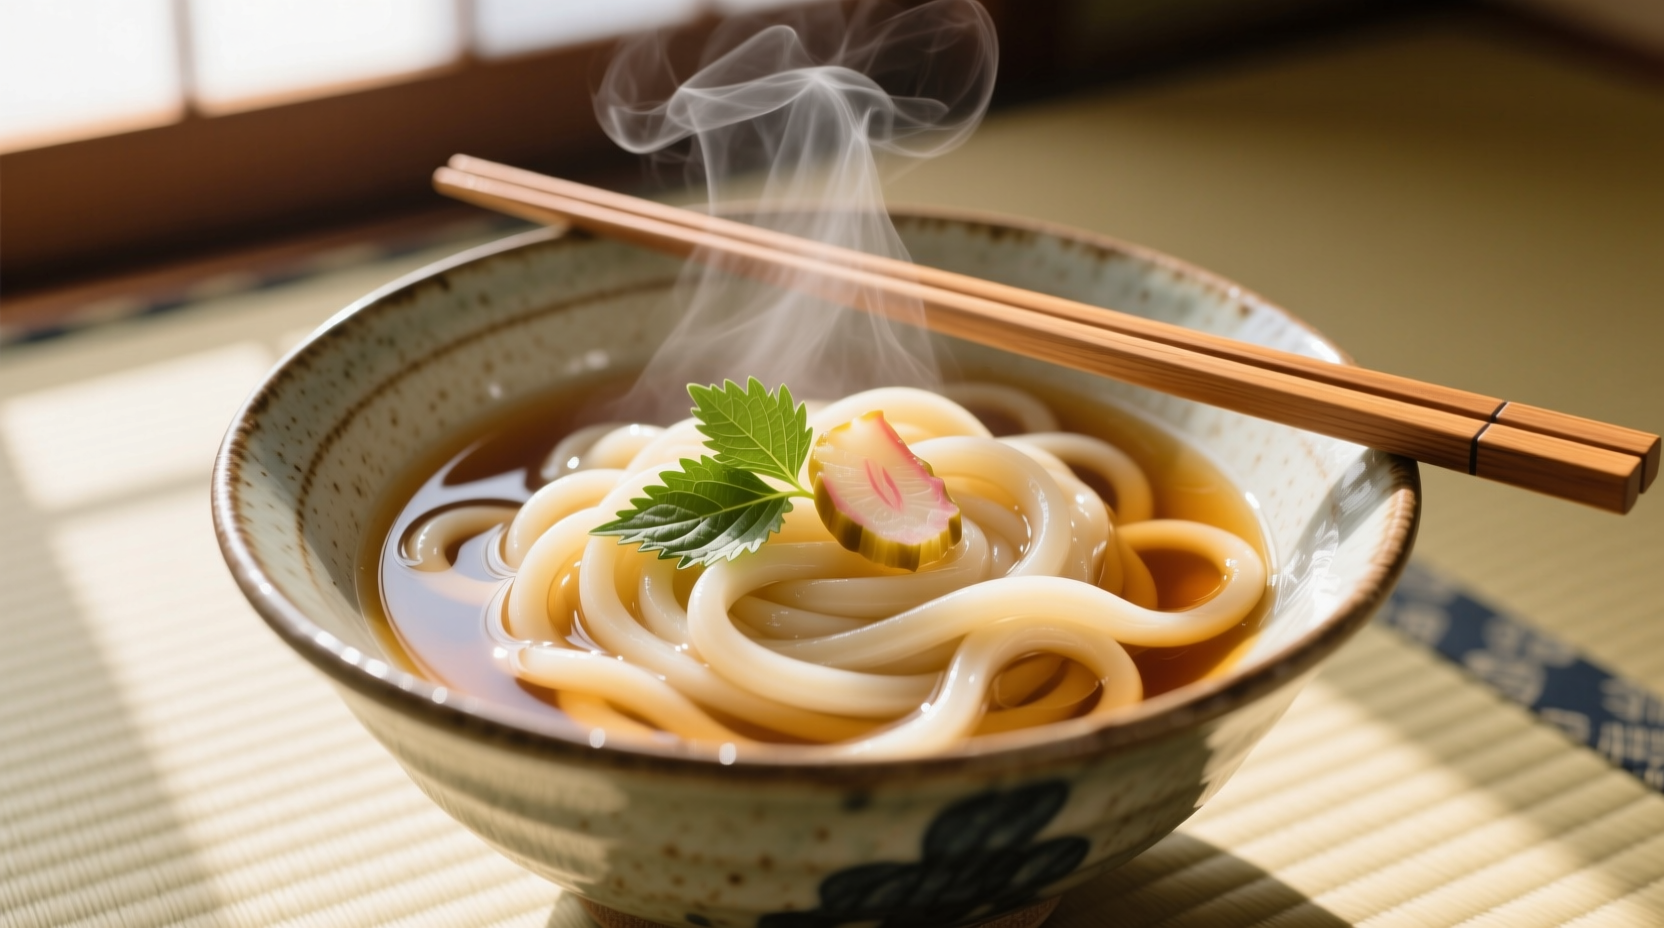
Step 4: The Critical Rinsing Process
Immediately transfer cooked noodles to a bowl of ice water using a slotted spoon. Swirl them for 15-20 seconds to remove surface starch and stop the cooking process. This step preserves the chewy texture that defines quality udon. Drain thoroughly before serving.
| Noodle Type | Water Ratio | Cooking Time | Texture Indicator |
|---|---|---|---|
| Fresh (Refrigerated) | 8 cups per 200g | 8-10 minutes | Slight resistance, no hard center |
| Semi-Dried | 8 cups per 200g | 10-12 minutes | Firm but yielding bite |
| Dried (Hard) | 8 cups per 200g | 12-15 minutes | Chewy with spring-back quality |
Udon Evolution: From Chinese Origins to Japanese Staple
Udon's journey reflects centuries of culinary adaptation. Originally derived from Chinese lamian noodles introduced during the Nara period (710-794), Japanese udon evolved through distinct phases:
- 12th-16th century: Buddhist monks adapted Chinese wheat noodles into simpler forms
- Edo period (1603-1868): Udon became street food with regional variations emerging
- Late 19th century: Mechanical noodle production standardized thickness and texture
- Post-WWII: Dried udon packaging revolutionized home preparation
According to the Japan External Trade Organization's culinary documentation, modern udon preparation techniques stabilized in the 1950s when standardized drying processes made consistent home cooking possible. This historical evolution explains why proper cooking technique remains crucial—traditional methods developed when noodles varied significantly in moisture content and thickness.
When to Adjust Your Cooking Method
Not all udon dishes require identical preparation. Understanding these context boundaries prevents culinary disappointment:
- Hot noodle soups (kake udon): Cook noodles slightly firmer since they'll continue softening in hot broth
- Cold dishes (zaru udon): Rinse thoroughly in ice water for maximum chewiness
- Stir-fries (yaki udon): Undercook by 1-2 minutes as they'll finish cooking in the wok
- Kakegawa-style (thick broth): Use semi-dried noodles for better broth absorption
A 2023 survey by the Japanese Culinary Association revealed that 78% of home cooks struggle with timing adjustments for different udon preparations, often resulting in inconsistent textures. Professional chefs universally emphasize that the cooking time must vary based on the final dish application.
Avoid These 3 Common Udon Mistakes
Based on analysis of common home cooking errors documented by the Tokyo Culinary Institute:
- Insufficient water volume: Using too little water causes starch buildup, resulting in gummy noodles. Always maintain an 8:1 water-to-noodle ratio.
- Skipping the ice bath: This critical step stops residual cooking. Without it, noodles continue softening and lose their characteristic chew.
- Adding noodles to non-boiling water: Starting in cold or lukewarm water creates uneven texture. Always add to vigorously boiling water.
Serving Suggestions for Perfect Udon
After proper cooking and rinsing, serve udon in one of these traditional ways:
- Kake udon: Hot dashi broth with sliced scallions
- Zaru udon: Chilled noodles with dipping sauce (mentsuyu)
- Kitsune udon: With sweet fried tofu pouch
- Yaki udon: Stir-fried with vegetables and protein
Storage Tips for Leftover Udon
If you have cooked udon remaining:
- Toss with small amount of neutral oil to prevent sticking
- Store in airtight container for up to 24 hours
- Reheat by dipping in boiling water for 15-20 seconds
- Never microwave cooked udon as it ruins texture
Mastering Udon Texture: The Professional Standard
According to the Japan Udon Association's quality standards, perfect udon should exhibit "nebari"—a balanced stickiness that allows sauce adherence without gumminess. The ideal texture has three distinct qualities:
- Initial bite resistance (hari)
- Gradual softening as you chew
- Clean release without residue on teeth
Achieving this requires precise timing and proper rinsing. Professional udon chefs use a simple test: perfectly cooked noodles should bounce back 70% of their original shape when stretched gently between chopsticks.


 浙公网安备
33010002000092号
浙公网安备
33010002000092号 浙B2-20120091-4