
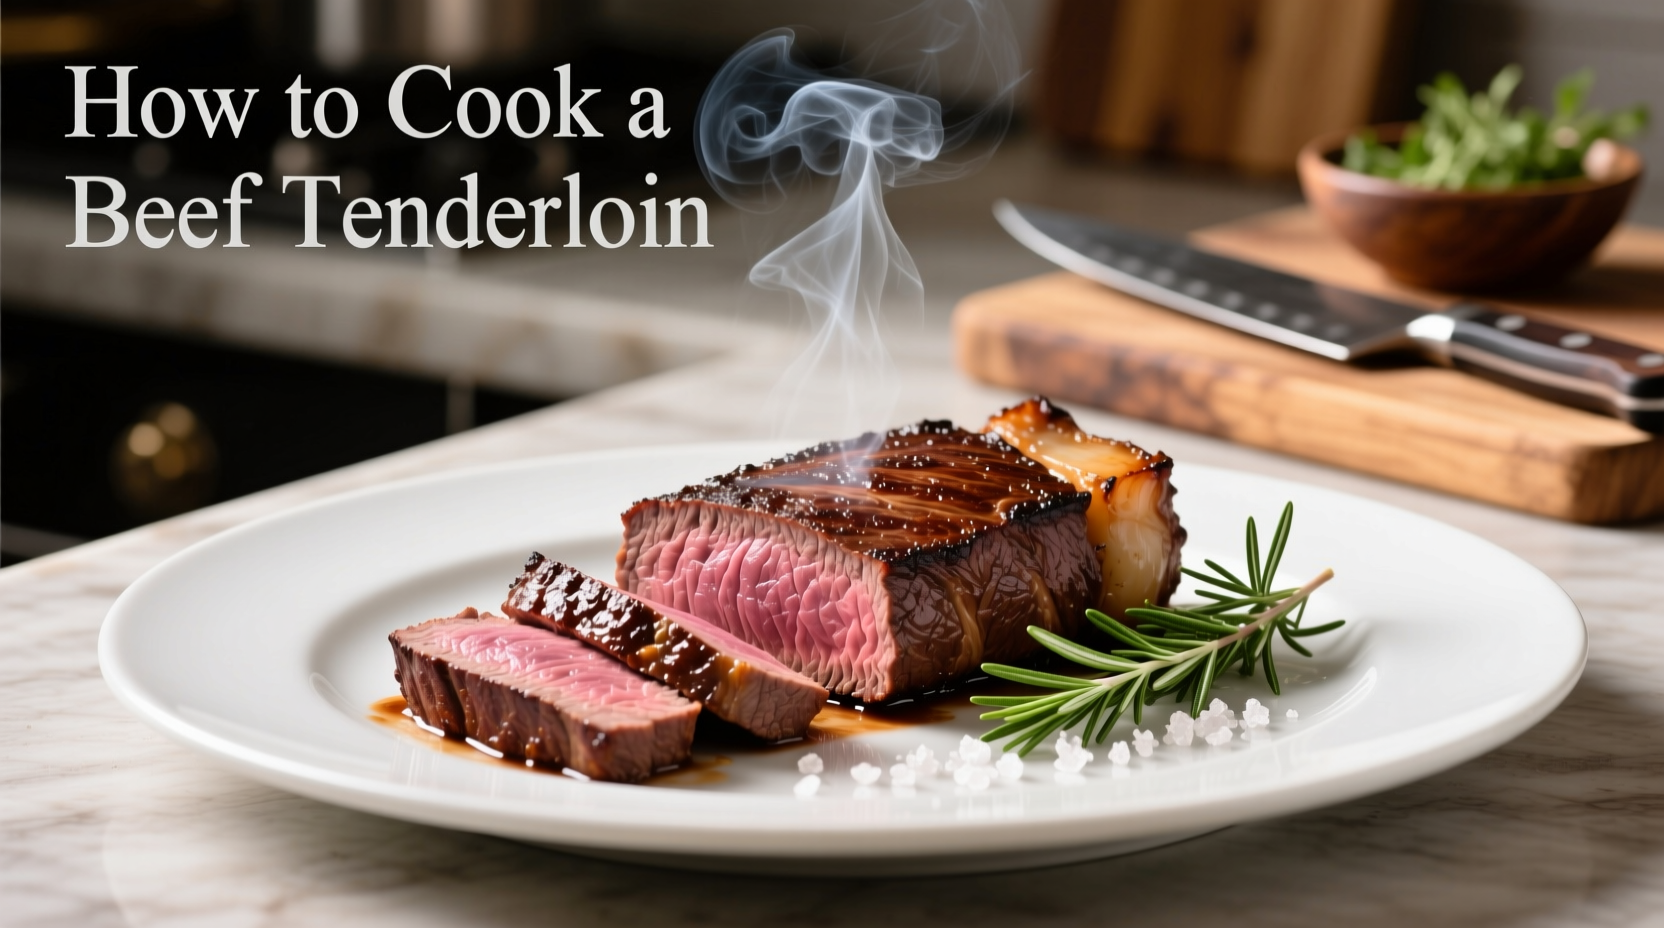
The Ultimate Guide to Cooking Beef Tenderloin Perfectly
Beef tenderloin represents one of the most prized cuts in culinary arts, known for its exceptional tenderness and delicate flavor. Unlike tougher cuts that benefit from slow cooking, this premium cut requires precise temperature control to maintain its signature texture. Mastering beef tenderloin cooking transforms a potentially expensive investment into a show-stopping centerpiece for special occasions.
Why Beef Tenderloin Deserves Special Attention
As the most tender cut from the loin section, beef tenderloin contains minimal connective tissue but also less marbling than ribeye or strip steak. This means it cooks faster and dries out more easily if overcooked. The USDA Food Safety and Inspection Service emphasizes that proper cooking temperatures prevent foodborne illness while preserving quality. Understanding the science behind meat protein denaturation helps explain why precise temperature control matters more with this delicate cut.
Essential Preparation Steps
Before heating your oven, proper preparation sets the stage for success. Remove your tenderloin from refrigeration 1-2 hours before cooking to bring it to room temperature evenly. This prevents the exterior from overcooking while the interior reaches proper temperature. Pat the meat thoroughly dry with paper towels - moisture is the enemy of proper searing. Trim any excess silver skin using a sharp boning knife held at a 30-degree angle.

Seasoning Strategy for Maximum Flavor
Simple seasoning works best with this premium cut. Combine 2 tablespoons kosher salt, 1 tablespoon freshly ground black pepper, 1 teaspoon garlic powder, and 1 teaspoon dried thyme. Rub this mixture evenly over the entire surface, including ends. For enhanced flavor development, consider dry-brining by applying salt 24 hours before cooking, which improves moisture retention according to research from the Culinary Institute of America.
Step-by-Step Cooking Process
Follow this professional technique for consistent results:
- Preheat oven to 450°F with rack positioned in the center
- Heat 2 tablespoons high-smoke point oil (avocado or grapeseed) in an oven-safe skillet
- Sear all sides until deeply browned (2-3 minutes per side)
- Transfer skillet directly to preheated oven
- Roast at 450°F for 10-15 minutes to develop crust
- Reduce temperature to 325°F and continue roasting
- Monitor internal temperature with instant-read thermometer
- Remove when 5°F below target final temperature
- Rest covered loosely with foil for 15 minutes
Precision Temperature Guide
Accurate temperature monitoring separates good results from great ones. The following reference table shows recommended cooking times and temperatures based on a standard 2-3 pound tenderloin. Remember that carryover cooking will raise the internal temperature 5°F during resting.
| Degree of Doneness | Internal Temperature | Total Cooking Time* | Visual Indicators |
|---|---|---|---|
| Medium-Rare | 125-130°F | 20-25 minutes | Warm red center, soft to touch |
| Medium | 135-140°F | 25-30 minutes | Pink center, slightly firm |
| Medium-Well | 145-150°F | 30-35 minutes | Slightly pink center, firm |
*Based on 325°F oven temperature after initial sear; times vary by oven and meat thickness
Critical Resting Period Explained
Resting isn't optional - it's essential science. During cooking, muscle fibers contract and push juices toward the center. Resting allows these juices to redistribute throughout the meat. Cutting too soon releases those precious juices onto your cutting board instead of staying in the meat. The 15-minute minimum resting time gives proteins time to relax while carryover cooking completes the process. Cover loosely with foil to maintain temperature without trapping steam that would soften your beautiful crust.
Slicing Technique for Presentation
Use a sharp carving knife and slice against the grain into 1/2-inch thick pieces. Angle your knife slightly for wider surface area on each slice. Arrange slices slightly overlapping on a warm platter. For special occasions, consider the Frenching technique where you trim the tail end into a tapered presentation. Professional chefs recommend using a sawing motion with minimal pressure to maintain clean cuts without compressing the meat.
Troubleshooting Common Issues
Even experienced cooks encounter challenges with this premium cut. Here's how to handle frequent problems:
- Uneven cooking: Tapered shape causes thinner ends to cook faster. Tuck the narrow end under or use a trussing string to create uniform thickness
- Gray band around edge: Oven temperature too low during initial sear. Ensure proper preheating and use sufficient oil
- Dry texture: Overcooking is the primary culprit. Invest in a reliable instant-read thermometer rather than relying on time alone
- Insufficient browning: Meat surface wasn't dry enough before searing. Pat thoroughly with paper towels before seasoning
Perfect Pairings and Serving Suggestions
Beef tenderloin's delicate flavor pairs beautifully with rich sauces like béarnaise, red wine reduction, or mushroom demi-glace. Complement with roasted root vegetables, garlic mashed potatoes, or asparagus. For wine pairings, full-bodied reds like Cabernet Sauvignon or Pinot Noir enhance the dining experience. Consider finishing with a compound butter that melts elegantly over the warm slices for added luxury.
Alternative Cooking Methods
While oven roasting produces reliable results, other techniques offer unique advantages:
- Grill method: Sear over direct high heat, then move to indirect heat. Adds smoky dimension but requires careful temperature monitoring
- Sous vide: Cook vacuum-sealed tenderloin in temperature-controlled water bath (129°F for 2 hours), then finish with quick sear for perfect edge-to-edge doneness
- Reverse sear: Start at low oven temperature (225°F) until 115°F internal, then sear in smoking hot pan for crust development


 浙公网安备
33010002000092号
浙公网安备
33010002000092号 浙B2-20120091-4