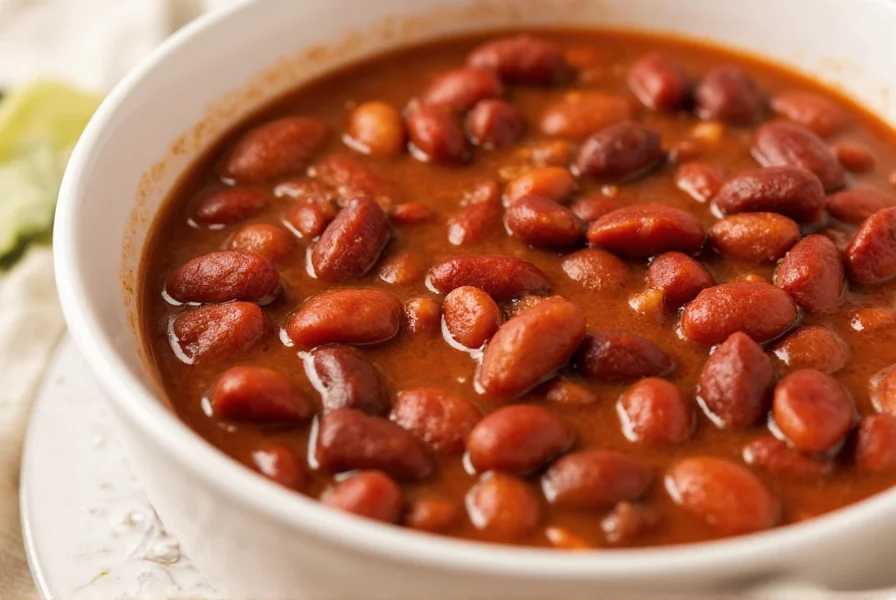
Making flavorful homemade chili beans from scratch transforms ordinary ingredients into a rich, complex dish that canned versions can't match. The secret lies in understanding bean varieties, proper preparation techniques, and spice balancing. Unlike store-bought options, authentic homemade chili beans allow complete control over ingredients, sodium levels, and heat intensity while delivering superior texture and depth of flavor.
Why Homemade Chili Beans Outperform Canned Alternatives
Commercial chili beans often contain preservatives, excessive sodium, and artificial flavorings that compromise taste and nutritional value. When you prepare homemade chili beans, you gain significant advantages:
- Customizable heat level—adjust chili powder and cayenne to personal preference
- Nutritional control—reduce sodium by 60% compared to canned varieties
- Texture perfection—achieve ideal tenderness without mushiness
- Cost efficiency—dried beans cost approximately 70% less than canned equivalents
| Bean Type | Soaking Time | Cooking Time | Flavor Profile |
|---|---|---|---|
| Pinto beans | 8 hours | 2-2.5 hours | Earthy, creamy |
| Kidney beans | 6 hours | 1.5-2 hours | Robust, meaty |
| Black beans | 5 hours | 1-1.5 hours | Sweet, earthy |
Essential Ingredients for Authentic Homemade Chili Beans
The foundation of exceptional homemade chili beans rests on quality ingredients. For the best traditional homemade chili beans recipe, gather these essentials:
Bean Selection and Preparation
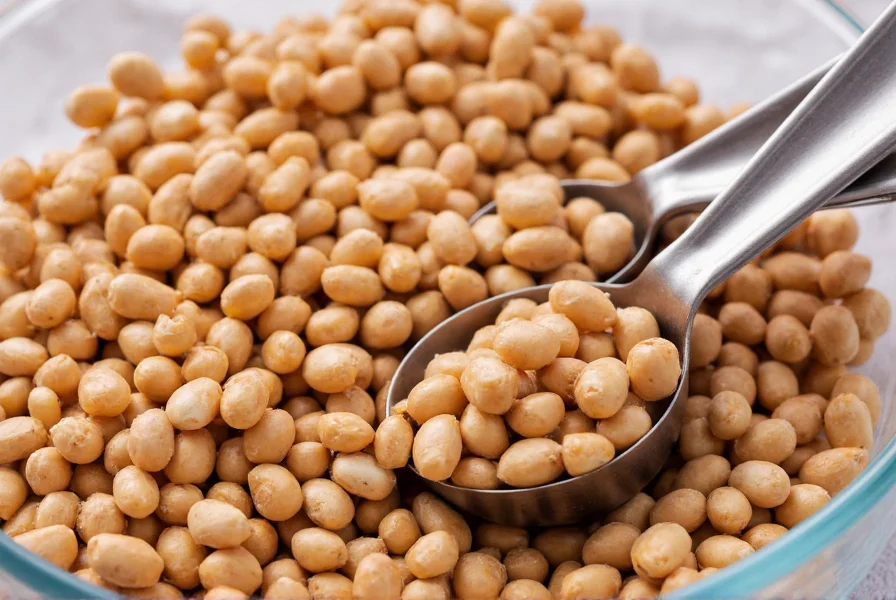
Choose high-quality dried beans—avoid those with cracks or discoloration. Pinto beans remain the traditional choice for authentic chili beans, though many cooks blend kidney and black beans for complexity. Always sort and rinse beans thoroughly before soaking.

Flavor Building Components
Building depth in homemade chili beans requires careful layering of flavors:
- Aromatics: Yellow onion (finely diced), garlic (minced), bell peppers
- Spice blend: Ancho chili powder, cumin, smoked paprika, oregano
- Acid component: Fresh lime juice or apple cider vinegar
- Umami boosters: Tomato paste, Worcestershire sauce (or soy sauce for vegetarian)
Step-by-Step Guide to Perfect Homemade Chili Beans
Proper Bean Soaking Techniques
For traditional homemade chili beans, proper soaking prevents digestive discomfort and ensures even cooking. Use either:
- Cold soak method: Cover beans with 3 inches of cold water and soak 8 hours (preferred for maximum texture control)
- Quick hot soak: Boil beans for 2 minutes, then cover and steep 1 hour (acceptable time-saver)
Never add salt during soaking as it toughens bean skins. Drain and rinse thoroughly before cooking.
Cooking Process for Optimal Flavor Development
Follow this professional technique for restaurant-quality homemade chili beans:
- Sauté aromatics in olive oil until translucent (5-7 minutes)
- Add spices and toast 1 minute to release essential oils
- Stir in soaked beans and enough fresh water to cover by 2 inches
- Bring to gentle simmer (never rapid boil which breaks beans)
- Cover partially and cook 1.5-2.5 hours until tender but intact
- Add acidic components during last 15 minutes of cooking

Avoiding Common Homemade Chili Beans Mistakes
Even experienced cooks make these errors when preparing homemade chili beans from scratch:
- Adding acidic ingredients too early—tomatoes or vinegar prevent beans from softening properly
- Over-salting during cooking—season gradually and finish seasoning after beans are tender
- Using high heat—gentle simmer preserves bean integrity
- Skipping the resting period—chili beans always taste better after flavors meld overnight
Variations for Different Dietary Needs
Adapt this basic homemade chili beans recipe for various preferences:
Vegetarian Homemade Chili Beans
Substitute vegetable broth for meat-based liquids and add 1 tablespoon soy sauce or liquid aminos for umami depth. Include diced mushrooms for meaty texture.
Spicy Homemade Chili Beans Variation
For heat lovers, add one diced jalapeño with seeds during sautéing, plus 1/4 teaspoon cayenne pepper. Finish with fresh chopped serrano peppers.
Slow Cooker Homemade Chili Beans Method
After sautéing aromatics and toasting spices, transfer everything to slow cooker with soaked beans and 4 cups broth. Cook on low 6-8 hours. Add acidic components during last 30 minutes.
Serving and Storage Recommendations
Authentic homemade chili beans reach peak flavor after resting overnight. Serve with:
- Fresh cilantro and lime wedges
- Shredded cheddar or cotija cheese
- Sliced avocado or guacamole
- Cornbread or tortilla chips
Store cooled chili beans in airtight containers for up to 5 days in refrigerator or freeze portions for 3 months. Reheat gently with splash of water to restore moisture.
Frequently Asked Questions
Can I make homemade chili beans without soaking the beans first?
Yes, but cooking time increases significantly. Unsoaked beans typically require 3-4 hours of simmering. The quick hot soak method (boil 2 minutes, steep 1 hour) offers a reasonable compromise when time is limited.
Why do my homemade chili beans turn out mushy?
Mushy beans usually result from boiling instead of simmering, adding salt too early, or overcooking. Maintain gentle simmer (small bubbles barely breaking surface), add salt only after beans soften, and check tenderness starting at minimum cooking time.
How can I thicken my homemade chili beans if they're too watery?
Create a slurry with 2 tablespoons masa harina and 1/4 cup cold water, then stir into simmering chili beans. Alternatively, mash some beans against the pot side with a wooden spoon to release natural starches that thicken the liquid.
What's the best way to freeze homemade chili beans?
Cool completely, then portion into freezer-safe containers leaving 1-inch headspace for expansion. For best results, freeze flat in quart-sized zip-top bags. Properly frozen homemade chili beans maintain quality for 3 months. Thaw overnight in refrigerator before reheating.
Can I use canned beans for homemade chili beans in a pinch?
While dried beans produce superior texture and flavor, you can adapt the recipe with canned beans. Use 3 (15-ounce) cans, drained and rinsed, reducing liquid by 2 cups. Add them during the last 30 minutes of cooking to prevent over-softening. Expect slightly less complex flavor than the traditional homemade method.


 浙公网安备
33010002000092号
 浙B2-20120091-4