

Authentic homemade chili crisp delivers a complex flavor profile that elevates everything from noodles to roasted vegetables. Unlike store-bought versions that often contain additives and excessive sodium, crafting your own chili crisp ensures freshness and lets you customize the spice level and ingredients to match your personal taste preferences.
What Makes Homemade Chili Crisp Special
Chili crisp (lazi you in Chinese) originated in China's Sichuan province and has gained global popularity for its perfect balance of heat, umami, and aromatic complexity. The magic happens through the careful layering of ingredients and controlled oil temperature during preparation.
When you make chili crisp at home, you're not just creating a condiment—you're crafting a flavor foundation that can transform simple meals. The process involves toasting dried chilies, infusing aromatics in oil, and building layers of flavor that commercial products often can't replicate due to mass production constraints.
Essential Ingredients for Authentic Homemade Chili Crisp
The beauty of homemade chili crisp lies in its relatively simple ingredient list, though quality matters significantly. Here's what you'll need for a classic version:
| Ingredient | Function | Recommended Quantity |
|---|---|---|
| High-quality vegetable oil | Base for infusion | 2 cups |
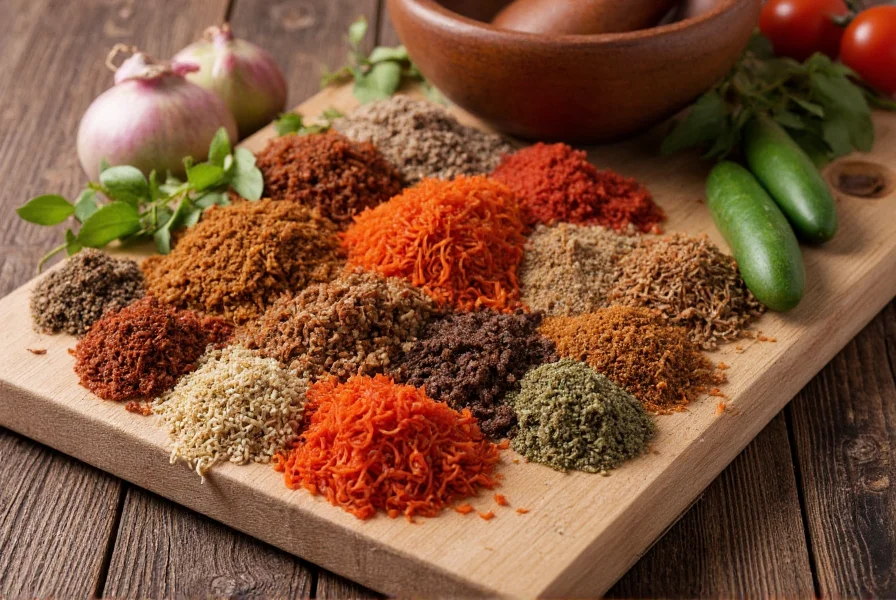
| Dried red chilies (guajillo, arbol, or Chinese) | Primary heat source | 1/2 cup, crushed |
| Garlic, thinly sliced | Aromatic foundation | 8-10 cloves |
| Ginger, julienned | Warmth and complexity | 2-inch piece |
| Sichuan peppercorns | Signature numbing sensation | 1 tablespoon |
| Shallot or onion, thinly sliced | Sweetness and depth | 1 medium |
| Soy sauce or tamari | Umami boost | 2 tablespoons |
| Black vinegar | Acidity balance | 1 tablespoon |
Equipment You'll Need
While specialized equipment isn't necessary, having the right tools makes the process smoother:
- Heavy-bottomed saucepan or wok (for even heat distribution)
- Mesh strainer or fine sieve
- Heatproof glass jars with airtight lids
- Thermometer (optional but helpful for precise temperature control)
- Slotted spoon
Step-by-Step Preparation Guide
Follow these steps for perfect homemade chili crisp every time:
- Prepare your ingredients: Thinly slice all aromatics and crush dried chilies to your preferred texture (coarse for more texture, fine for smoother crisp).
- Heat the oil: In a heavy-bottomed pan, heat oil over medium heat to 250-275°F (120-135°C). Proper temperature is crucial—too hot and ingredients will burn, too cool and they won't infuse properly.
- Add aromatics in stages: Start with harder ingredients like ginger and Sichuan peppercorns, cooking for 2-3 minutes until fragrant but not browned. Then add garlic, shallots, and toasted sesame seeds.
- Incorporate chilies: Reduce heat to medium-low and add crushed chilies. Stir constantly for 3-5 minutes until oil turns deep red and chilies darken slightly.
- Finish with seasonings: Remove from heat and carefully stir in soy sauce and black vinegar. The mixture will bubble vigorously.
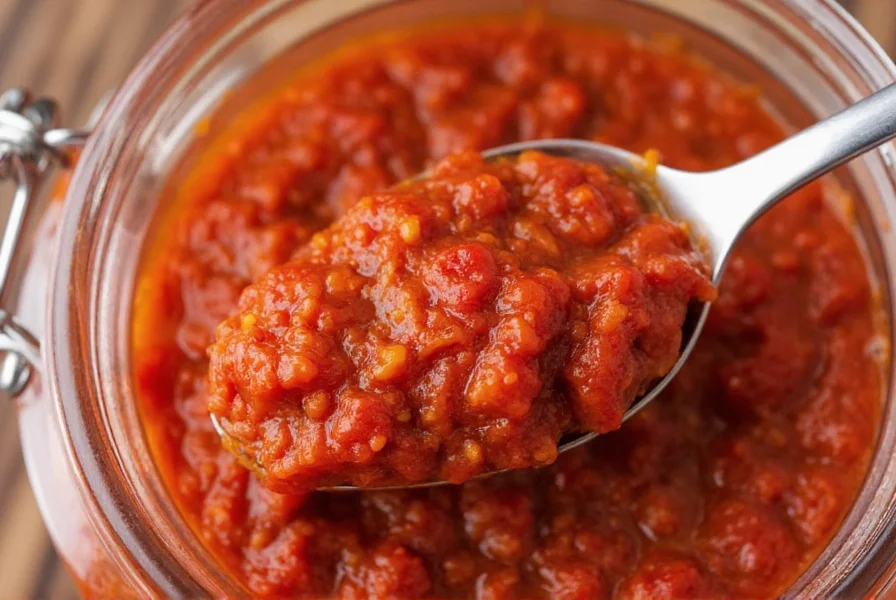
- Cool and store: Let the mixture cool completely before transferring to clean jars. The flavors will continue to develop over 24-48 hours.
Customization Options for Your Homemade Chili Crisp
One of the greatest advantages of making your own chili crisp is the ability to customize it. Consider these variations:
- Heat level adjustment: Use milder chilies like guajillo for less heat, or add bird's eye chilies for extra spice
- Texture preferences: Include crushed peanuts or fried onions for added crunch
- Umami boosters: Add dried shrimp, mushrooms, or fermented black beans
- Regional variations: Try Hunan-style with more garlic or Sichuan-style with extra peppercorns
- Vegetarian/vegan options: Ensure all ingredients are plant-based (some commercial versions contain shrimp)
Proper Storage Techniques for Maximum Freshness
When stored correctly, homemade chili crisp maintains its vibrant flavor for weeks. Follow these storage guidelines:
- Use sterilized glass jars with airtight lids
- Ensure all ingredients are completely submerged in oil
- Store in a cool, dark place for up to 1 month
- Refrigerate for extended shelf life (up to 3 months)
- Always use clean, dry utensils when scooping out portions
Properly stored homemade chili crisp develops deeper flavors over time, making it even more delicious after a week or two. The oil should remain clear without any cloudiness or off smells—if you notice these, discard the batch.
Troubleshooting Common Homemade Chili Crisp Issues
Even experienced makers encounter challenges. Here's how to solve common problems:
- Burnt flavor: Oil temperature was too high. Next time, use a thermometer and maintain 250-275°F throughout the process.
- Muted flavors: Ingredients weren't toasted sufficiently. Allow aromatics to cook until fragrant but not browned.
- Separation issues: Some separation is normal. Stir well before each use. If excessive, ensure proper oil-to-solid ratio (aim for 2:1).
- Short shelf life: Moisture contamination is likely. Always use completely dry utensils and ensure ingredients are thoroughly dried before use.
- Too spicy: Balance with additional oil or a touch of sugar in your next batch.
Creative Ways to Use Your Homemade Chili Crisp
Beyond the obvious use as a condiment, homemade chili crisp elevates countless dishes:
- Stir into ramen or noodle soups for instant flavor upgrade
- Marinate proteins before grilling or roasting
- Mix with mayonnaise for spicy dipping sauce
- Drizzle over avocado toast or scrambled eggs
- Add to salad dressings for heat and depth
- Stir into rice or grain bowls for instant flavor
- Use as pizza topping for spicy kick
The versatility of homemade chili crisp makes it a kitchen staple that transforms simple ingredients into restaurant-quality meals with minimal effort.
Final Thoughts on Perfecting Your Homemade Chili Crisp
Mastering homemade chili crisp takes practice, but the results are worth the effort. The key is understanding how each ingredient contributes to the final flavor profile and learning to adjust variables like oil temperature and ingredient ratios to match your personal preferences.
Unlike commercial versions that often contain preservatives and excessive sodium, your homemade chili crisp offers pure, customizable flavor without additives. Start with the basic recipe, then experiment with different chili varieties, aromatics, and additional ingredients to create your signature version.


 浙公网安备
33010002000092号
浙公网安备
33010002000092号 浙B2-20120091-4