
Creating exceptional homemade chili from scratch requires understanding both the science and art behind this beloved dish. While regional variations exist, the foundation remains consistent: quality ingredients properly prepared and given time to develop complex flavors. Unlike canned alternatives, authentic chili con carne relies on slow cooking to transform simple components into something extraordinary.
The Essential Homemade Chili Ingredients
Quality ingredients form the backbone of any perfect homemade chili recipe. Start with 2-3 pounds of freshly ground chuck (80% lean), which provides necessary fat for flavor development. For authentic depth, include both fresh and dried chilies—ancho for earthiness, guajillo for brightness, and chipotle for smokiness. Fresh garlic and onions, sautéed until caramelized, create the flavor base that separates exceptional chili from ordinary versions.
Spice timing matters significantly in how to make chili from scratch. Bloom ground spices (cumin, oregano, smoked paprika) in oil for 30 seconds before adding liquids—this unlocks essential oils and prevents raw flavor. Acid balance is crucial; add 1-2 tablespoons of apple cider vinegar or lime juice in the final 15 minutes to brighten rich flavors without making the chili taste sour.
| Chili Component | Key Purpose | Pro Tip |
|---|---|---|
| Meat Browning | Creates Maillard reaction for depth | Don't overcrowd pan; work in batches |
| Simmer Time | Flavor melding and texture development | Minimum 2 hours, preferably 3-4 |
| Bean Addition | Texture and heartiness | Add in last 30 minutes to prevent mushiness |
| Acid Component | Balances richness | Add at very end for maximum effect |
Step-by-Step Homemade Chili Preparation
Follow these expert tips for perfect homemade chili to achieve restaurant-quality results at home:
- Prepare ingredients properly: Dice onions and peppers uniformly (1/4 inch). Mince garlic finely. Toast dried chilies briefly in dry skillet until fragrant, then soak in hot water for 20 minutes before blending into smooth paste.
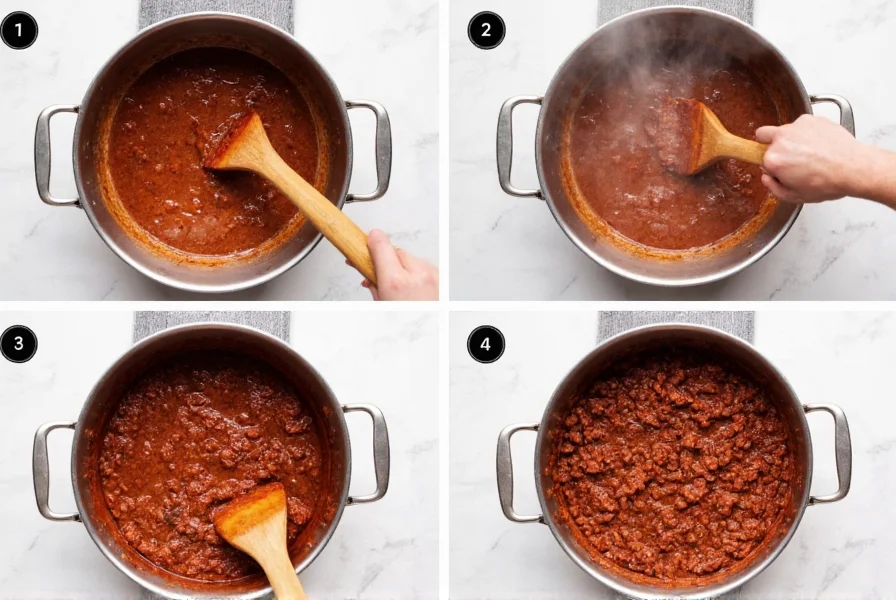
- Brown meat in stages: Working in batches, sear meat without stirring for 3-4 minutes to develop crust. Remove browned portions before they overcook. This step—often rushed—creates foundational flavor through the Maillard reaction.
- Build flavor layers: After browning meat, sauté onions and peppers in rendered fat until deeply caramelized (15-20 minutes). Add garlic and fresh spices, cooking 1 minute until fragrant.
- Simmer with patience: Combine all ingredients and simmer uncovered for minimum 2 hours, stirring occasionally. For slow cooker homemade chili, transfer to crockpot and cook on low 6-8 hours.
- Final adjustments: In last 30 minutes, add beans (if using) and adjust seasoning. For thicker chili, remove lid and increase heat. For richer flavor, stir in 1 ounce of dark chocolate or 2 tablespoons of masa harina.
Avoiding Common Homemade Chili Mistakes
Many home cooks make these critical errors when attempting homemade chili con carne recipe:
- Skipping the bloom step: Adding spices directly to liquid prevents flavor development. Always toast spices in oil first.
- Over-relying on chili powder: Commercial blends often contain fillers. Create your own chili seasoning blend recipe with equal parts cumin, smoked paprika, and oregano plus cayenne to taste.
- Insufficient cooking time: Chili needs minimum 2 hours simmering for flavors to properly meld. Rushing this step yields disjointed flavor.
- Adding beans too early: Beans break down and create undesirable texture when cooked too long. Add during final 30 minutes.
- Neglecting acid balance: Rich dishes need brightness. A splash of vinegar or citrus juice at the end transforms flat-tasting chili.
Regional Variations and Dietary Adaptations
Understanding regional chili variations helps customize your recipe:
- Texas-style: Strictly meat-based (no beans), featuring coarse-ground beef and rich beef broth. Uses minimal spices beyond cumin and garlic.
- Cincinnati-style: Incorporates European influences with Worcestershire sauce, mustard, and a touch of cocoa powder. Often served over spaghetti.
- New Mexico-style: Focuses on fresh roasted green chilies as the primary flavor component, with minimal spices beyond salt.
For vegetarian homemade chili options, substitute meat with 3 cups of mixed mushrooms (shiitake and cremini) plus 1 cup textured vegetable protein. Use mushroom broth instead of beef broth and add 1 tablespoon soy sauce for umami depth. The key to satisfying meatless chili is replicating the textural complexity of ground meat through proper vegetable preparation.
Storage and Reheating Best Practices
Proper handling ensures your homemade chili storage and reheating maintains quality:
- Refrigeration: Cool completely within 2 hours of cooking. Store in airtight container for up to 4 days.
- Freezing: Portion into 2-cup containers (ideal serving size) with 1/2 inch headspace. Freeze up to 6 months. Thaw overnight in refrigerator.
- Reheating: Gently warm on stove over medium-low heat, stirring occasionally. Add small amounts of broth or water if too thick. Never boil reheated chili.
Remarkably, chili often tastes better the second day as flavors continue to meld. For optimal results when meal prepping homemade chili for weekly meals, under-season slightly on first cooking, then adjust salt and acid when reheating.
Serving Suggestions for Maximum Enjoyment
Elevate your homemade chili presentation with these professional touches:
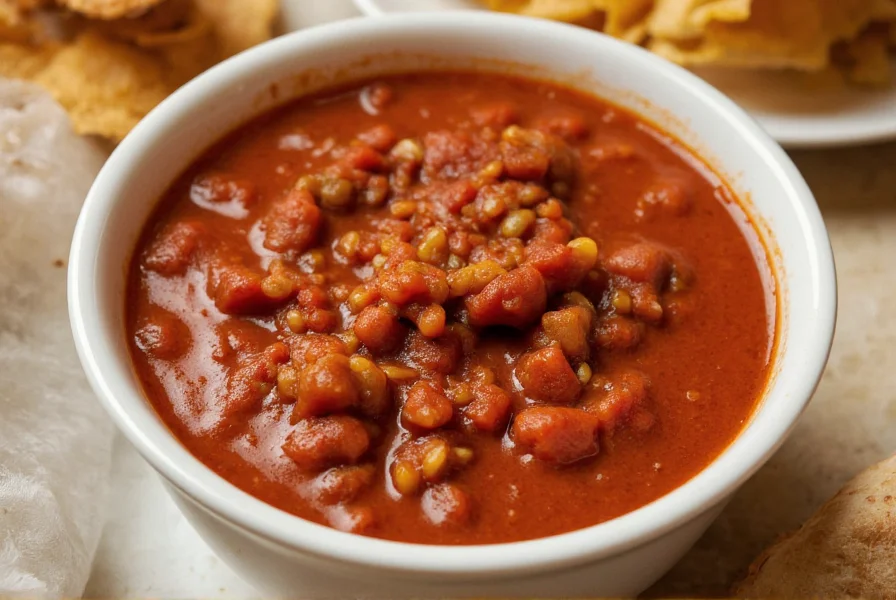
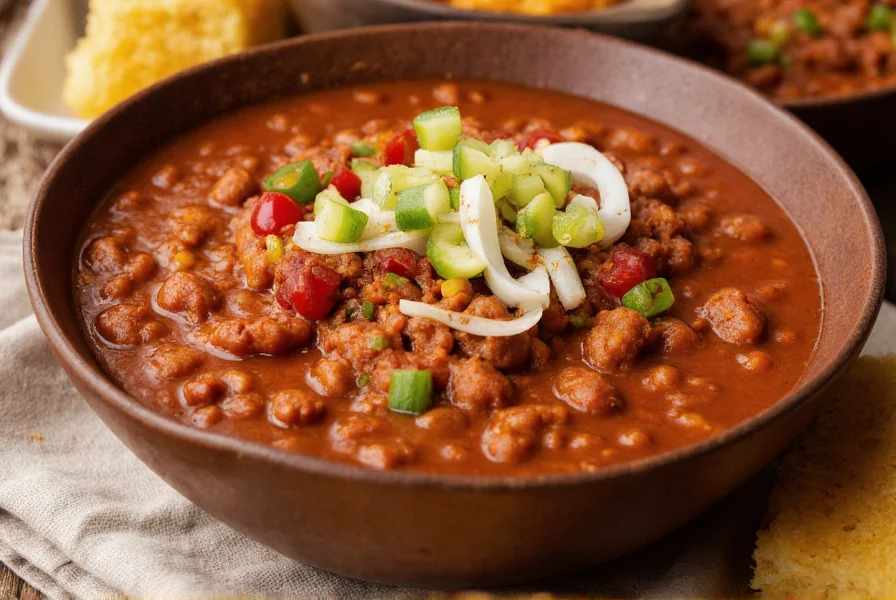
- Use wide, shallow bowls that showcase the chili's texture
- Top with contrasting elements: cool sour cream, fresh cilantro, sharp cheddar
- Serve with cornbread that has a slightly sweet profile to balance spice
- Offer lime wedges for custom acid adjustment at the table
Frequently Asked Questions
How can I make my homemade chili thicker without altering flavor?
Create a slurry with 2 tablespoons masa harina and 1/4 cup cold broth, then stir into simmering chili. Alternatively, remove 1-2 cups of chili, blend until smooth, and return to pot. Both methods thicken while enhancing corn flavor naturally present in traditional recipes.
What's the ideal meat-to-fat ratio for homemade chili?
Use 80% lean ground beef for optimal results. The 20% fat content provides necessary richness and carries flavor compounds, while preventing excessive greasiness. For turkey or chicken chili, supplement with 1-2 tablespoons of olive oil to compensate for lower natural fat content.
Can I make authentic-tasting homemade chili without tomatoes?
Yes, traditional Texas-style chili excludes tomatoes. Achieve depth through properly browned meat, toasted spices, and slow simmering. Add 1-2 roasted red peppers or a small amount of pomegranate molasses for subtle sweetness and complexity without tomato flavor.
How do I fix chili that's too spicy?
Add dairy (sour cream or shredded cheese) directly to individual servings. For the entire batch, incorporate 1/4 cup of peanut butter or 2 tablespoons of sugar while simmering. These ingredients bind capsaicin molecules without diluting other flavors. Never add more liquid, as this merely spreads heat rather than reducing it.
What's the secret to achieving restaurant-quality depth in homemade chili?
The professional secret is building multiple layers of umami: brown meat thoroughly, use dried mushrooms (soaked and blended), add a small amount of fish sauce (1 teaspoon), and finish with dark chocolate. These elements create complex savoriness without being individually detectable.


 浙公网安备
33010002000092号
浙公网安备
33010002000092号 浙B2-20120091-4