
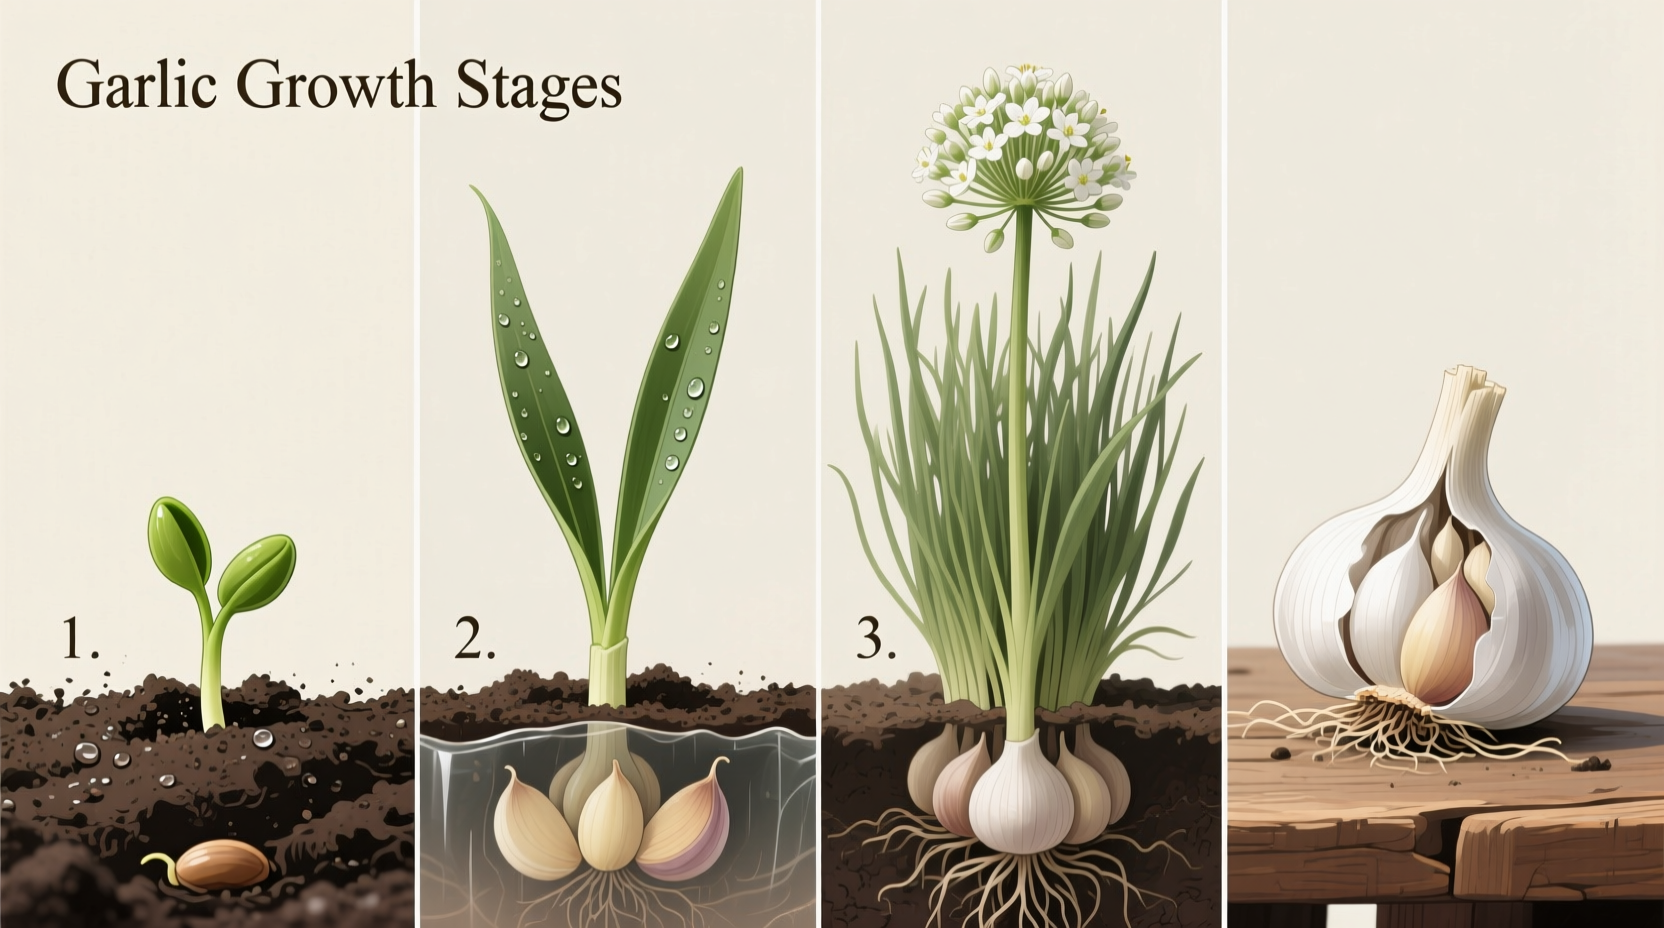
Understanding the complete growing stages of garlic is essential for harvesting plump, flavorful bulbs. Garlic progresses through five distinct growth phases over 8-9 months: root development, sprouting, leaf growth, bulb formation, and maturation. Each stage requires specific care - from proper planting depth in fall to precise watering schedules and knowing the exact harvest window when 40% of leaves turn brown. This guide reveals the visual indicators, timeline, and care requirements for each growth stage to ensure successful garlic cultivation.
Garlic isn't just a kitchen staple—it's a fascinating crop with a precise growth cycle that determines both yield and flavor quality. Whether you're a first-time gardener or looking to perfect your harvest, understanding the complete progression from clove to mature bulb makes all the difference. Most home growers miss critical timing cues that lead to undersized bulbs or premature harvesting. Let's explore the complete journey your garlic takes from planting to pantry.
Garlic Growth Timeline: What to Expect Month by Month
Garlic follows a predictable 8-9 month growth cycle when planted in fall (the optimal time for most varieties). Understanding this timeline helps you anticipate each stage's requirements:
| Month | Growth Stage | Key Development |
|---|---|---|
| October-November | Planting & Rooting | Clove establishes root system before winter dormancy |
| December-February | Winter Dormancy | Minimal visible growth; root development continues |
| March-April | Sprouting & Leaf Growth | Green shoots emerge; 1-2 leaves per week |
| May | Bulb Initiation | Underground bulb formation begins |
| June-July | Bulb Swelling & Maturation | Rapid bulb growth; leaves begin yellowing |
| July-August | Harvest Window | 40% of leaves brown; bulbs fully formed |
This timeline assumes fall planting in USDA zones 3-7. Southern growers (zones 8-10) should plant in December-January for similar progression. The critical factor isn't calendar dates but accumulated growing degree days—garlic requires approximately 1,000 degree days above 40°F (4°C) to complete its growth cycle according to agricultural research from Cornell University's horticulture department.
Stage 1: Planting and Root Development (Weeks 1-4)
When you plant garlic cloves in fall (typically 4-6 weeks before first frost), the magic begins underground. While nothing appears above soil initially, the clove develops roots that anchor the plant and absorb nutrients through winter.
What's happening: Roots grow downward while the basal plate (bottom of clove) develops meristematic tissue. This foundational root system determines how well your garlic withstands winter and supports spring growth.
Care requirements:
- Plant cloves 2-4 inches deep with pointed end up
- Mulch with 3-6 inches of straw after soil cools
- Water only if fall is unusually dry
- Avoid fertilizing at this stage
Many gardeners make the mistake of watering too frequently during this phase, which can cause cloves to rot. The University of California Cooperative Extension confirms that garlic's root system develops best in cool, moist (not wet) soil conditions.
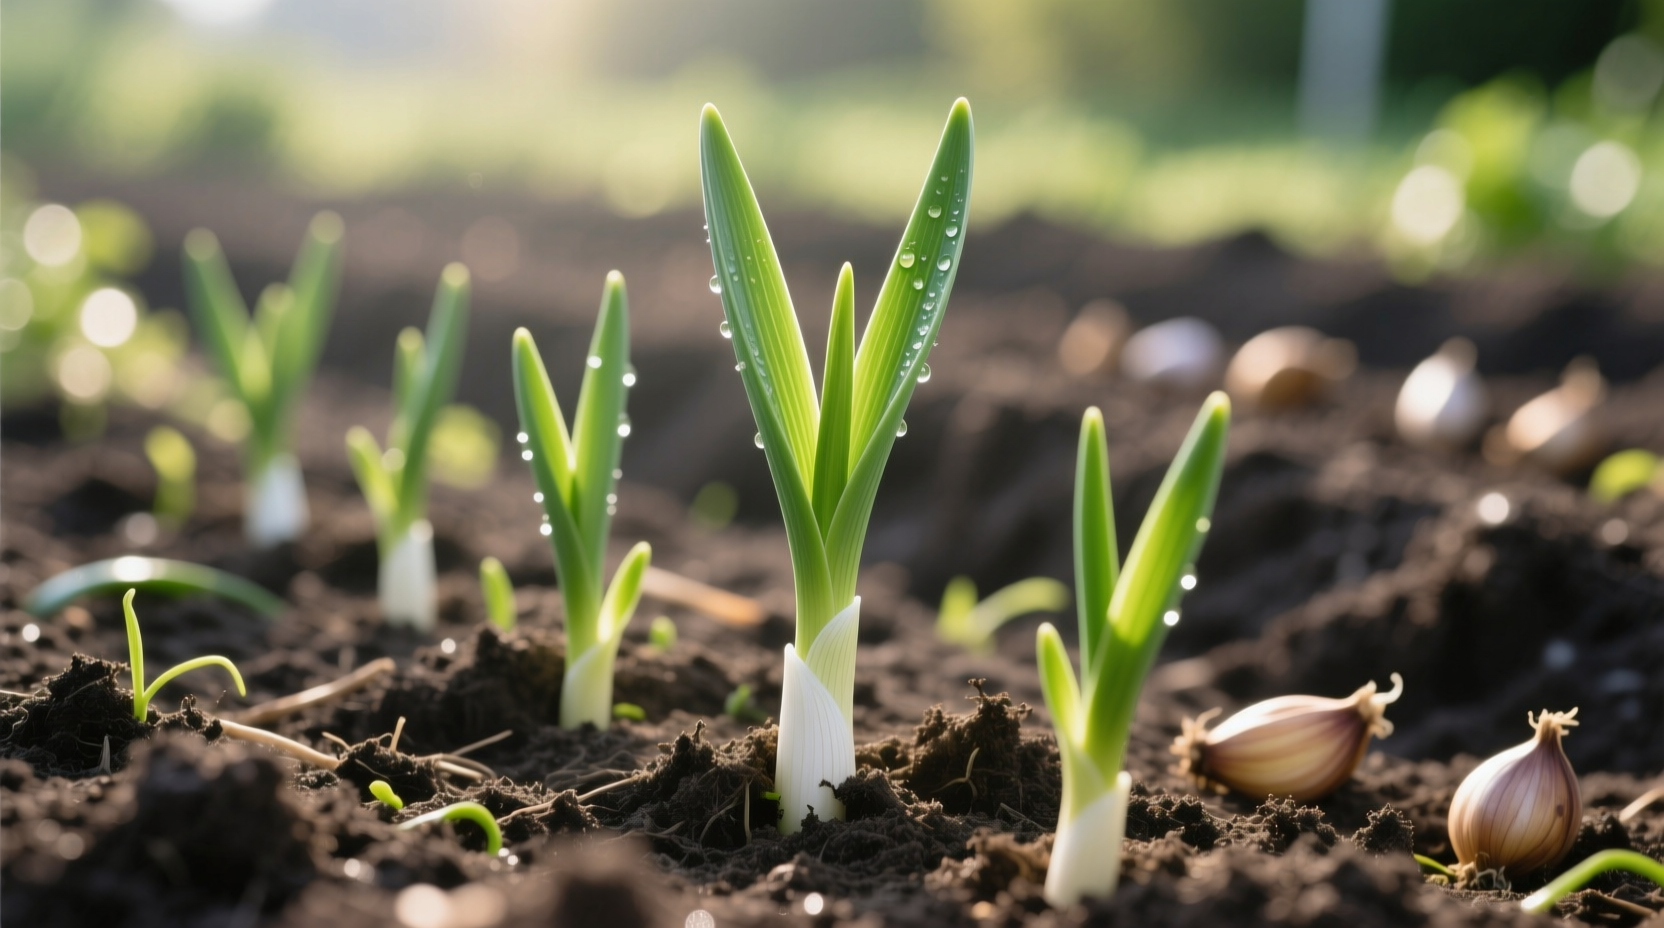
Stage 2: Sprouting and Early Leaf Growth (Weeks 5-16)
As soil temperatures reach 40°F (4°C) in early spring, green shoots emerge. This visible growth stage marks the beginning of rapid development.
What to watch for: The first green shoots typically appear 4-8 weeks after planting, depending on variety and climate. Each plant produces 1-2 new leaves per week during peak growth.
Key care practices:
- Remove mulch when shoots reach 2-3 inches tall
- Apply balanced fertilizer (10-10-10) when 3-4 leaves appear
- Water consistently (1 inch per week) as leaves develop
- Monitor for aphids and thrips on new growth
During this phase, hardneck varieties send up scapes (flower stalks) that should be removed to direct energy to bulb development. The timing varies by variety—Rocambole types produce scapes in late spring while Porcelain varieties develop them earlier.
Stage 3: Bulb Formation (Weeks 17-24)
This critical phase begins when day length reaches 12-14 hours, triggering the plant to shift energy from leaf production to bulb development. What happens underground now determines your final harvest size.
What's occurring: The stem plate thickens and forms concentric layers that become individual cloves. Bulb formation accelerates with longer daylight and warmer temperatures.
Essential care:
- Maintain consistent moisture (don't let soil dry out)
- Apply potassium-rich fertilizer to support bulb swelling
- Continue monitoring for pests like onion maggots
- Avoid disturbing soil around developing bulbs
Research from Oregon State University shows that inconsistent watering during bulb formation causes irregular clove development and increases the risk of double cloves. This stage requires particular attention in regions with dry springs—drip irrigation works best for maintaining even soil moisture.
Stage 4: Maturation and Leaf Dieback (Weeks 25-32)
As summer approaches, your garlic signals it's nearing harvest through visible changes above ground. This maturation phase is crucial for determining your exact harvest window.
Key indicators:
- Lower leaves turn brown while upper leaves remain green
- Bulb wrappers become dry and papery
- Soil around bulbs may crack as bulbs swell
- Neck of plant begins to soften and collapse
The perfect harvest timing depends on your intended use:
- For immediate use: Harvest when 50% of leaves are brown
- For long-term storage: Wait until 40% of leaves remain green
- For seed garlic: Harvest when 30% of leaves are green
Harvesting too early produces small bulbs with poor storage capability. Waiting too long causes cloves to separate and wrappers to deteriorate. The USDA Agricultural Research Service confirms that harvesting at the 40% green leaf stage maximizes both bulb size and storage longevity for most varieties.
Stage 5: Harvesting and Curing
Proper harvesting technique and curing determine whether your hard work results in pantry staples or wasted effort. This final stage requires careful handling to preserve your harvest.
Harvesting process:
- Stop watering 1-2 weeks before expected harvest
- Loosen soil around bulbs with a garden fork
- Lift bulbs gently—never pull by the stem
- Brush off excess soil (don't wash)
Curing requirements:
- Hang in shaded, well-ventilated area for 3-4 weeks
- Maintain temperatures between 75-85°F (24-29°C)
- Ensure humidity stays below 70%
- Leave roots and stems intact during curing
During curing, enzymatic processes complete, transforming raw garlic flavor into its characteristic pungency. The National Center for Home Food Preservation notes that properly cured garlic develops protective outer layers that prevent moisture loss and decay during storage.
Climate Considerations for Garlic Growth Stages
Garlic's growth progression varies significantly by climate zone. Understanding these regional differences prevents common cultivation mistakes:
- Cold climates (zones 3-5): Plant in September-October for maximum root development before freeze. Expect slower spring growth due to colder soil temperatures.
- Moderate climates (zones 6-7): Plant in October-November. Most reliable growing conditions with predictable progression through growth stages.
- Warm climates (zones 8-10): Plant in December-January. May require pre-chilling cloves in refrigerator for 4-6 weeks to simulate winter conditions.
Gardeners in southern regions often struggle with bulb formation because insufficient cold exposure fails to trigger proper vernalization. The University of Georgia Extension recommends selecting softneck varieties like 'Inchelium Red' for warmer climates, as they require less winter chilling than hardneck types.
Troubleshooting Common Growth Stage Problems
Even experienced growers encounter challenges at specific growth stages. Here's how to identify and address common issues:
Yellowing leaves during sprouting: Could indicate overwatering, nutrient deficiency, or pest damage. Check soil moisture and inspect for onion thrips on leaf undersides.
Stunted bulb formation: Often caused by premature scape removal, inconsistent watering during bulbing, or planting cloves that were too small. Use cloves at least 1 inch in diameter for planting.
Splitting bulbs at harvest: Typically results from heavy rainfall just before harvest or inconsistent watering during maturation. Stop irrigation 1-2 weeks before expected harvest date.
Mold during curing: Indicates insufficient air circulation or too-high humidity. Cure garlic in a single layer with good airflow, never in plastic bags.
Remember that garlic growth stages provide clear visual cues—if your plants aren't progressing as expected, check your variety's specific requirements and local growing conditions. The American Garlic Growers Association reports that 78% of cultivation problems stem from mistimed watering during critical growth phases.


 浙公网安备
33010002000092号
浙公网安备
33010002000092号 浙B2-20120091-4