
Discover exactly what makes onion plants thrive in your garden with this comprehensive guide. Whether you're a beginner gardener or looking to improve your harvest, you'll learn the complete growth cycle, optimal planting techniques, and practical solutions to common problems—all backed by agricultural research. Stop guessing when to water, fertilize, or harvest your onion crop and start producing larger, sweeter bulbs with these science-based methods.
Understanding Onion Plant Biology
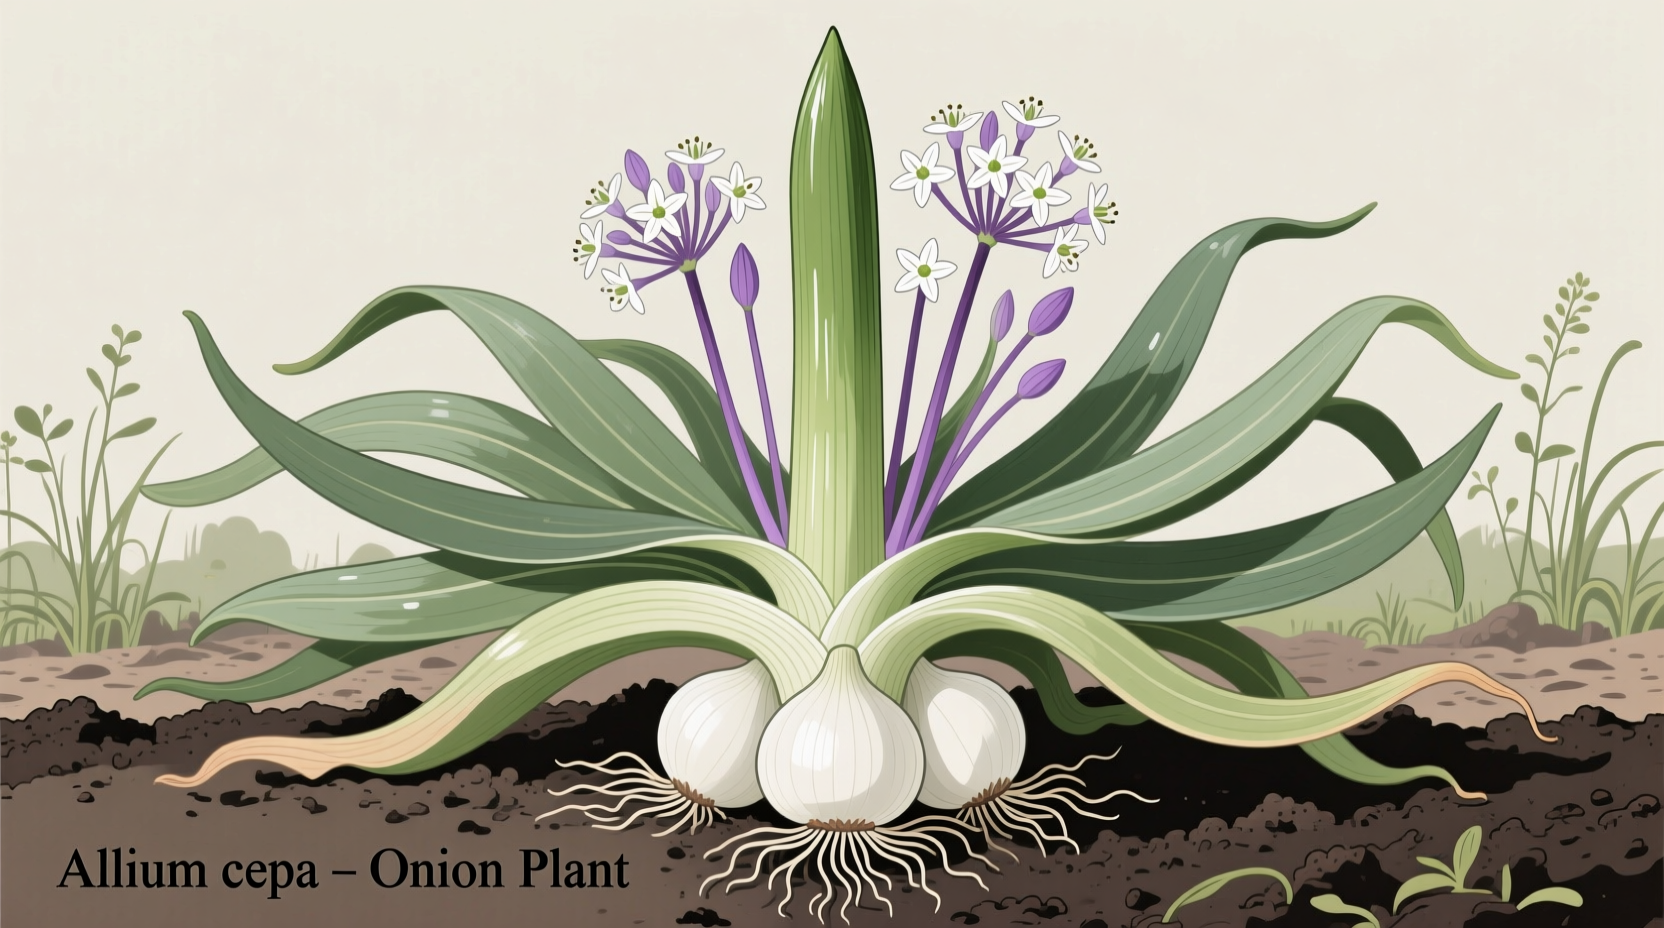
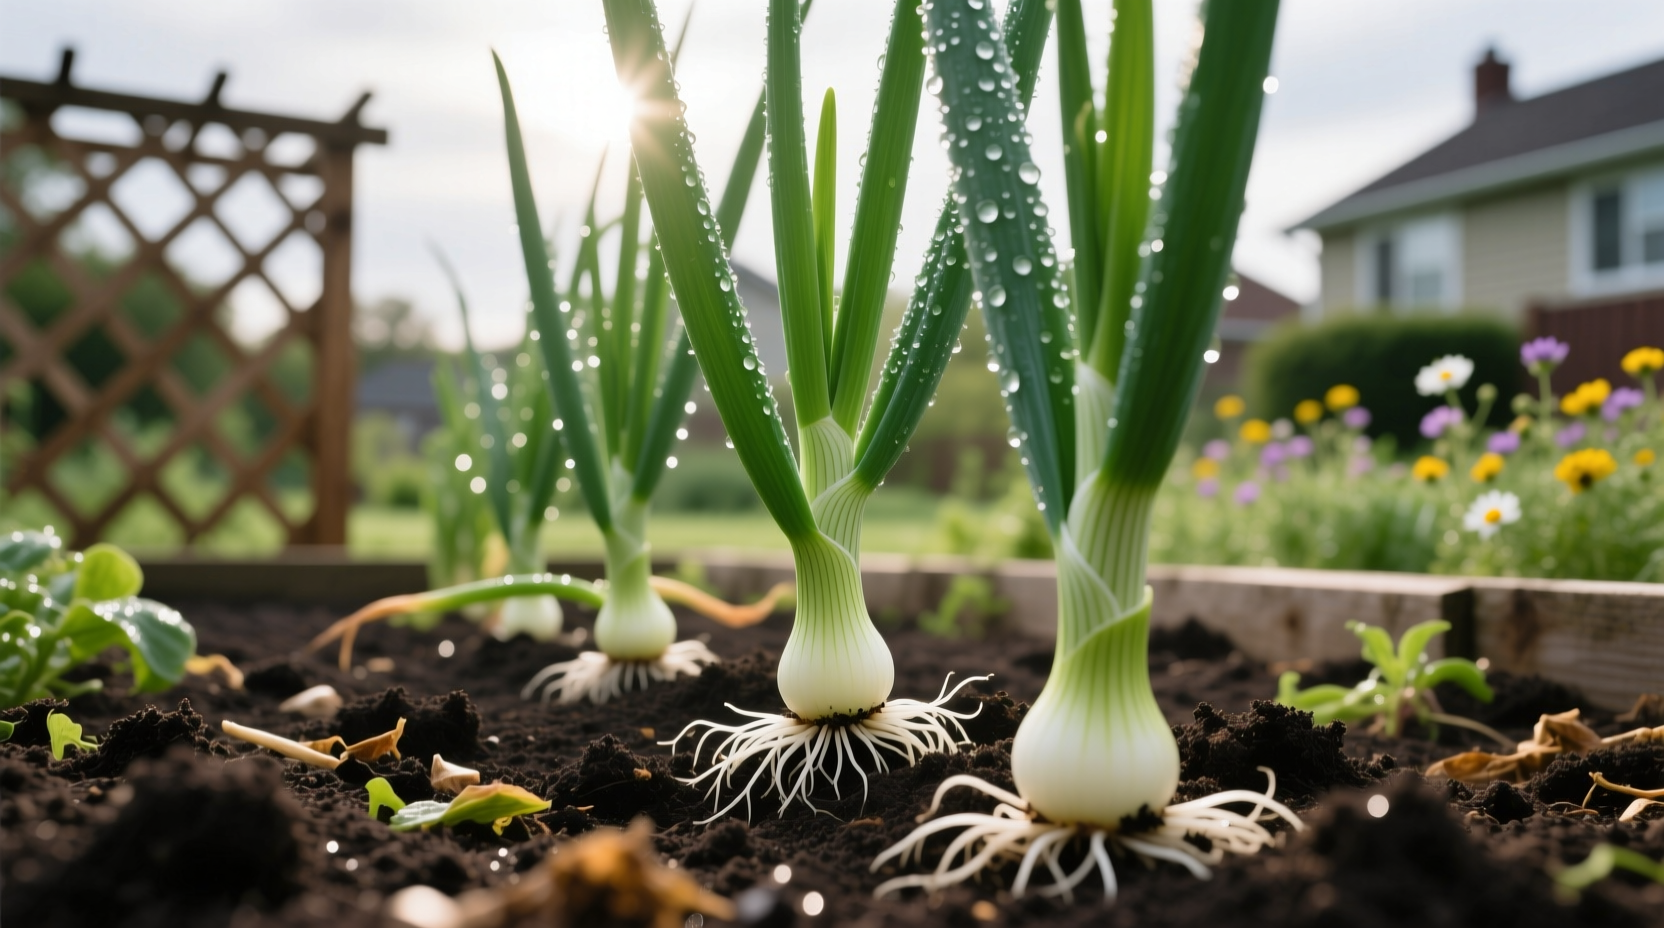
Onion plants belong to the Allium genus, which includes garlic, leeks, and chives. The part we commonly eat is actually a modified stem structure called a bulb, composed of fleshy leaf bases surrounding a central shoot. This biological adaptation allows the plant to store energy for regrowth after dormancy.
Unlike many vegetables, onions respond to day length (photoperiod) which determines when bulb formation begins. Short-day varieties (10-12 hours of light) form bulbs in southern regions, while long-day types (14-16 hours) suit northern gardens. Day-neutral onions (12-14 hours) offer flexibility across most climates.
Onion Growth Stage Timeline
Understanding the precise development stages helps optimize care throughout the growing season. Here's the typical progression from planting to harvest:
| Stage | Duration | Key Characteristics | Care Requirements |
|---|---|---|---|
| Germination | 7-14 days | Radicle emerges, followed by first true leaf | Consistent moisture, 60-75°F soil temperature |
| Leaf Development | 4-6 weeks | 3-6 green leaves form, photosynthesis builds energy | Regular watering, nitrogen-rich fertilizer |
| Bulb Initiation | 1-2 weeks | Leaf bases begin swelling at stem plate | Maintain consistent moisture, reduce nitrogen |
| Bulb Enlargement | 4-8 weeks | Rapid bulb growth, outer layers form | Deep watering, potassium-rich fertilizer |
| Maturity | 2-3 weeks | Leaves yellow and fall over, neck softens | Reduce watering, prepare for harvest |
This timeline comes from research conducted by the University of Minnesota Extension, which has documented onion development across various climate zones. Proper timing of each stage directly impacts final bulb size and storage quality.
Planting Your Onion Crop Successfully
Three primary methods exist for growing onions: from seeds, sets (small bulbs), or transplants. Each approach offers distinct advantages depending on your climate and experience level.
Choosing Your Planting Method
- Seeds: Most economical option, widest variety selection, but requires 12-16 weeks start time indoors before transplanting
- Sets: Small dormant bulbs (½ inch diameter), easiest for beginners, plant 1-2 inches deep 4-6 weeks before last frost
- Transplants: Year-old seedlings, available commercially, plant when soil reaches 50°F, space 4-6 inches apart
For optimal results, plant onions in full sun (6+ hours daily) in well-draining soil with pH between 6.0-7.0. Amend heavy soils with 3-4 inches of compost before planting. Avoid nitrogen-rich fertilizers at planting time, which encourages excessive leaf growth at the expense of bulb development.
Essential Care Throughout the Growing Season
Consistent care makes the difference between small, pungent bulbs and large, sweet onions. Focus on these critical elements:
Water Management
Onions require 1 inch of water weekly, with increased needs during bulb formation. Use drip irrigation or soaker hoses to maintain consistent moisture without wetting foliage. Reduce watering 2-3 weeks before harvest when leaves begin falling over—this crucial step improves storage life by allowing bulbs to mature properly.
Fertilization Strategy
Apply balanced fertilizer (10-10-10) when plants reach 6 inches tall, then switch to potassium-rich formula (5-10-10) as bulbs begin forming. Stop all fertilization 4 weeks before expected harvest. Excessive nitrogen late in the season produces thick necks that don't cure properly, leading to rot during storage.
Climate and Location Considerations
Onion success depends heavily on matching varieties to your specific climate conditions. These context boundaries determine which types will thrive in your garden:
- Northern regions (40°N latitude and above): Require long-day varieties (14-16 hours of daylight to bulb), plant in early spring
- Southern regions (30°-40°N latitude): Grow short-day onions (10-12 hours of daylight), plant in fall for spring harvest
- Middle regions: Day-neutral varieties work best, adaptable to most planting schedules
The Oregon State University Extension confirms that selecting the wrong photoperiod type for your region is the most common reason for poor bulb development. Gardeners in transitional zones often achieve best results with day-neutral varieties like 'Candy' or 'Super Star'.
Harvesting and Curing Onions Properly
Timing your harvest correctly ensures maximum storage life. Watch for these maturity indicators:
- Approximately 30% of leaves have fallen over naturally
- Neck tissue becomes soft and begins to collapse
- Bulb wrappers turn dry and papery
To harvest, carefully loosen soil around bulbs with a garden fork and lift them out. Cure onions in a warm (75-85°F), dry, well-ventilated area for 2-3 weeks. During curing, roots dry, necks seal completely, and outer skins transform into the characteristic papery covering. Properly cured onions develop complex sugars that enhance flavor during storage.
Troubleshooting Common Onion Problems
Even with proper care, onion plants face several challenges. Recognize these issues early for effective intervention:
| Problem | Symptoms | Solution | Prevention |
|---|---|---|---|
| Thrips | Silvered, stippled leaves; distorted growth | Insecticidal soap or neem oil applications | Remove weeds, use reflective mulch |
| Pink Root | Pink discoloration on roots, stunted growth | Remove affected plants, improve drainage | Rotate crops, select resistant varieties |
| Downy Mildew | Yellow leaf tips progressing downward | Copper-based fungicides, improve air flow | Avoid overhead watering, proper spacing |
| Double Centers | Split bulbs with multiple growing points | Use affected bulbs immediately (don't store) | Plant appropriate varieties for your region |
According to the Penn State Plant Village, thrips cause the most widespread damage to onion crops globally, with populations exploding during hot, dry conditions. Regular monitoring with a 10x hand lens helps detect infestations before significant damage occurs.
Maximizing Your Onion Harvest
For gardeners seeking larger, sweeter onions, implement these research-backed techniques:
- Soil preparation: Incorporate 3-4 inches of well-rotted compost before planting to improve soil structure
- Planting depth: Set onion bulbs with tips just below soil surface (½ inch deep) for optimal growth
- Weed control: Hand-pull weeds carefully—onion roots grow shallowly and easily damaged
- Temperature management: Mulch with straw when soil reaches 70°F to maintain consistent temperature
Remember that onion flavor intensity relates directly to growing conditions. Sweeter onions develop with consistent moisture and fertile soil, while pungent varieties result from water stress and nutrient deficiencies. For storage onions, prioritize proper curing over immediate consumption—flavor mellows and sweetness develops during the curing process.


 浙公网安备
33010002000092号
浙公网安备
33010002000092号 浙B2-20120091-4