
Why Celery Challenges Even Experienced Gardeners
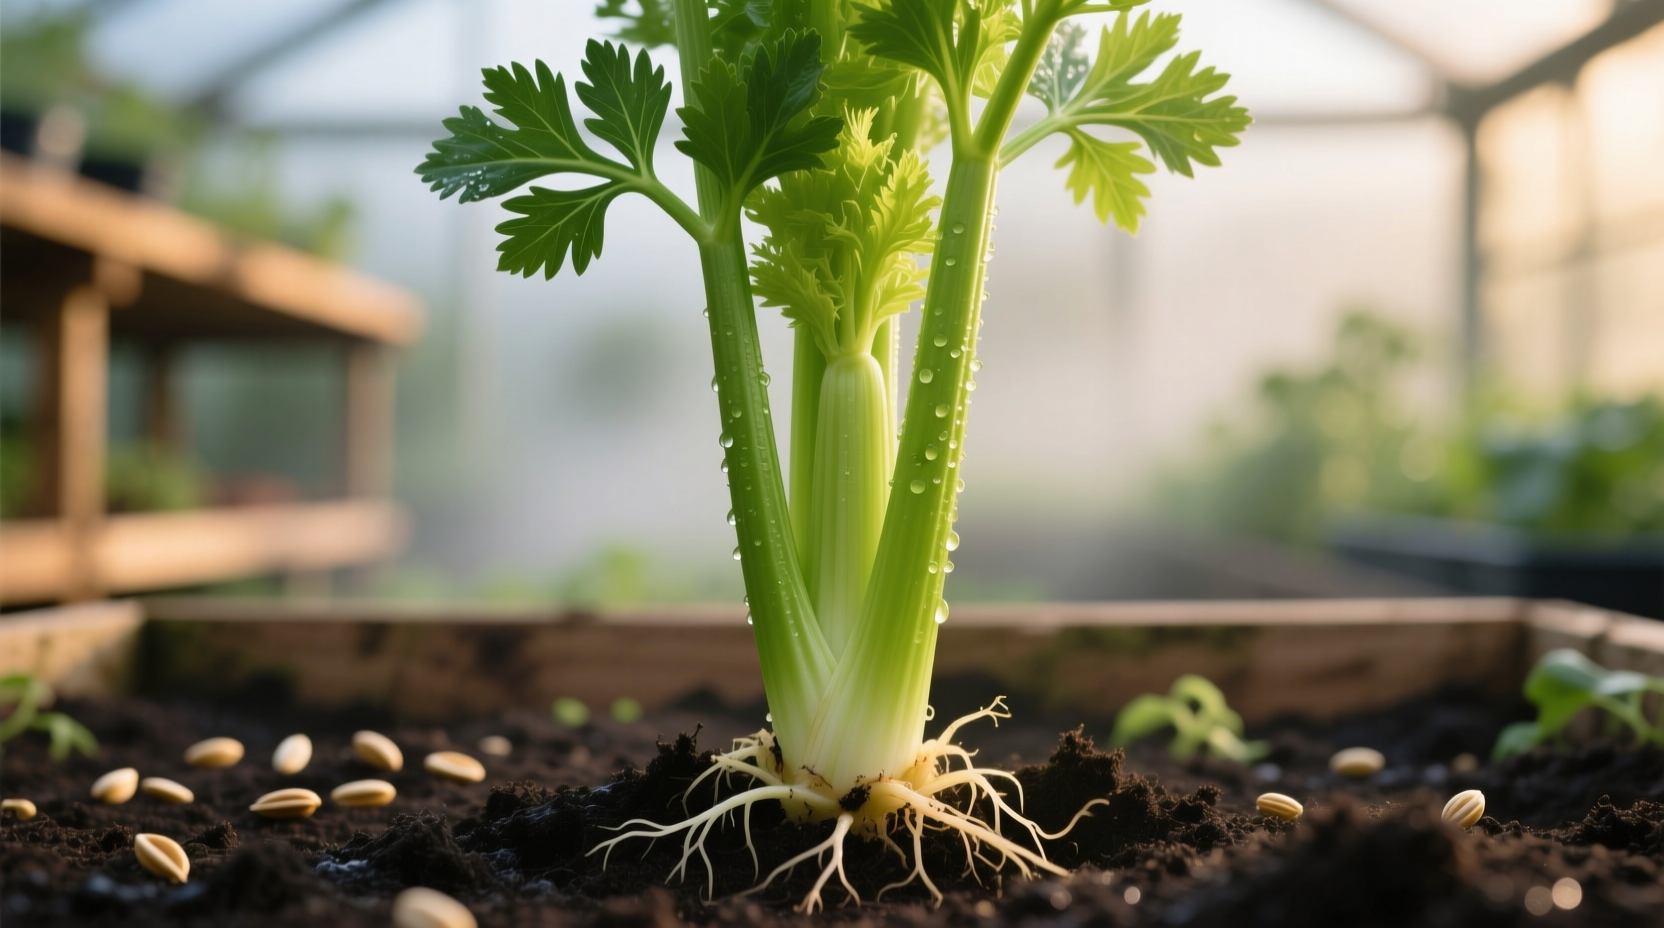
Celery (Apium graveolens) ranks among the most demanding vegetables to cultivate due to its specific environmental requirements. Unlike hardy vegetables that tolerate variable conditions, celery demands consistent moisture and cool temperatures throughout its lengthy growing season. The University of California Agriculture and Natural Resources notes that inconsistent watering causes stringy, bitter stalks—a common frustration for home gardeners attempting this crop for the first time.
Planning Your Celery Growing Journey
Successful celery cultivation begins with proper timing and space planning. This biennial plant requires 130-140 days to reach harvest maturity, making it unsuitable for regions with short growing seasons unless started indoors.
| Growing Zone | Indoor Start Date | Transplant Date | Harvest Window |
|---|---|---|---|
| Zones 3-5 | 12 weeks pre-last frost | 2 weeks post-last frost | August-October |
| Zones 6-8 | 10 weeks pre-last frost | 1 week post-last frost | July-September |
| Zones 9-11 | 8 weeks pre-cool season | Early fall | December-February |
This planting schedule from the University of California Cooperative Extension ensures celery develops during optimal temperature ranges (60-70°F). Attempting to grow celery in hot weather typically results in premature bolting and tough, fibrous stalks.
Soil Preparation: The Foundation for Crisp Stalks
Celery thrives in soil rich in organic matter with excellent drainage. Prepare your garden bed 2-3 weeks before transplanting:
- Amend soil with 3-4 inches of well-rotted compost
- Mix in balanced organic fertilizer (10-10-10) at 1 lb per 100 sq ft
- Adjust pH to 6.0-6.8 using lime (to raise) or sulfur (to lower)
- Create raised beds 6-8 inches high for improved drainage
The USDA Natural Resources Conservation Service emphasizes that celery's shallow root system requires consistently moist but not waterlogged conditions. Raised beds help maintain this delicate balance, particularly in heavy clay soils common across much of the United States.
Planting Process: From Seed to Transplant
Celery seeds are tiny and require specific conditions for germination:
- Start seeds indoors 10-12 weeks before last frost date
- Use seed starting mix in trays with drainage holes
- Sow seeds on surface (they need light to germinate)
- Maintain soil temperature at 70°F with consistent moisture
- Thin seedlings to 2 inches apart when first true leaves appear
- Begin hardening off 2 weeks before transplanting
When transplanting, bury seedlings up to their first set of true leaves. Space plants 6-8 inches apart in rows 18-24 inches apart. The Cornell University Gardeners' Resource confirms this spacing allows adequate room for stalk development while maintaining sufficient air circulation to prevent disease.
Essential Care Practices for Healthy Plants
Daily attention makes the difference between stringy failures and crisp success:
Watering Requirements
Celery needs 1-1.5 inches of water weekly, with consistent moisture being critical. Mulch with straw or shredded leaves to maintain soil moisture and prevent temperature fluctuations. During hot spells, check soil moisture twice daily—celery roots should never dry out.
Fertilization Schedule
Apply balanced liquid fertilizer every 10-14 days after transplanting. The University of Minnesota Extension recommends alternating between nitrogen-rich feeds (for leaf development) and potassium supplements (for stalk strength) throughout the growing season.
Blanching for Milder Flavor
Four weeks before harvest, begin blanching to reduce bitterness and create tender stalks:
- Traditional method: Wrap stalks with cardboard tubes or aluminum foil
- Modern approach: Hill soil around base of plants (3-4 inches)
- Organic technique: Use large cardboard collars around each plant
Blanching blocks sunlight from reaching the stalks, preventing excessive chlorophyll development that causes bitterness. The Royal Horticultural Society notes this process improves flavor but reduces vitamin content slightly—consider leaving some stalks unblanched for nutritional diversity.
Celery Growth Timeline: What to Expect
| Weeks After Planting | Development Stage | Critical Care Requirements |
|---|---|---|
| 0-4 | Seed germination & seedling development | Consistent moisture, 70°F temperature, bright indirect light |
| 4-8 | Transplant establishment | Daily watering, weekly nitrogen fertilizer, weed control |
| 8-12 | Active stalk development | Bi-weekly balanced fertilizer, consistent moisture, begin hilling |
| 12-16 | Final maturation | Begin blanching, monitor for pests, reduce nitrogen |
| 16-20 | Harvest readiness | Maintain moisture, check stalk thickness (minimum 8 inches) |
Managing Common Challenges
Celery faces several specific challenges that require proactive management:
Pest Control Without Chemicals
The most common celery pests include:
- Black swallowtail caterpillars: Hand-pick or use floating row covers
- Aphids: Spray with insecticidal soap every 3-4 days
- Slugs: Create beer traps or use copper tape barriers
The National Pesticide Information Center recommends avoiding broad-spectrum pesticides on celery, as they often cause more harm than good by eliminating beneficial insects that naturally control pest populations.
Disease Prevention Strategies
Celery is susceptible to several fungal diseases:
- Pink rot: Rotate crops annually, avoid overhead watering
- Leaf spot: Remove affected leaves immediately, improve air circulation
- Black heart: Ensure consistent calcium availability through soil amendments
Harvesting and Storage Techniques
Harvest celery when stalks reach 8-10 inches tall with a minimum diameter of 1 inch. The best time to harvest is early morning when stalks are most crisp and hydrated.
For continuous harvest, cut outer stalks first, allowing the inner stalks to continue growing. For full plant harvest, cut 1 inch below soil level with a sharp knife.
Store harvested celery in the refrigerator's crisper drawer with high humidity setting. Wrap stalks in aluminum foil or place upright in a container with 1 inch of water. Properly stored celery maintains quality for 3-4 weeks.
Troubleshooting Common Growing Problems
When issues arise, these solutions typically resolve most problems:
- Stringy stalks: Inconsistent watering—implement drip irrigation system
- Bitter flavor: Insufficient blanching or hot weather exposure
- Yellowing leaves: Nitrogen deficiency—apply balanced fertilizer
- Hollow stalks: Calcium deficiency or irregular watering
- Premature bolting: Exposure to temperatures below 55°F for extended periods
Remember that celery's specific requirements make it challenging but not impossible to grow successfully. The key is maintaining consistent conditions throughout its long growing season.


 浙公网安备
33010002000092号
浙公网安备
33010002000092号 浙B2-20120091-4