
Creating accurate botanical illustrations requires understanding both plant structure and drawing techniques. Whether you're an aspiring botanical artist, gardening enthusiast, or educator needing visual aids, mastering how to draw a tomato plant enhances your ability to document plant life with precision. This comprehensive guide bridges botanical science with practical art instruction, helping you create drawings that are both scientifically accurate and visually appealing.
Why Botanical Accuracy Matters in Plant Drawing
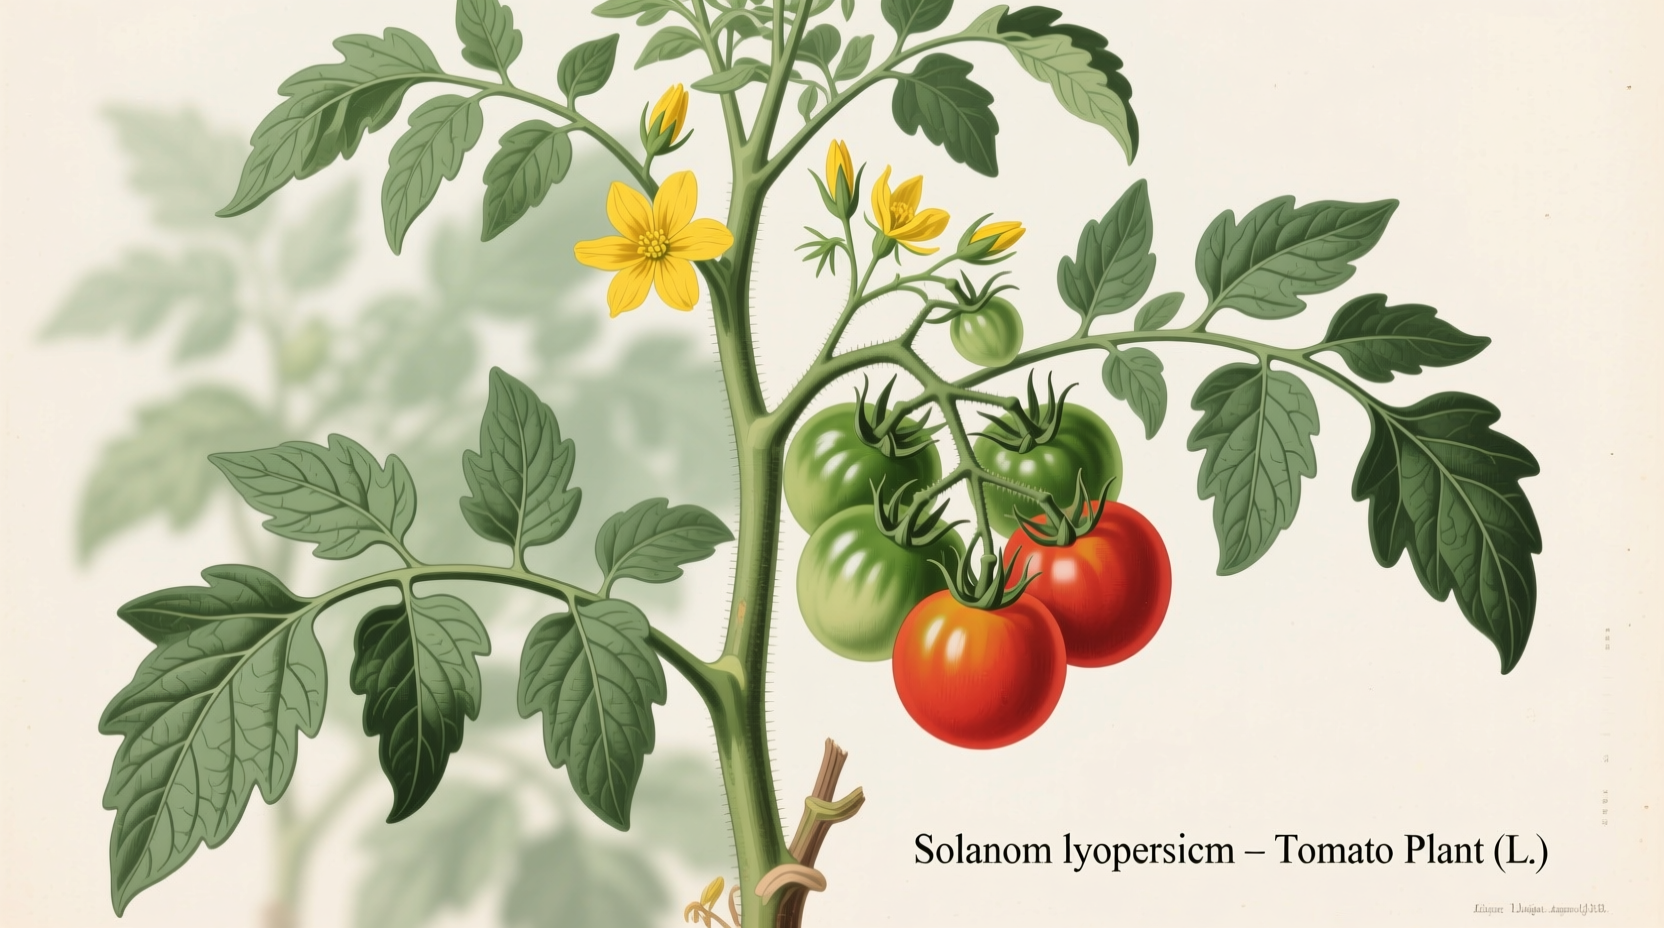
Many beginners make the mistake of drawing what they think a tomato plant looks like rather than observing its actual structure. True botanical illustration requires attention to specific growth patterns, leaf arrangements, and developmental stages. According to the USDA Plant Database, tomato plants (Solanum lycopersicum) follow distinct morphological patterns that differentiate them from other nightshade family members. Understanding these characteristics transforms your drawings from generic representations to scientifically valuable illustrations.
| Tomato Plant Growth Stage | Key Visual Characteristics | Common Drawing Mistakes |
|---|---|---|
| Seedling (2-4 weeks) | Cotyledons followed by simple leaves, single stem | Adding too many leaves too early |
| Vegatative (4-8 weeks) | Compound leaves with serrated edges, branching pattern | Misrepresenting leaf arrangement (alternate vs opposite) |
| Flowering (6-10 weeks) | Yellow flowers in clusters, 5-7 petals | Incorrect flower cluster formation |
| Fruiting (8+ weeks) | Green to red fruit developing from flower base | Placing fruit directly on stem rather than flower calyx |
Essential Materials for Drawing Tomato Plants
You don't need expensive equipment to create quality botanical drawings. Start with these basic supplies:
- Sketchbook with medium-weight paper (90-140 lb)
- Graphite pencils (HB, 2B, 4B for varying line weights)
- Eraser (kneaded for precision, standard for larger areas)
- Reference material (live plant or high-quality photographs)
- Ruler for proportion checking (optional)
For more advanced work, consider adding colored pencils for botanical accuracy or watercolors for traditional illustration techniques. The Royal Horticultural Society's botanical art program emphasizes that proper materials support but don't replace observational skills—the foundation of accurate plant drawing.
Step-by-Step Drawing Process
Step 1: Establish Basic Structure and Proportions
Begin with light construction lines showing the overall shape. Tomato plants have a distinctive growth habit with a central stem and alternating branches. Note that mature plants typically reach 3-6 feet in height with a width equal to their height. Use the "rule of thirds" to position your plant composition effectively.
Step 2: Map Stem and Branch Structure
Draw the main stem with slight natural curves rather than straight lines. Add primary branches at approximately 45-degree angles, remembering that tomato plants exhibit alternate branching (not opposite). Include subtle variations in stem thickness—thicker at the base, gradually tapering toward the top.
Step 3: Develop Leaf Shapes and Arrangement
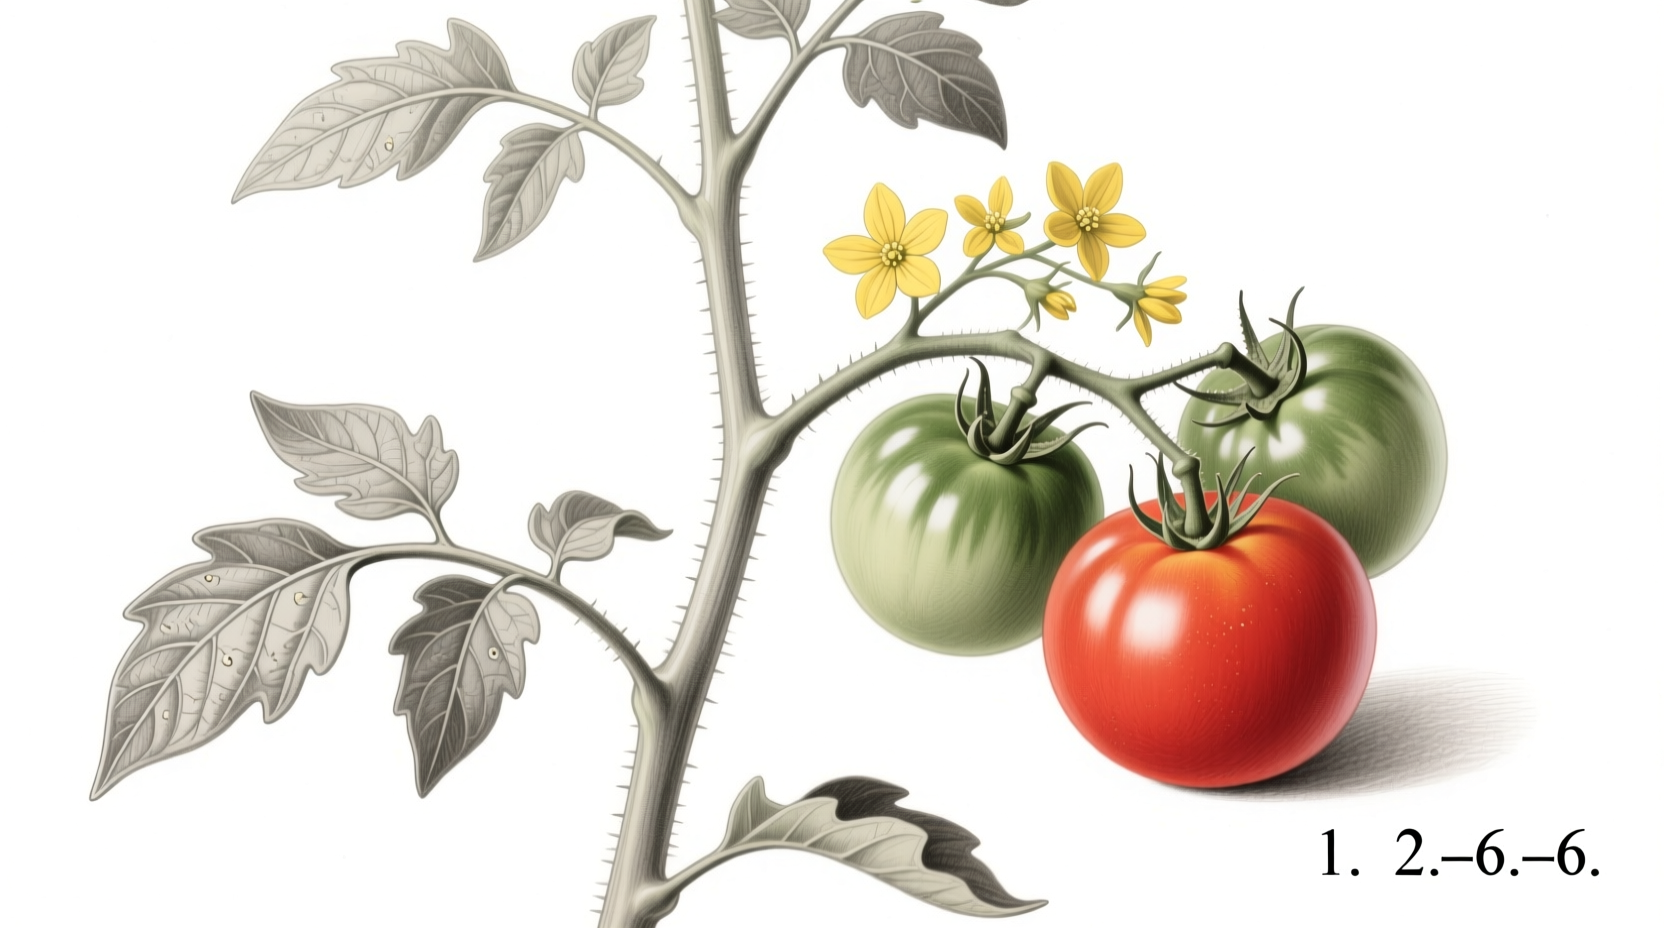
Tomato leaves are compound with serrated edges and deep lobes. Each leaf has 5-7 leaflets arranged pinnately. Draw leaves in clusters of 5-9 along the stems, with larger leaves toward the bottom and smaller ones near the top. Pay attention to the distinctive "V" shape where leaflets meet the central vein.
Step 4: Add Flower Details
Tomato flowers grow in clusters (cymes) of 5-12 blooms. Each flower has five yellow petals fused at the base, forming a star shape. Draw the central reproductive structures—the yellow anthers forming a cone around the pistil. Position flower clusters at leaf axils (where leaf meets stem), not at branch tips.
Step 5: Illustrate Fruit Development Stages
Show fruit developing from the base of spent flowers. Include various stages: small green fruit, ripening (shoulders turning yellow/orange), and fully ripe red tomatoes. Note that tomatoes grow in clusters with the oldest fruit at the base of the cluster. Avoid the common error of drawing fruit directly attached to stems rather than from flower calyxes.
Step 6: Refine Texture and Details
Add subtle texture to stems (slight fuzziness), leaves (vein patterns), and fruit (smooth surface with possible blossom end markings). Use varying pencil pressure to create depth—darker where shadows naturally occur (under leaves, between fruit clusters). Remember that tomato plants have a distinctive "tomato scent" when touched, which translates to a slightly fuzzy texture in botanical illustrations.
Step 7: Final Shading and Definition
Establish a consistent light source (typically upper left) and add shadows accordingly. Deepen lines in foreground elements while keeping background lines lighter. Add fine details like leaf serrations, stem hairs, and subtle color variations in ripening fruit. Step back periodically to check proportions and overall balance.
Overcoming Common Drawing Challenges
Even experienced artists struggle with specific aspects of botanical illustration. Here are solutions to frequent tomato plant drawing problems:
- Natural-looking leaves: Avoid symmetrical, "cookie-cutter" leaves. Draw each leaf with slight variations in shape and orientation. Reference the USDA's taxonomic keys for accurate leaf morphology.
- Realistic proportions: Use the "thumbnail" method—squint your eyes to see basic shapes rather than details. Compare leaf size to fruit size (mature leaves should be 4-10 inches long, while fruit varies by variety).
- Capturing growth patterns: Study time-lapse videos from university agricultural extensions to understand how tomato plants actually grow and branch.
Practical Exercises for Skill Development
Improvement comes through targeted practice. Try these exercises weekly:
- 30-second gesture drawings: Capture the overall growth habit without focusing on details
- Leaf studies: Draw 10 individual leaves from different angles
- Progression sketches: Document the same plant daily for a week to understand growth patterns
- Blind contour drawing: Draw without looking at your paper to improve observation skills
Resources for Continued Learning
Expand your botanical drawing skills with these authoritative resources:
- Botanical Drawing in Color by Wendy Trewby (Royal Horticultural Society)
- USDA Plant Database for accurate botanical references
- Local botanical gardens offering illustration workshops
- Online courses from The Society of Botanical Artists
Remember that consistent practice with proper observational techniques yields better results than expensive materials. As you develop your skills, your tomato plant drawings will become valuable documentation tools for gardeners, educators, and plant enthusiasts.


 浙公网安备
33010002000092号
浙公网安备
33010002000092号 浙B2-20120091-4