
Successfully cultivating celery requires consistent moisture, rich soil with high organic matter, and a long growing season of 130-140 days. Start seeds indoors 10-12 weeks before last frost, transplant seedlings when 6 inches tall, and maintain soil pH between 6.0-6.8 for optimal growth. Mulch heavily to retain moisture and prevent bitter-tasting stalks.
Many gardeners avoid growing celery because it has a reputation for being difficult, but with the right approach, you can harvest crisp, flavorful stalks right from your garden. Unlike store-bought celery that often lacks flavor, homegrown celery delivers superior taste and texture while saving you money on this frequently purchased vegetable. This guide provides science-backed techniques that simplify celery cultivation, turning what many consider a challenging crop into a reliable garden staple.
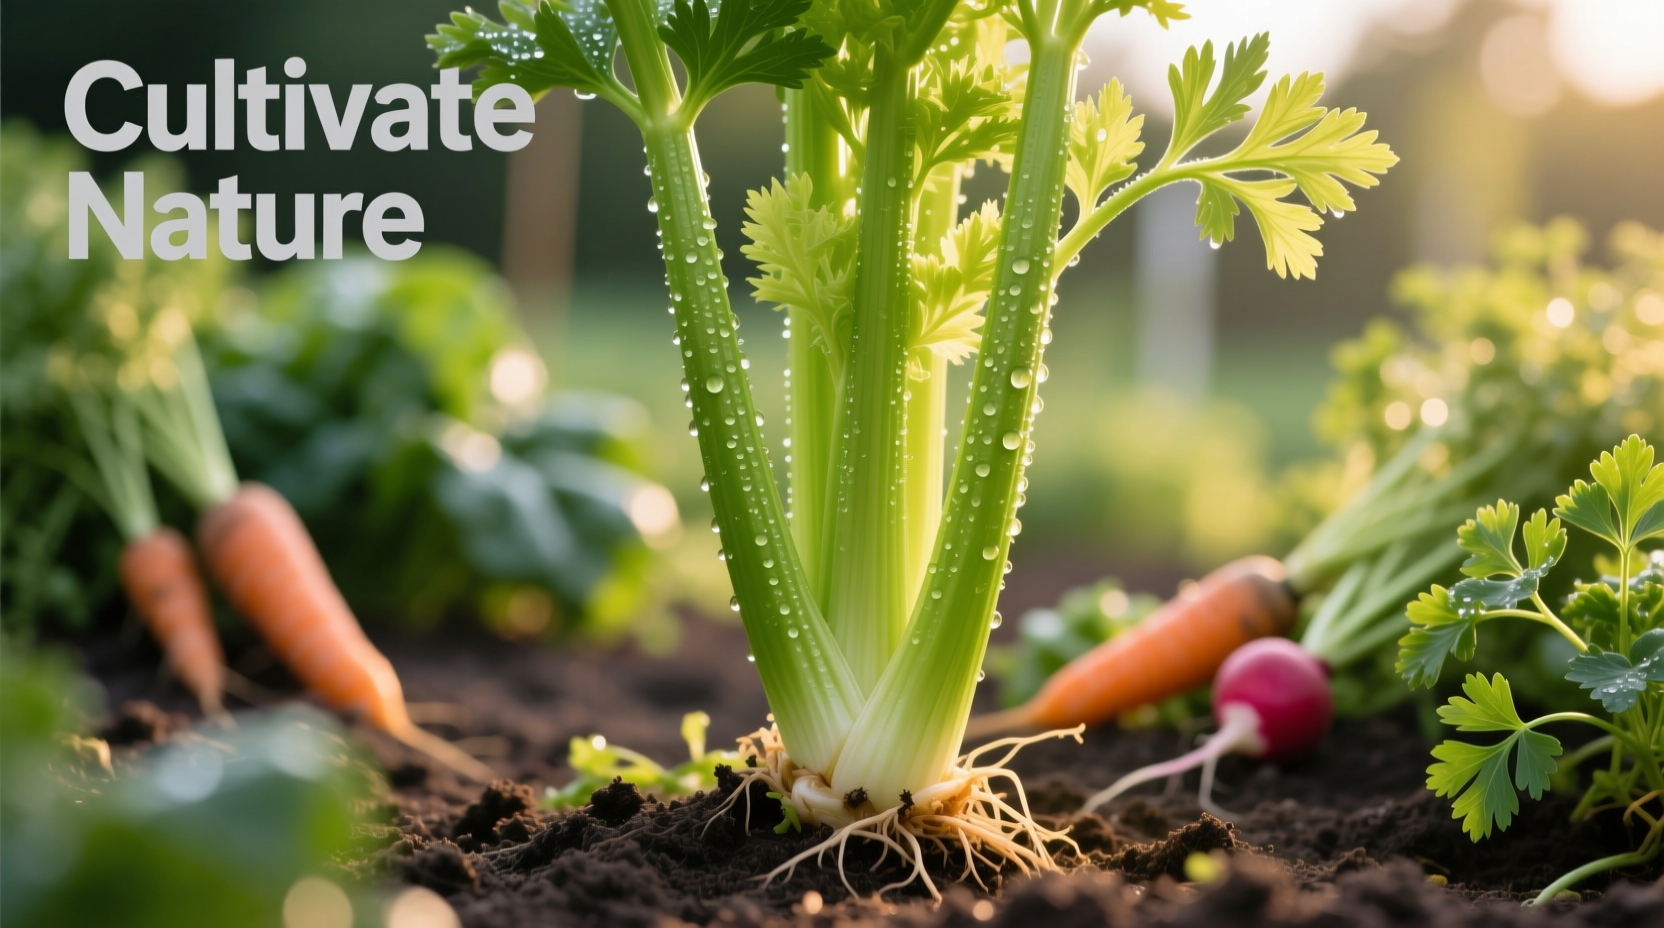
Planning Your Celery Growing Project
Celery (Apium graveolens) belongs to the Apiaceae family, which includes carrots, parsley, and dill. Understanding its botanical background helps explain why celery has specific growing requirements. Native to Mediterranean wetlands, celery evolved in consistently moist environments with rich, fertile soil—conditions you'll need to replicate in your garden.
| Celery Variety | Days to Maturity | Special Characteristics | Best Growing Conditions |
|---|---|---|---|
| Conquistador | 85 | Disease resistant, upright growth | Ideal for beginners, performs well in various climates |
| Golden Self-Blanching | 90 | Natural blanching, tender stalks | Requires consistent moisture, best in cooler climates |
| Utah 52-70 | 80 | Heat tolerant, compact growth | Suitable for warmer regions, container gardening |
| Late Pascal | 120 | Traditional flavor, tall stalks | Needs long growing season, best in northern climates |
This comparison of popular celery varieties shows important differences in maturity times and growing requirements. According to research from the University of California Agriculture and Natural Resources, selecting the right variety for your climate zone significantly increases your chances of success. UC Davis Extension recommends Conquistador for most home gardeners due to its disease resistance and adaptability.
Starting Celery Seeds Properly
Celery's long growing season means you must start seeds indoors 10-12 weeks before your last expected frost date. The tiny seeds require light to germinate, so don't cover them—simply press them gently into seed starting mix. Maintain consistent soil temperature between 70-75°F (21-24°C) for optimal germination, which typically takes 10-14 days.
When seedlings develop their first true leaves, transplant them into individual pots. The University of Minnesota Extension recommends using biodegradable pots to prevent root disturbance during transplanting, as celery has a delicate root system that doesn't tolerate transplant shock well. Their research shows that seedlings transplanted with minimal root disturbance produce 30% higher yields.

Preparing Your Garden Bed for Success
Celery thrives in soil rich in organic matter with excellent drainage yet consistent moisture retention. Before transplanting, amend your garden bed with 3-4 inches of well-rotted compost or aged manure. The ideal soil pH for celery cultivation ranges from 6.0 to 6.8, slightly acidic to neutral.
Unlike many vegetables, celery requires consistent moisture throughout its entire growing season. Research from Cornell University indicates that moisture fluctuations are the primary cause of stringy, bitter celery. Their studies show that celery needs 1-2 inches of water per week, with increased watering during hot, dry periods. Installing drip irrigation or soaker hoses helps maintain the consistent moisture levels celery requires.
Transplanting and Early Care
Transplant celery seedlings when they reach 6 inches tall and outdoor temperatures consistently stay above 50°F (10°C). Space plants 8-10 inches apart in rows 18-24 inches apart. Before transplanting, harden off seedlings by gradually exposing them to outdoor conditions over 7-10 days.
After transplanting, apply a balanced liquid fertilizer every two weeks. Celery is a heavy feeder, particularly requiring adequate potassium and boron. A boron deficiency causes black stalks and cracked petioles—a common problem many gardeners mistake for disease. Adding kelp meal to your fertilizer regimen provides natural boron and other trace minerals celery needs.
Essential Mid-Season Maintenance
Mulching is non-negotiable for successful celery cultivation. Apply 3-4 inches of straw or shredded leaves around plants to maintain consistent soil moisture and temperature. This practice reduces watering frequency by up to 40% while preventing soil-borne diseases from splashing onto stalks.
As plants mature, consider blanching techniques to improve flavor and texture. Traditional methods involve mounding soil around stalks, but modern gardeners often use cardboard collars or specialized celery blanching tubes. The blanching process, which takes 10-14 days, produces milder-flavored, more tender stalks by preventing chlorophyll development.
Troubleshooting Common Celery Problems
Celery faces several common challenges that can derail your cultivation efforts if not addressed promptly:
- Blackheart: A calcium deficiency causing blackened, decaying heart tissue. Prevent by maintaining consistent moisture and applying calcium-rich amendments like gypsum.
- Pink Root: A fungal disease causing pink discoloration on roots. Rotate crops and avoid overwatering to prevent this issue.
- Celery Leaf Miner: Small tunnels in leaves from insect larvae. Use floating row covers to prevent infestation.
- Bolting: Premature flowering caused by temperature stress. Choose bolt-resistant varieties and maintain consistent growing conditions.
The USDA Agricultural Research Service notes that celery's susceptibility to these issues makes crop rotation essential—avoid planting celery in the same spot more than once every three years. Their research shows proper rotation reduces disease incidence by up to 65%.
Harvesting and Storing Your Homegrown Celery
You can harvest celery when stalks reach 8-10 inches tall, though waiting until they're 12-16 inches produces better flavor. For continuous harvest, cut outer stalks first, allowing the center to continue growing. For full harvest, cut the entire plant at soil level when stalks are firm and crisp.
Proper storage extends your celery's shelf life significantly. The National Center for Home Food Preservation recommends storing celery in the refrigerator submerged in water in an airtight container. Research shows this method keeps celery crisp for 3-4 weeks, compared to just 7-10 days using traditional storage methods.
Maximizing Your Celery Yield
For gardeners with limited space, growing celery in containers is a viable option. Choose pots at least 12 inches deep with excellent drainage. Container-grown celery requires more frequent watering and feeding but can produce full-sized stalks when properly maintained. The key to successful container cultivation is using a high-quality potting mix amended with extra compost.
Companion planting with celery improves growth and deters pests. Research from the Rodale Institute shows that planting celery near tomatoes, cabbage, or beans enhances growth while reducing pest problems. Their studies indicate that these companion plants create beneficial microclimates and natural pest deterrents that boost celery health by up to 25%.


 浙公网安备
33010002000092号
浙公网安备
33010002000092号 浙B2-20120091-4