
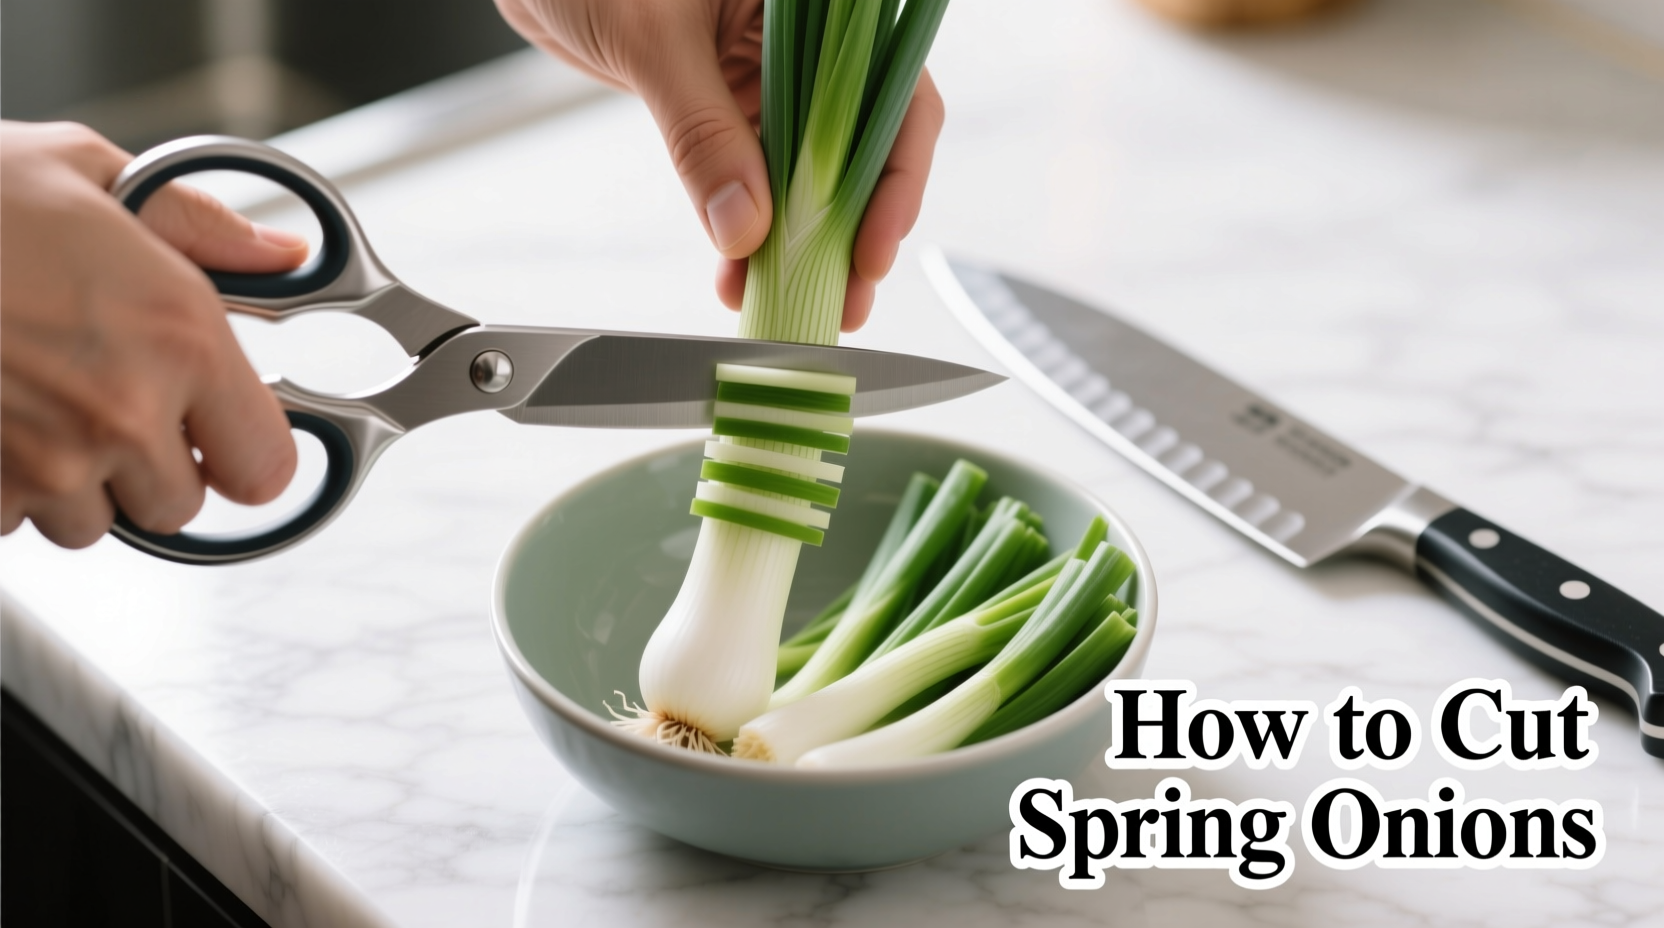
Master the art of cutting spring onions with these professional techniques: trim roots and wilted tips, slice at a 45-degree angle for even cooking, separate white and green parts for different cooking times, and use a sharp chef's knife for clean cuts that preserve flavor and texture.
Spring onions add vibrant color and mild onion flavor to countless dishes, but improper cutting wastes precious ingredients and compromises your cooking results. Whether you're preparing a quick stir-fry or garnishing a gourmet dish, knowing how to cut spring onion correctly ensures maximum flavor, perfect texture, and professional presentation every time. This guide reveals the exact techniques professional chefs use to prepare spring onions for various culinary applications.
Essential Tools and Preparation
Before learning how to properly cut spring onion, gather these essentials:
- A sharp 6-8 inch chef's knife (dull knives crush rather than cut, releasing bitter compounds)
- A stable cutting board (wood or composite)
- Fresh spring onions (look for firm white bulbs and crisp green tops)
- A small bowl of ice water (for reviving slightly wilted onions)
According to the Culinary Institute of America's knife skills curriculum, proper tool selection prevents cellular damage that affects flavor compounds in alliums like spring onions. A sharp knife creates clean cuts that preserve the delicate balance of sulfur compounds responsible for spring onions' characteristic taste.
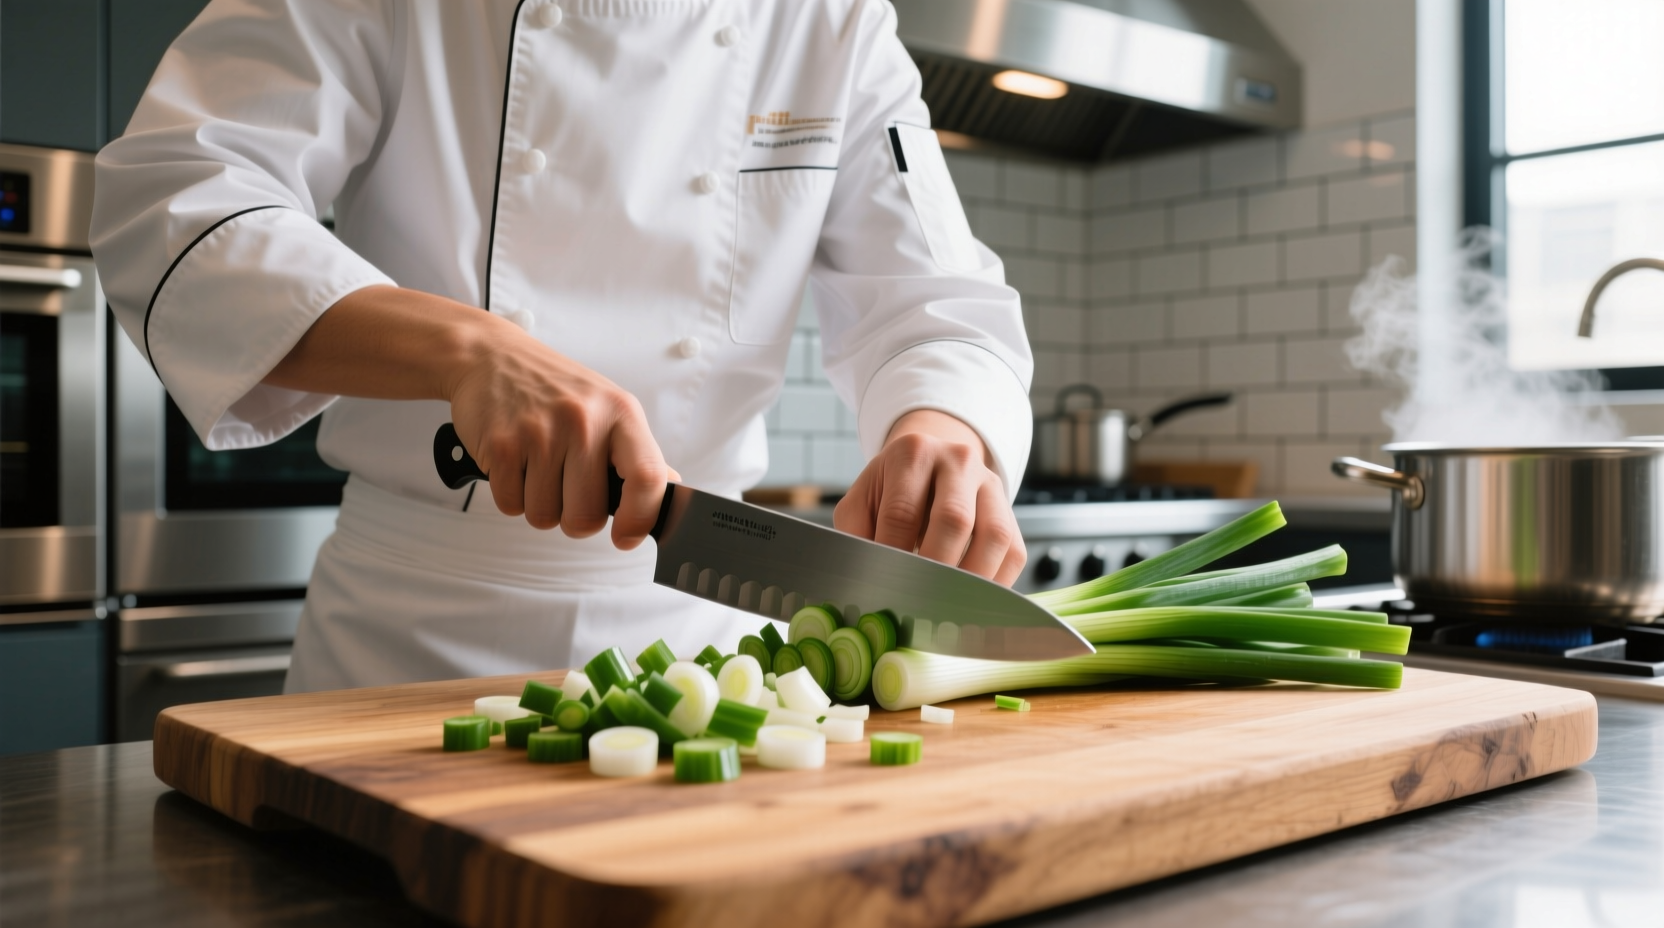
Step-by-Step Cutting Techniques
Follow these professional methods for different culinary applications when cutting spring onion for cooking:
Basic Slicing Technique
- Trim ¼ inch from root end and remove any wilted or damaged green tips
- Rinse thoroughly under cold water, separating layers to remove dirt
- Place onion flat on cutting board and slice crosswise at ¼-inch intervals
- For diagonal cuts (recommended for stir-fries), angle your knife at 45 degrees
The 45-degree angle technique increases surface area evenly, allowing for consistent cooking—especially important when how to cut spring onion for stir fry recipes. This method prevents the white bulbs from overcooking while the green parts reach perfect tenderness.
Different Cutting Styles for Specific Uses
| Cutting Style | Best For | Technique |
|---|---|---|
| Thin Rounds | Garnishes, salads, cold dishes | Crosswise slices at 1/8-inch intervals |
| Diagonal Slices | Stir-fries, sautés, quick cooking | 45-degree angle cuts for even cooking |
| Chopped | Sauces, soups, fillings | Fine dice (1/4-inch) for flavor distribution |
| Lengthwise Strips | Grilling, roasting, presentation | Cut white bulb vertically, separate green layers |
White vs. Green Parts: When to Separate
Understanding how to cut spring onion properly requires recognizing that white and green parts have different cooking properties:
- White bulbs are sweeter and take longer to cook—add them first to hot pans
- Green tops are more delicate and cook faster—add them in the last 1-2 minutes
- For raw applications (garnishes, salads), use both parts together
Food safety experts at the USDA recommend separating white and green parts when how to cut spring onion for cooking because the denser white bulbs require longer cooking to reach safe temperatures while preserving texture. This technique prevents the green parts from becoming mushy while ensuring the white bulbs reach optimal tenderness.
Avoid These Common Cutting Mistakes
Even experienced home cooks make these errors when learning how to cut spring onion correctly:
- Mistake: Using a serrated knife
Solution: Always use a smooth-edged chef's knife for clean cuts that preserve flavor - Mistake: Not washing between layers
Solution: Submerge cut sections in cold water and swish to remove trapped dirt - Mistake: Cutting too thick for quick cooking
Solution: Adjust thickness based on cooking method (thinner for stir-fries, thicker for grilling)
Proper Storage of Cut Spring Onions
After mastering how to cut spring onion, proper storage extends freshness:
- Place cut spring onions in an airtight container lined with paper towels
- Store white and green parts separately (they have different moisture levels)
- Refrigerate for up to 5 days
- For longer storage, freeze in ice cube trays covered with water
USDA Food Safety and Inspection Service guidelines confirm that properly stored cut spring onions maintain optimal quality for 3-5 days when kept at 40°F or below. The white bulbs typically last slightly longer than the green tops due to lower moisture content.
Maximizing Flavor and Nutrition
When how to cut spring onion for maximum flavor, consider these professional tips:
- Cut just before use—enzymes begin breaking down flavor compounds immediately
- Use the entire onion—both white and green parts contain valuable nutrients
- Save root ends for regrowing—place in water to create a continuous supply
- Chill knives briefly for cleaner cuts that preserve cellular structure
Nutrition research from USDA FoodData Central shows that spring onions retain more vitamin C and antioxidants when cut with sharp knives and used promptly. The green parts actually contain higher concentrations of certain nutrients like vitamin K and beta-carotene compared to the white bulbs.


 浙公网安备
33010002000092号
浙公网安备
33010002000092号 浙B2-20120091-4