
Mastering the Perfect Chili Paneer: An Essential Indo-Chinese Dish
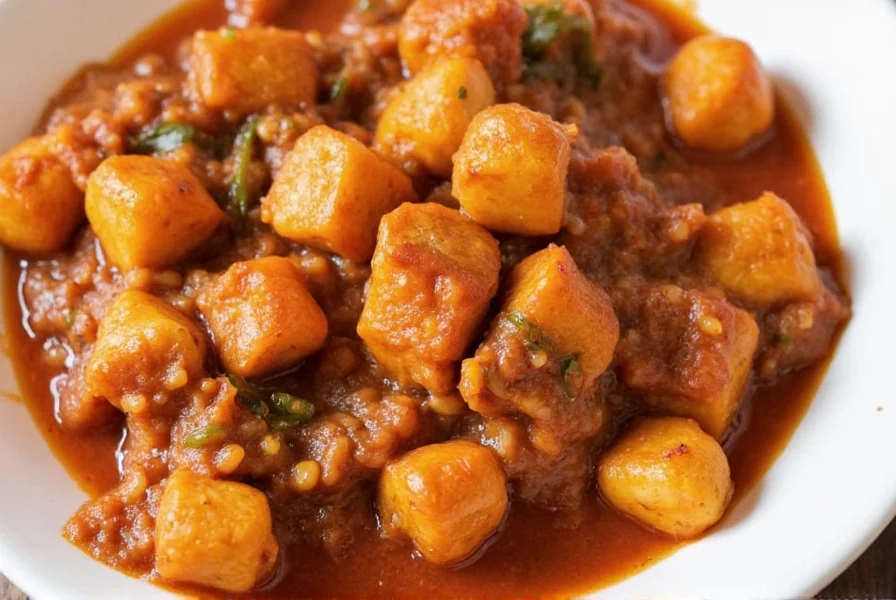
Chili paneer represents one of the most beloved Indo-Chinese fusion dishes that has conquered Indian restaurant menus nationwide. This vegetarian delight transforms simple paneer (Indian cottage cheese) into a crispy, flavorful experience through a brilliant combination of Chinese cooking techniques and Indian spices. Unlike many restaurant versions loaded with excessive oil or artificial flavors, this authentic chili paneer recipe delivers restaurant-quality results in your home kitchen with precise ingredient ratios and proper technique.Why This Chili Paneer Recipe Works
The magic of exceptional chili paneer lies in three critical elements: proper paneer preparation, balanced sauce composition, and precise cooking sequence. Most home attempts fail because they either use soggy paneer, unbalanced sauce (too sweet or too spicy), or overcook the vegetables. This recipe addresses each challenge systematically, ensuring you achieve that perfect restaurant-style texture and flavor profile every time.Essential Ingredients for Authentic Flavor
The quality of your ingredients directly impacts the final dish. Here's what you'll need for the best homemade chili paneer:| Ingredient | Quantity | Professional Tip |
|---|---|---|
| Fresh paneer | 250g | Cut into 1-inch cubes; soak in warm water for 10 minutes before use |
| Cornstarch | 3 tbsp | Essential for crispy texture without deep frying |
| Soy sauce | 2 tbsp | Use light soy sauce for authentic flavor |
| Red bell peppers | 1 large | Cut into uniform 1-inch pieces for even cooking |
| Green chilies | 2 | Slit lengthwise for controlled heat distribution |
Step-by-Step Preparation Guide
Paneer Preparation (The Critical First Step)
1. Cut paneer into 1-inch cubes and soak in warm salted water for 10 minutes 2. Drain and gently pat dry with paper towels 3. In a bowl, combine cornstarch, 1 tbsp soy sauce, 1 tsp vinegar, and a pinch of salt 4. Toss paneer cubes in the mixture until evenly coated 5. Heat 2 tbsp oil in a non-stick pan over medium heat 6. Shallow fry paneer until golden brown on all sides (2-3 minutes per side) 7. Remove and drain on paper towelsSauce and Vegetable Cooking
1. In the same pan, heat 1 tbsp oil and sauté 1 sliced onion until translucent 2. Add 1 chopped green bell pepper, 1 red bell pepper, and 2 slit green chilies 3. Stir-fry for 2 minutes until vegetables are crisp-tender 4. Prepare sauce: 2 tbsp soy sauce, 1 tbsp chili sauce, 1 tbsp vinegar, 1 tsp sugar, ½ cup water, and 1 tsp cornstarch slurry 5. Pour sauce into the pan and bring to a gentle simmer 6. Add fried paneer and toss gently to coat 7. Cook for 1-2 minutes until sauce thickens and clings to ingredients 8. Finish with 1 tsp sesame oil and fresh cilantro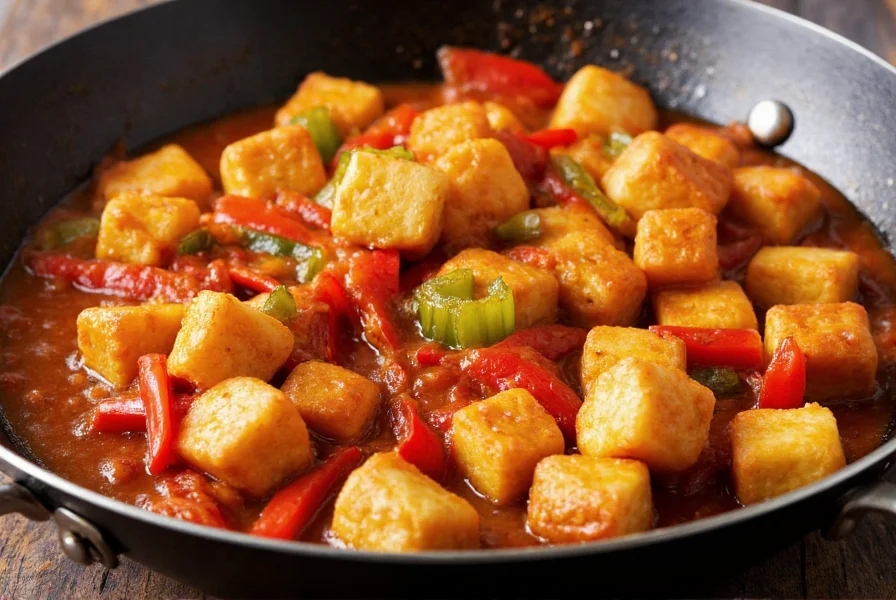
Pro Chef Techniques for Restaurant-Quality Results
Achieving that perfect restaurant-style chili paneer requires specific techniques that most home recipes overlook:- The Cornstarch Secret: Using cornstarch instead of flour creates a lighter, crispier coating that stays intact when tossed in sauce
- Sauce Balance Principle: The ideal ratio is 2 parts soy sauce to 1 part chili sauce to 1 part vinegar - adjust to your preference
- Two-Stage Cooking: Frying paneer separately prevents sogginess when combined with sauce
- High Heat Stir-Frying: Cook vegetables quickly over medium-high heat to maintain crunch
Popular Variations to Explore
Once you've mastered the basic authentic chili paneer recipe, try these delicious adaptations:- Dry Version: Reduce sauce liquid by half for a drier, more concentrated flavor preferred in North Indian restaurants
- Gravy Style: Double the sauce ingredients and simmer longer for a saucy version that pairs perfectly with fried rice
- Gluten-Free Option: Substitute tamari for soy sauce while maintaining the same flavor profile
- Extra Crispy Method: Double-coat paneer with cornstarch for an ultra-crispy texture that holds up to saucy preparations
Serving and Storage Recommendations
Chili paneer tastes best when served immediately while the paneer maintains its crisp texture. Pair with vegetable fried rice or hakka noodles for a complete Indo-Chinese meal. For leftovers, store in an airtight container in the refrigerator for up to 2 days. Reheat in a hot pan rather than microwave to restore some crispness - the microwave will make the paneer rubbery. Freezing is not recommended as it compromises the paneer's texture.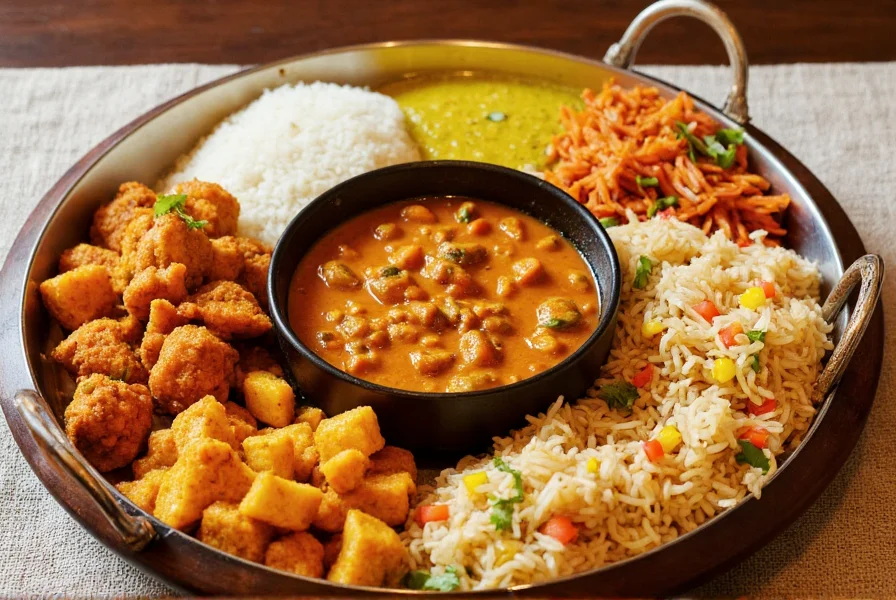
Troubleshooting Common Issues
Even experienced cooks encounter challenges with this easy paneer chili preparation. Here's how to solve frequent problems:- Soggy Paneer: Ensure paneer is thoroughly dried before coating, and don't overcrowd the pan when frying
- Too Salty: Use low-sodium soy sauce and adjust salt at the end after sauce has reduced
- Sauce Too Thin: Mix 1 tsp cornstarch with 2 tbsp cold water and stir into simmering sauce
- Bland Flavor: Bloom ½ tsp ginger-garlic paste in the oil before adding vegetables for deeper flavor
Frequently Asked Questions
Can I make chili paneer without frying the paneer?
While traditional restaurant style chili paneer requires frying for optimal texture, you can create a healthier version by air-frying paneer at 400°F for 8-10 minutes until golden. Skip the cornstarch coating and simply toss paneer in 1 tbsp soy sauce before air frying. The texture won't be identical to the fried version but will still absorb flavors well when added to the sauce.
What's the difference between chili paneer and paneer manchurian?
Chili paneer features crispy paneer tossed in a light, savory sauce with visible vegetables, while paneer manchurian involves deep-fried paneer balls in a thicker, sweeter gravy. The key distinctions are: chili paneer uses shallow-fried paneer cubes with minimal sauce coating, while manchurian features deep-fried balls in a substantial gravy. Chili paneer emphasizes the paneer's texture, whereas manchurian focuses on the sauce experience.
How can I prevent paneer from becoming rubbery when cooking?
Paneer becomes rubbery when overcooked or exposed to high heat for too long. To maintain softness: 1) Soak cut paneer in warm salted water for 10 minutes before cooking, 2) Never boil paneer - keep cooking time under 3 minutes when frying, 3) Add paneer to the sauce at the very end and toss gently for just 1-2 minutes until heated through, and 4) Avoid reheating multiple times as this significantly degrades texture.
Can I use tofu instead of paneer for this recipe?
Yes, firm or extra-firm tofu makes an excellent paneer substitute. Press tofu for 30 minutes to remove excess water, cut into cubes, and follow the same cornstarch coating and frying process. Tofu absorbs flavors more readily than paneer, so reduce soy sauce by 25% initially and adjust at the end. The texture will be slightly different (softer) but still delicious in this easy paneer chili preparation.


 浙公网安备
33010002000092号
浙公网安备
33010002000092号 浙B2-20120091-4