
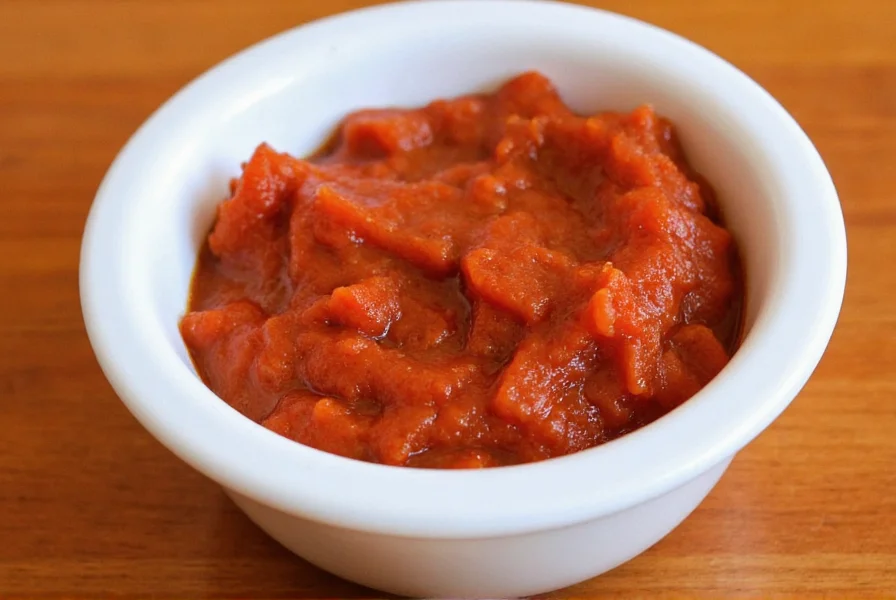
Creating authentic chili paste from scratch transforms your cooking with vibrant, customizable heat. Unlike store-bought versions filled with preservatives, homemade chili paste delivers pure, fresh flavor that elevates everything from Asian stir-fries to Mexican salsas and Middle Eastern dips. This guide provides a foundational recipe with professional techniques for perfect results every time.
Understanding Different Chili Paste Varieties
Chili paste comes in numerous regional variations, each with distinct flavor profiles and culinary applications. Recognizing these differences helps you select the right type for your cooking needs:
| Type | Key Ingredients | Heat Level | Best Uses |
|---|---|---|---|
| Sambal Oelek | Red chilies, vinegar, salt | Medium | Indonesian dishes, dipping sauces |
| Gochujang | Chili powder, glutinous rice, fermented soybeans | Medium-Hot | Korean BBQ, stews, marinades |
| Harissa | Roasted red peppers, chilies, garlic, spices | Hot | North African tagines, roasted vegetables |
| Chili Garlic Paste | Chilies, garlic, vinegar, oil | Medium-Hot | Asian stir-fries, noodle dishes |
Essential Ingredients for Perfect Homemade Chili Paste
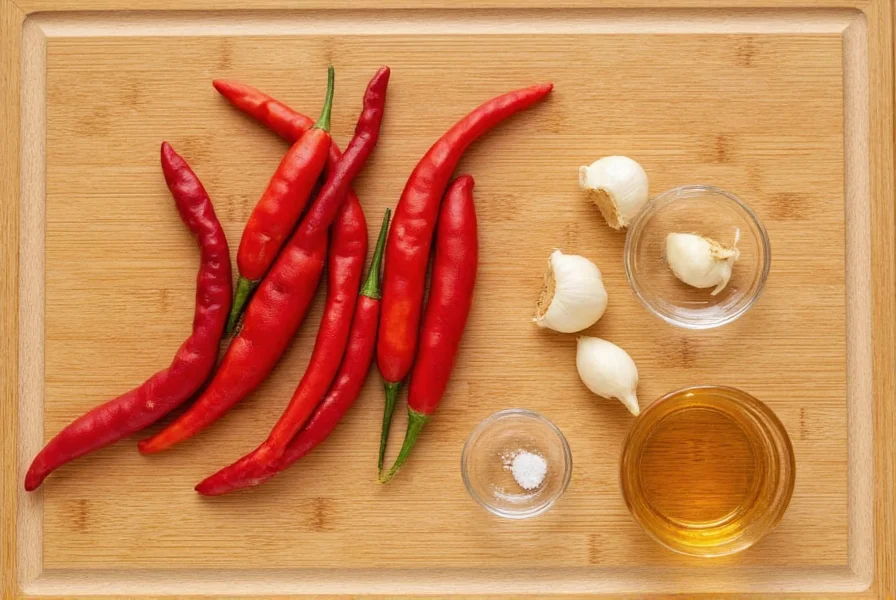
The magic of exceptional chili paste lies in ingredient quality and proper ratios. For our foundational recipe, you'll need:
- Fresh red chilies (10 medium) - Choose cayenne, serrano, or Thai bird chilies based on desired heat level. Remove seeds for milder paste.
- Garlic cloves (4) - Fresh is essential; pre-minced won't deliver the same flavor complexity.
- Vinegar (2 tablespoons) - White or rice vinegar provides necessary acidity for preservation and flavor balance.
- Salt (1 teaspoon) - Enhances flavor and acts as a natural preservative.
- Neutral oil (1-2 tablespoons) - Optional for smoother texture and extended shelf life.
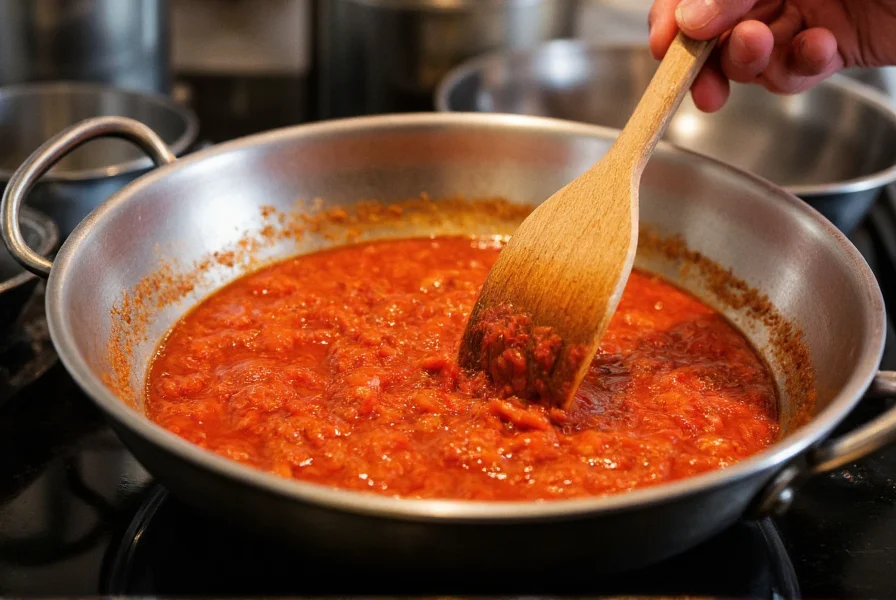
Step-by-Step Homemade Chili Paste Recipe
Follow these professional techniques for restaurant-quality results:
- Prepare chilies: Wear gloves while removing stems and seeds. For milder paste, remove all seeds and white membranes.
- Dry roast: Heat a dry skillet over medium-low. Add chilies and garlic, stirring occasionally until fragrant (2-3 minutes). This enhances flavor complexity without cooking ingredients.
- Cool ingredients: Let roasted components cool completely to prevent steaming during blending.
- Blend to perfection: Combine chilies, garlic, salt, and vinegar in a food processor. Blend in short pulses, scraping down sides as needed. Add oil gradually for smoother texture.
- Adjust consistency: For thicker paste, continue blending. For thinner consistency (ideal for marinades), add 1-2 teaspoons of water.
- Rest and develop: Transfer to airtight container and refrigerate for 24 hours before use. This allows flavors to meld completely.
Storage Guidelines for Maximum Freshness
Proper storage ensures your homemade chili paste maintains quality and safety:
- Store in glass or BPA-free plastic containers with tight-fitting lids
- Refrigerate immediately after preparation
- Keep a thin layer of oil on top to prevent oxidation
- Use clean utensils when scooping to prevent contamination
- Consume within 3 weeks for optimal flavor and safety
- For longer storage, freeze in ice cube trays then transfer to freezer bags (keeps 6 months)
Culinary Applications Beyond Basic Heat
Master chefs use chili paste in sophisticated ways that go beyond simple heat addition:
- Marinade base: Combine with citrus juice and honey for exceptional meat tenderizing
- Soup enhancer: Stir into broths just before serving for vibrant flavor without cloudiness
- Dressing component: Whisk with lime juice and fish sauce for Southeast Asian salads
- Vegetable booster: Toss with roasted vegetables before final minute of cooking
- Compound butter: Blend with softened butter for instant flavor infusion
Troubleshooting Common Issues
Even experienced cooks encounter challenges with homemade chili paste. Here's how to solve them:
- Too spicy? Balance with equal parts honey or sugar dissolved in warm water. Add gradually until desired heat level.
- Separating? This indicates insufficient emulsification. Return to food processor and blend with 1 teaspoon cornstarch slurry.
- Mold developing? Discard immediately. This indicates improper storage or contamination. Always use clean utensils.
- Flavor too sharp? Let paste rest 48 hours in refrigerator. Acidic notes mellow with time.
- Not vibrant red? Use fully ripe chilies and avoid over-processing, which oxidizes color.
Customizing Your Chili Paste Recipe
Once you've mastered the basic technique, experiment with these authentic variations:
- Asian-inspired: Add 1 tablespoon grated ginger and 1 teaspoon sesame oil
- Mexican-style: Incorporate 1 roasted poblano pepper and 1/2 teaspoon cumin
- Thai version: Blend in 1 stalk lemongrass (finely minced) and 1 kaffir lime leaf
- Sweet heat option: Mix in 2 tablespoons tamarind paste and 1 tablespoon palm sugar
Remember that authentic chili paste develops its best flavor after 24-48 hours of resting. The initial sharpness mellows into a complex, rounded heat that transforms ordinary dishes into extraordinary culinary experiences. For those exploring how to make chili paste from scratch with professional results, patience during the resting phase is crucial.
Frequently Asked Questions
Can I use dried chilies instead of fresh for homemade chili paste?
Yes, dried chilies work well but require rehydration. Soak 1 ounce dried chilies in 1 cup hot water for 20 minutes until soft. Drain thoroughly before blending. Dried chilies often produce a deeper, smokier flavor profile compared to fresh varieties.
How can I safely handle extremely hot chilies without burning my skin?
Always wear disposable gloves when handling hot chilies, especially super-hots like habaneros or ghost peppers. Work in a well-ventilated area as fumes can irritate eyes and lungs. If you accidentally touch your face, immediately wash with cold milk or yogurt rather than water, which spreads the capsaicin oil.
What's the difference between chili paste and chili sauce?
Chili paste has a thicker, more concentrated consistency with minimal liquid, while chili sauce contains additional vinegar, sugar, or other liquids making it pourable. Paste provides intense heat and flavor with less volume, making it ideal for marinades and small-batch flavoring, whereas sauce works better for drizzling and dipping applications.
Can I can homemade chili paste for shelf-stable storage?
Due to variable acidity levels in homemade recipes, water-bath canning isn't recommended without professional pH testing. For safe long-term storage, freeze portions in ice cube trays then transfer to freezer bags. Properly frozen chili paste maintains quality for 6 months.


 浙公网安备
33010002000092号
浙公网安备
33010002000092号 浙B2-20120091-4