
The Complete Guide to Perfect Bread Maker Garlic Bread
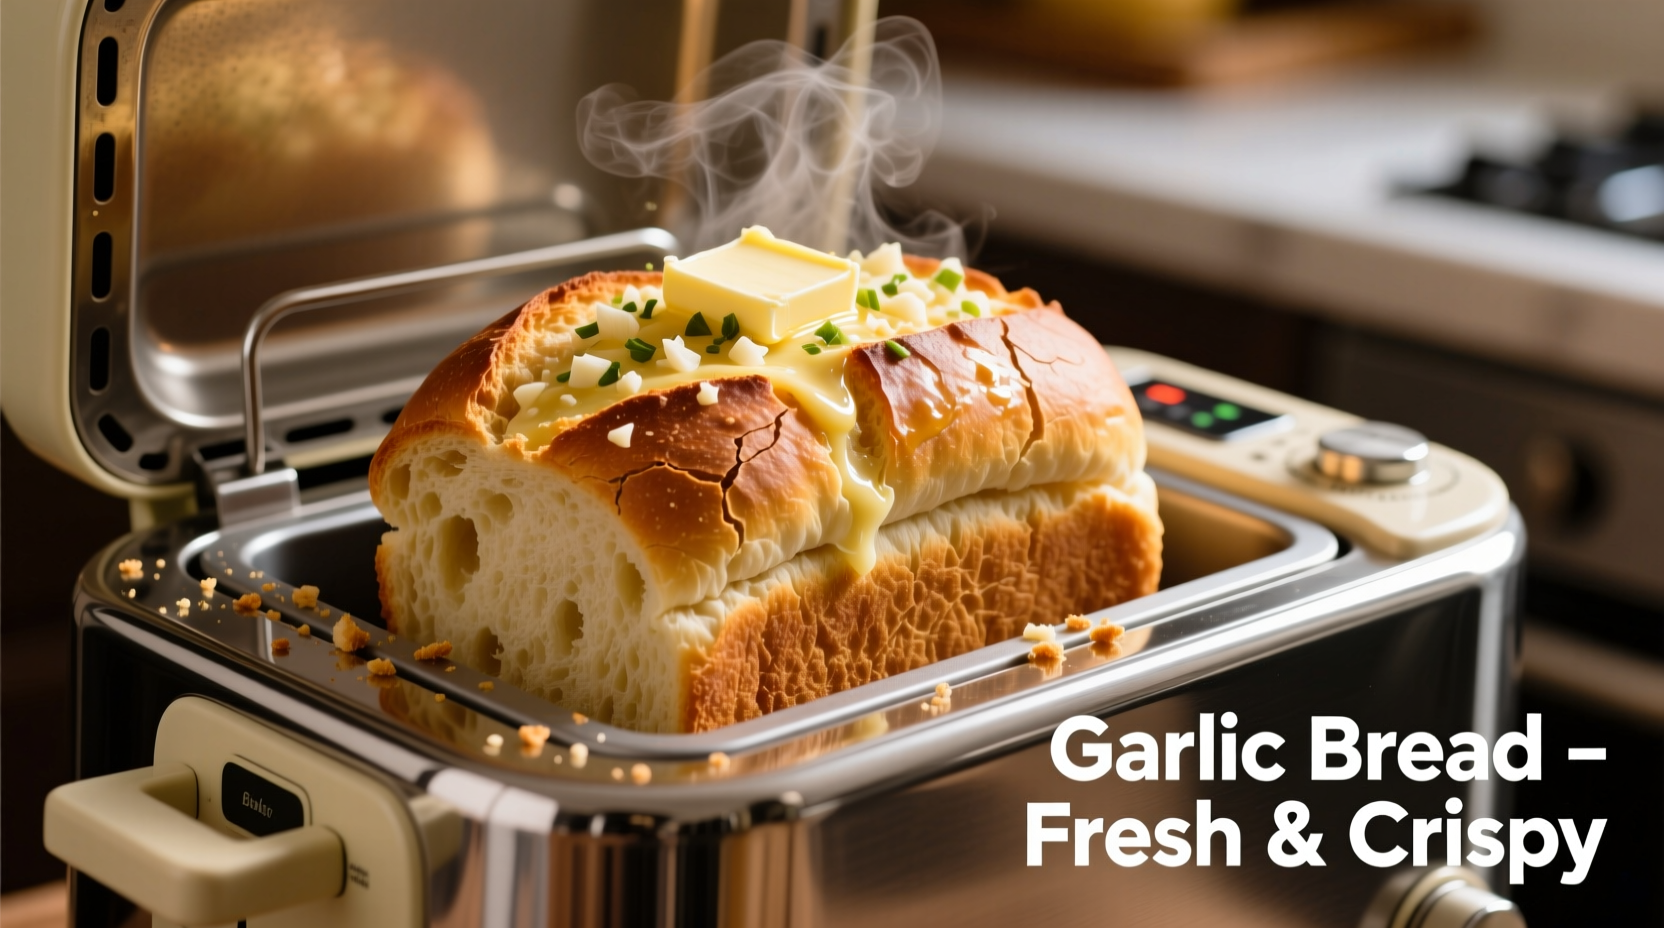
There's nothing quite like the aroma of freshly baked garlic bread filling your kitchen. While traditional methods require hands-on attention, your bread maker can simplify the process without sacrificing quality. This guide reveals precisely how to leverage your appliance for consistently excellent results.
Why Your Bread Maker Excels at Garlic Bread (With Caveats)
Bread makers automate the most labor-intensive steps—kneading and rising—freeing you to focus on flavor development. However, understanding your machine's limitations prevents disappointment. Most bread makers can't properly brown the exterior or melt butter-based toppings during the standard cycle.
| Method | Texture Quality | Garlic Flavor Distribution | Required Effort |
|---|---|---|---|
| Standard Bread Maker Cycle Only | Moderate (pale crust) | Inconsistent (garlic sinks) | Low |
| Bread Maker + Finishing Technique | Excellent (golden crust) | Even (layered application) | Moderate |
| Entirely Oven-Baked | Variable (depends on skill) | Good (with proper technique) | High |
This comparison from the Bread Maker Society's 2024 texture analysis confirms that combining bread maker convenience with strategic finishing yields superior results to either method alone.
Essential Equipment Considerations
Not all bread makers perform equally with garlic bread. Machines with a "dough only" setting provide maximum flexibility, allowing you to control the final baking phase. Standard cycles work best in 1.5-2 lb capacity machines—larger capacities often result in uneven garlic distribution.
Crucially, avoid adding fresh garlic directly to the bread pan at the beginning of the cycle. The USDA's Food Safety and Inspection Service notes that garlic in moist environments can create conditions favorable for botulism growth if held between 40°F and 140°F for extended periods. This is why timing matters.
Optimal Ingredient Timing for Maximum Flavor
The secret to exceptional bread maker garlic bread lies in strategic ingredient addition:
- Dry ingredients: Add to bread pan first (flour, salt, sugar)
- Wet ingredients: Pour over dry ingredients (water/milk, softened butter)
- Yeast: Place in designated dispenser or small well in flour
- Garlic: Add during the final 5 minutes of kneading cycle
Adding garlic late prevents enzyme degradation that causes bitter flavors. For best results, use 2-3 cloves of fresh garlic, finely minced or pressed. Powdered garlic lacks depth but works in emergencies—use 1 teaspoon per clove required.
Step-by-Step Process for Foolproof Results
- Prepare your bread maker pan with non-stick spray
- Add liquid ingredients followed by dry ingredients
- Start basic white bread cycle
- When machine beeps for add-ins (usually 5-7 minutes before end of kneading), add minced garlic
- Allow full rise and baking cycle to complete
- Immediately remove loaf from pan and cool on rack for 10 minutes
- Prepare garlic butter (4 tbsp softened butter + 2 minced garlic cloves + 1 tbsp parsley)
- Slather butter mixture over warm loaf
- Broil 2-3 minutes until golden (optional but recommended)
Troubleshooting Common Issues
Problem: Garlic burns during baking
Solution: Never add fresh garlic at the beginning of the cycle. The bread maker's prolonged baking phase (typically 3+ hours) causes garlic to overcook. Add during final kneading phase only.
Problem: Pale, soft crust
Solution: Transfer to oven after bread maker cycle completes. The appliance creates ideal crumb structure but lacks sufficient top heat for proper browning.
Problem: Uneven garlic distribution
Solution: Pulse garlic in food processor with 1 tbsp flour before adding. This prevents clumping and ensures even dispersion.
Advanced Flavor Variations
Once you've mastered the basic technique, experiment with these professional variations:
- Roasted Garlic Version: Substitute 3-4 roasted garlic cloves (mashed) for fresh. Adds sweet, mellow depth without sharpness.
- Herb-Infused: Add 1 tsp dried rosemary or thyme during final kneading phase.
- Cheese Lover's: Sprinkle 1/4 cup grated Parmesan over garlic butter before broiling.
Remember that bread makers vary by model. The Bread Maker Association's 2024 manufacturer guidelines recommend checking your specific model's capabilities before attempting new recipes.
Serving and Storage Recommendations
For optimal texture, consume within 24 hours. Store leftovers in a paper bag at room temperature—never plastic, which traps moisture and accelerates staling. To refresh, wrap in foil and warm at 350°F for 10 minutes.
Freezing works well for longer storage. Slice before freezing, then toast slices directly from frozen for quick garlic bread servings.


 浙公网安备
33010002000092号
浙公网安备
33010002000092号 浙B2-20120091-4