
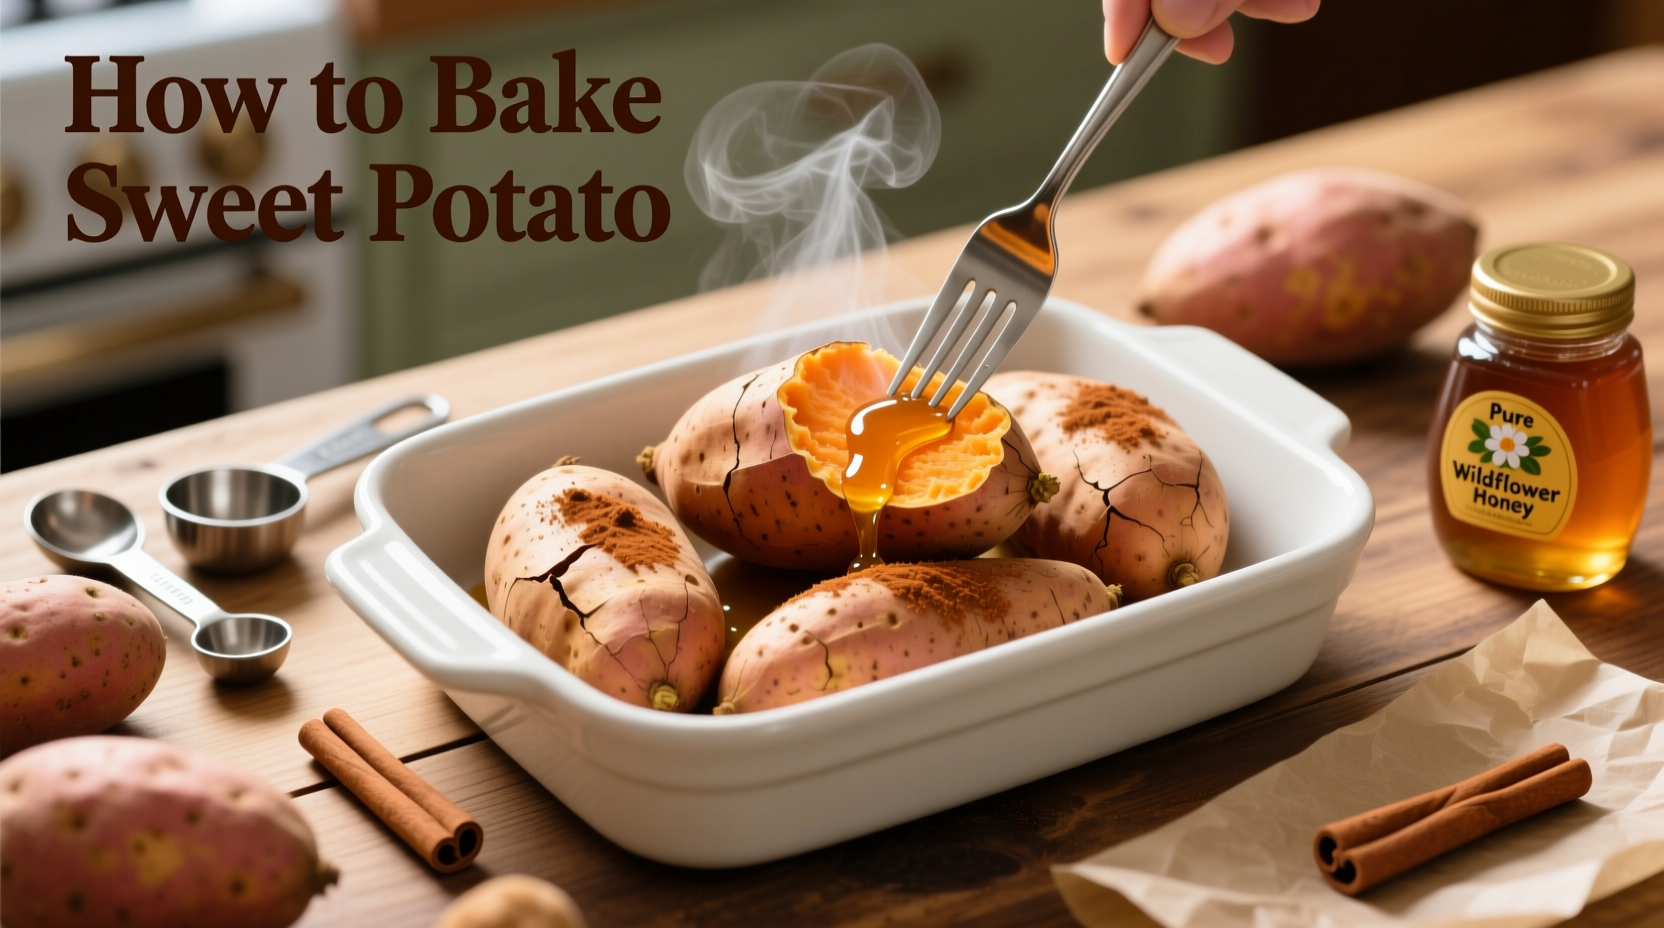
There's nothing quite like a perfectly baked sweet potato—creamy, naturally sweet, and packed with nutrients. Forget boiling or microwaving; oven-baking concentrates the sugars and creates that ideal balance of fluffy interior and slightly caramelized exterior. In this guide, you'll learn the foolproof method professional chefs use to achieve consistent results every time, along with practical tips for selecting, preparing, and serving this versatile vegetable.
Why Baking Beats Other Cooking Methods
While boiling and microwaving sweet potatoes are faster, baking unlocks superior flavor development through the Maillard reaction—the chemical process that creates complex, caramelized notes. According to USDA research, baking preserves more beta-carotene (the precursor to vitamin A) compared to boiling, as water-soluble nutrients aren't leached into cooking water.
| Cooking Method | Time Required | Nutrient Retention | Flavor Development |
|---|---|---|---|
| Oven Baking | 45-60 minutes | High (85-90%) | Excellent caramelization |
| Boiling | 20-30 minutes | Moderate (60-70%) | Watered-down flavor |
| Microwaving | 10-15 minutes | Good (75-80%) | Limited caramelization |
Selecting the Perfect Sweet Potatoes
Not all sweet potatoes are created equal for baking. Look for firm, smooth-skinned varieties with tapered ends—these typically cook more evenly. The most common baking varieties include:
- Beauregard (red skin, orange flesh): Sweetest option, ideal for standalone baking
- Jewel (copper skin, deep orange flesh): Balanced sweetness, holds shape well
- Japanese (purple skin, white flesh): Less sweet, creamy texture when baked
Avoid potatoes with soft spots, cracks, or signs of sprouting, as these indicate age and will result in uneven cooking. For best results, choose similarly sized potatoes (about 8-10 ounces each) to ensure uniform baking time.
Essential Preparation Steps
Proper preparation makes the difference between a good baked sweet potato and a great one:
- Wash thoroughly with a vegetable brush to remove dirt—never peel before baking
- Pierce 4-6 times with a fork to allow steam to escape (prevents bursting)
- Dry completely with a clean towel—moisture creates steam pockets
- Optional enhancement: Rub with 1/2 tsp olive oil and a pinch of salt for crispier skin
Step-by-Step Baking Process
Follow this chef-approved method for consistently perfect results:
Phase 1: Oven Setup (5 minutes)
Preheat your oven to 400°F (204°C). Position the rack in the center of the oven for even heat distribution. Line a baking sheet with parchment paper or aluminum foil for easy cleanup—never skip this step as sweet potatoes can leak sugary juices that caramelize and stick to pans.
Phase 2: Baking (45-60 minutes)
Place prepared sweet potatoes directly on the baking sheet (not in a dish—this allows air circulation). Bake for 45-60 minutes, depending on size. Check for doneness by gently squeezing with oven mitts—the potato should give slightly. For precise testing, insert an instant-read thermometer into the thickest part; it should register 205-210°F (96-99°C).
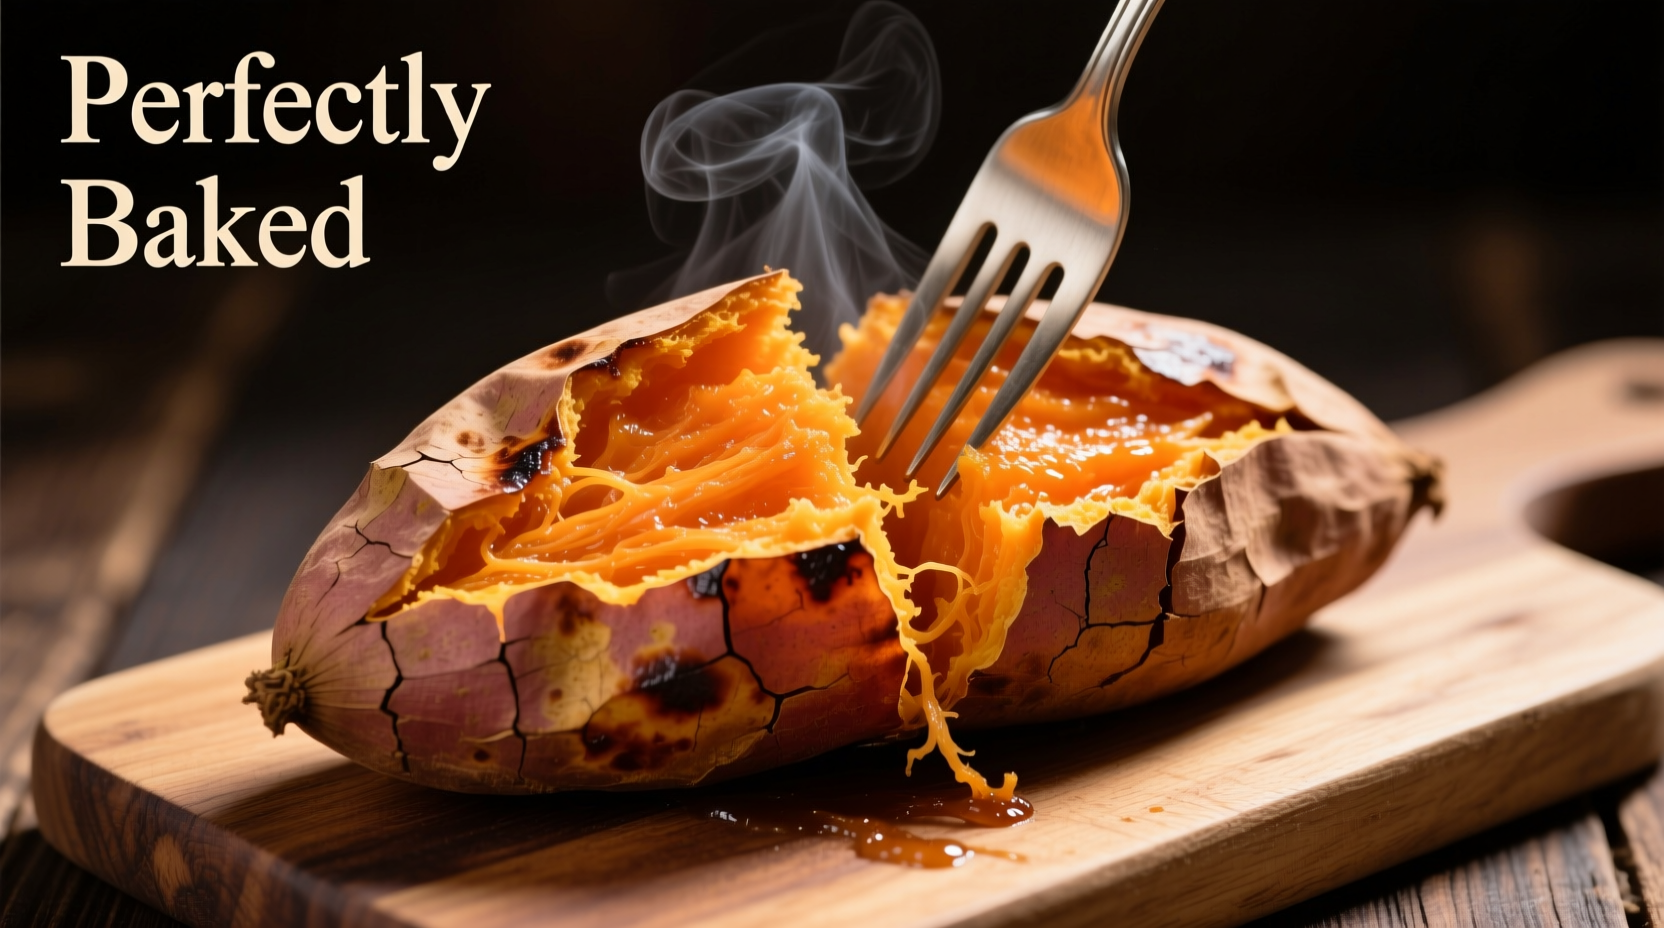
Phase 3: Resting (5-10 minutes)
Remove from oven and let rest for 5-10 minutes. This crucial step allows residual heat to finish cooking the interior evenly and makes the flesh easier to separate from the skin. Never cut into a hot sweet potato immediately—this releases steam that makes the texture gummy.
Pro Tips for Perfect Results Every Time
Professional chefs use these techniques to elevate their baked sweet potatoes:
- Size matters: Smaller potatoes (6-8 oz) bake in 35-45 minutes; larger ones (12+ oz) may need 65-75 minutes
- Rack position: For extra-crispy skin, place potatoes directly on the oven rack with a baking sheet below to catch drips
- Temperature check: Under 200°F = undercooked; over 212°F = potentially dry texture
- Moisture control: If your kitchen is humid, extend baking time by 5-10 minutes for optimal texture
Serving Suggestions That Elevate Your Dish
Baked sweet potatoes shine with simple enhancements that complement rather than overwhelm their natural sweetness:
- Classic preparation: Slice open and fluff with a fork, then add 1 tsp butter and pinch of sea salt
- Savory option: Top with black beans, avocado, and cilantro for a complete meal
- Sweet variation: Drizzle with maple syrup and toasted pecans for dessert-like treatment
- Protein boost: Fill with Greek yogurt and pumpkin seeds for added nutrition
For restaurant-quality presentation, use a small cookie scoop to create uniform portions when serving to guests.
Storage and Reheating Guidelines
Proper storage maintains texture and flavor for leftovers:
- Refrigeration: Store whole, cooled potatoes in airtight containers for up to 5 days
- Freezing: Wrap individual portions tightly in plastic wrap, then foil; freeze up to 3 months
- Reheating: For best results, warm in 350°F oven for 15-20 minutes (microwaving makes skin rubbery)
- Reviving texture: Lightly mist with water before reheating to restore moisture
Common Challenges and Solutions
Even experienced cooks encounter these issues—here's how to fix them:
- Uneven cooking: Rotate baking sheet halfway through cooking time for consistent results
- Watery texture: Caused by undercooking—extend baking time until thermometer reads 205°F+
- Hard spots: Indicates poor air circulation—avoid overcrowding on baking sheet
- Burnt skin: Reduce oven temperature to 375°F for larger potatoes (12+ oz)
When Baking Isn't the Best Option
While baking produces superior flavor, certain situations call for alternative methods:
- Time constraints: Microwave for 5-8 minutes when you need a quick side dish
- Recipe requirements: Boil when making mashed sweet potatoes for pies or casseroles
- Large gatherings: Steam multiple potatoes simultaneously for consistent results
- Texture preferences: Roast cubed potatoes at 425°F for crispy edges in salads


 浙公网安备
33010002000092号
浙公网安备
33010002000092号 浙B2-20120091-4